Jolciu zapraszam do zabawy, to tylko 4 lata szycia😎. Jeden na tydzień😉. Nawet nie wiedziałam ile frajdy może być w…
„The Fourth Challenge-Project Quilting”
Ślimak, ślimak wystaw rogi, dam ci sera na pierogi. Jak nie sera, to kapusty. Od kapusty będziesz tłusty. Pamiętacie taki wierszyk z dzieciństwa? Ja właśnie sobie przypomniałam gdy zobaczyłam temat czwartego wyzwania PROJECT QUILTING Kim Lapacek.
„Snail, snail show us your horns, I’ll give you some cheese for dumplings. If not cheese, then some cabbage. You’ll be fat with cabbage.” Does anyone else remember these rhymes from their childhood? I just remembered this one when I saw the topic of the fourth challenge from PROJECT QUILTTING by Kim Lapacek.
Do dzieła, tym razem szyjemy tradycyjny blok ślimaka.
Lets get to work, this time we sew a traditional snail block.
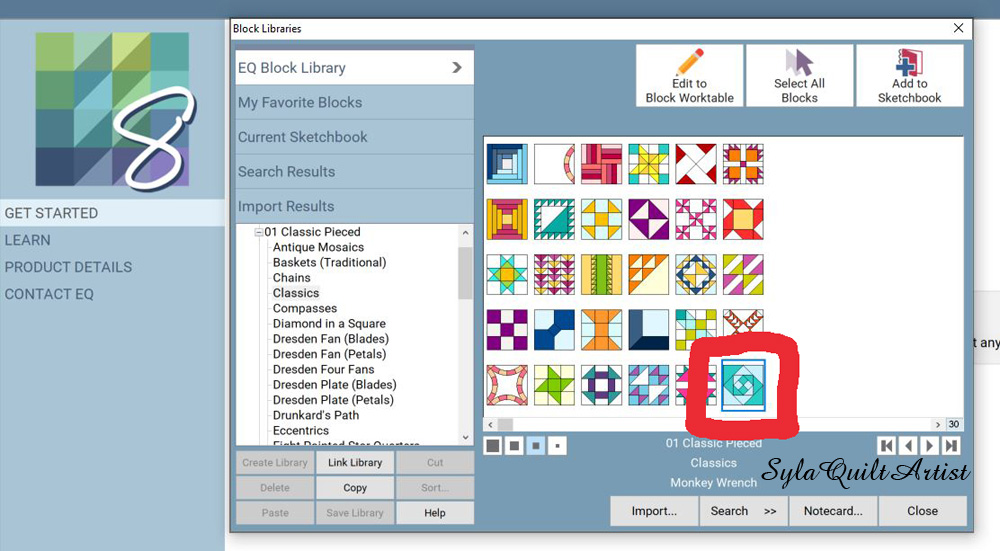
Wzór bloku wydrukowałam sobie z programu Electric Quilt 8. Świetny program.
I printed out the block pattern using the Electric Quilt 8 program. An excellent program.
Można go też pobrać ze strony AQSblog.com gdzie jest także instrukcja szycia krok po kroku.
You can download it from the AQSblog.com, you can also find step by step sewing instructions there.
Mój blok ślimaka postanowiłam umieścić na okładce do segregatora.
I decided to put my snail block on the cover of a binder.
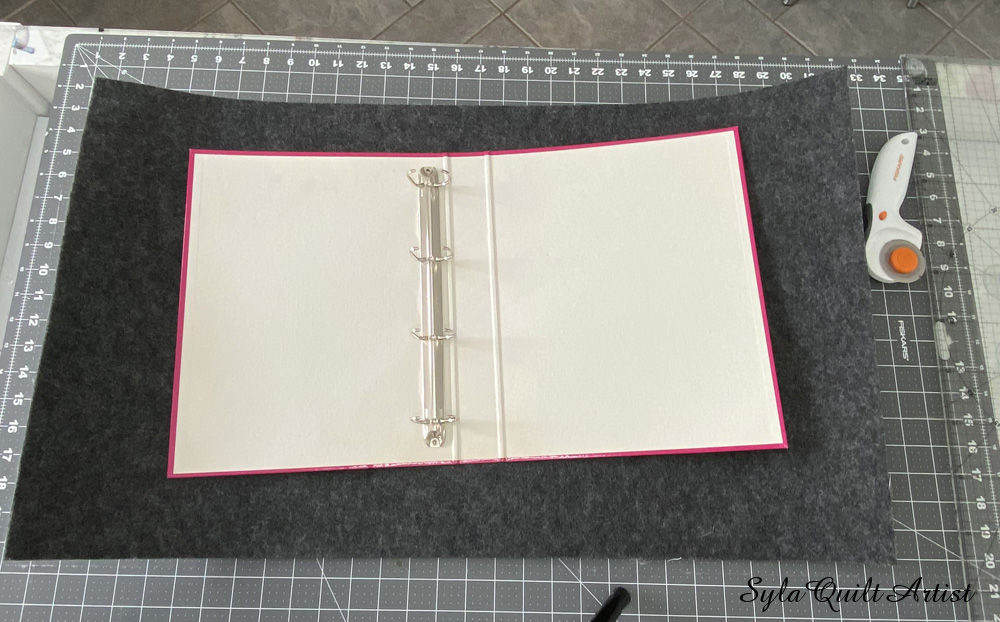
Do okładki chciałam także wykorzystać filc, który pozostał mi po obklejaniu drzwi szafy. Wymyślenie jak to zrobić nie było łatwe. Musiałam pamiętać, że moja okładka musi spełniać wymagania o których pisała Kim tutaj.
For the cover, I also wanted to use some of the leftover felt that I had after making a wall design display on a warddrobe door. Figuring out how to do this was not an easy task. I had to remember that my cover had to meet the requirements that Kim wrote about here.
Najpierw należało uszyć blok ślimaka.
First, a snail block had to be sewn.
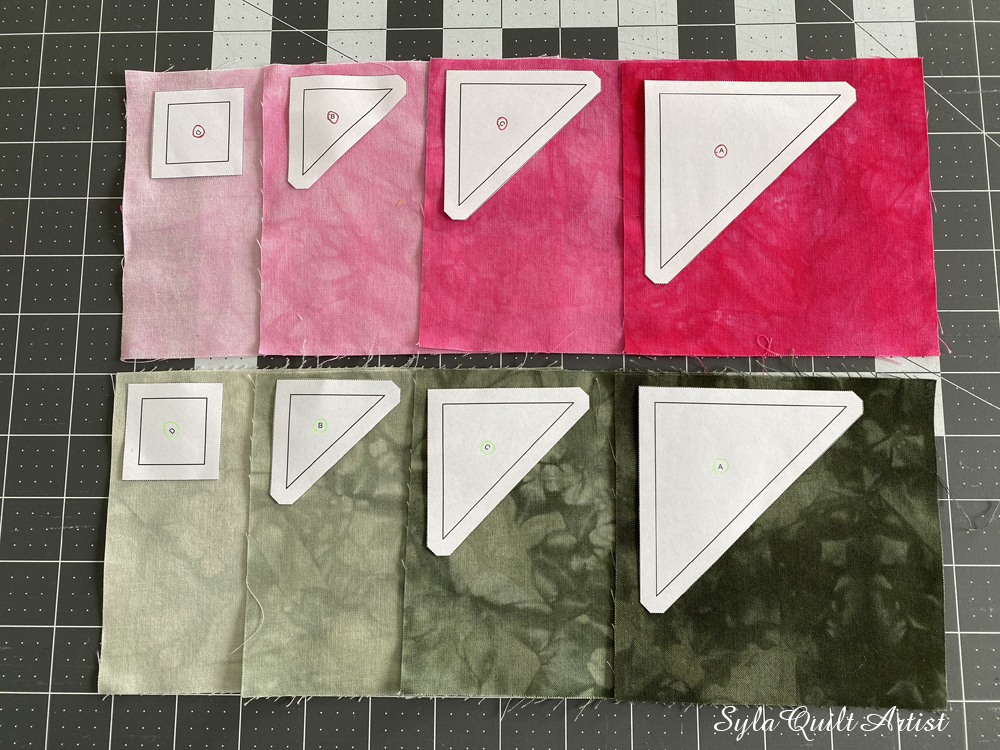
Do tego celu wybrałam dwa kolory różowy i zielony. Uwielbiam tkaniny farbowane prze ze mnie. Każdy projekt dzięki temu jest niepowtarzalny.
For this task I chose two colors, pink and green. I love my hand dyed fabricks. Thanks to this each my project is so unique.
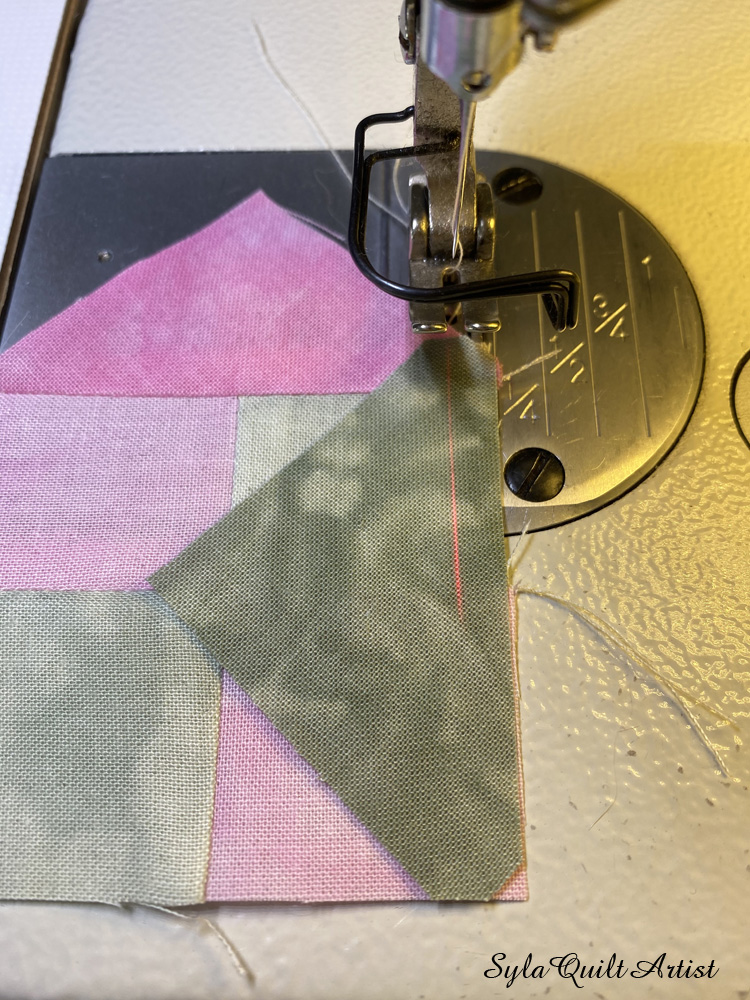
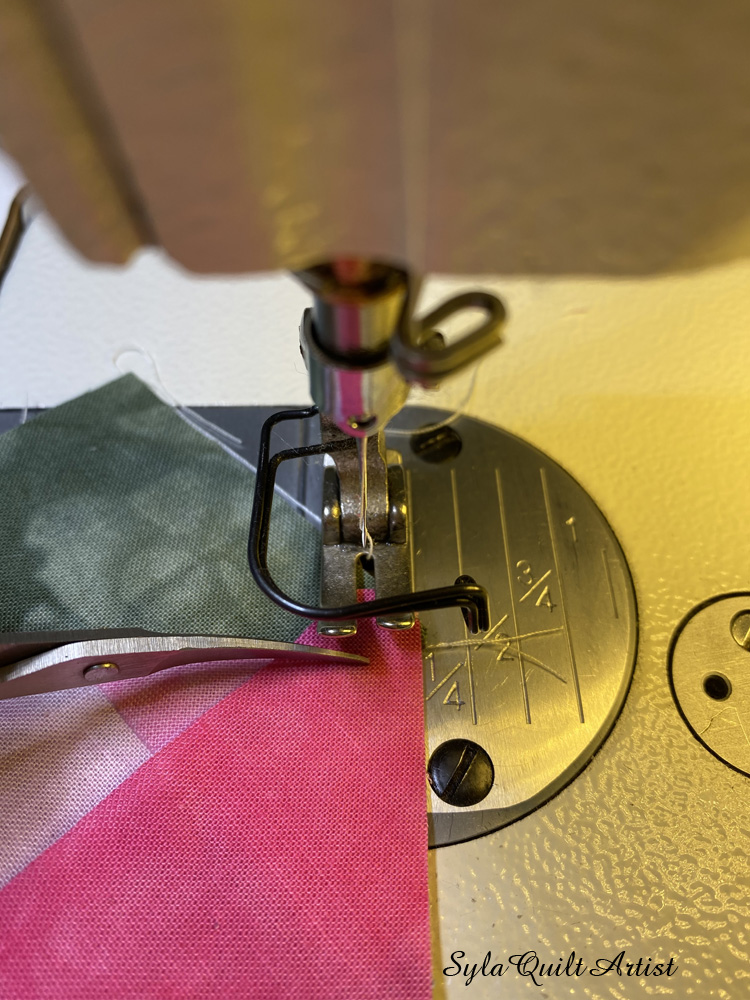
Po kolei powycinałam poszczególne części i zabrałam się za ich zszywanie.
I cut out the individual parts one by one and started sewing them together.
I tak powstały dwa bloki ślimaków. Jeden na przód a drugi na tył okładki.
And this is how two snail blocks came to be. One for the front and the other for the back of the cover.
Gdy bloki były gotowe zabrałam się za przygotowanie okładki z filcu. Muszę dodać że filc po lewej stronie miał klej.
When the blocks were ready, I started working on the felt cover. I have to add that the felt had glue on one side.
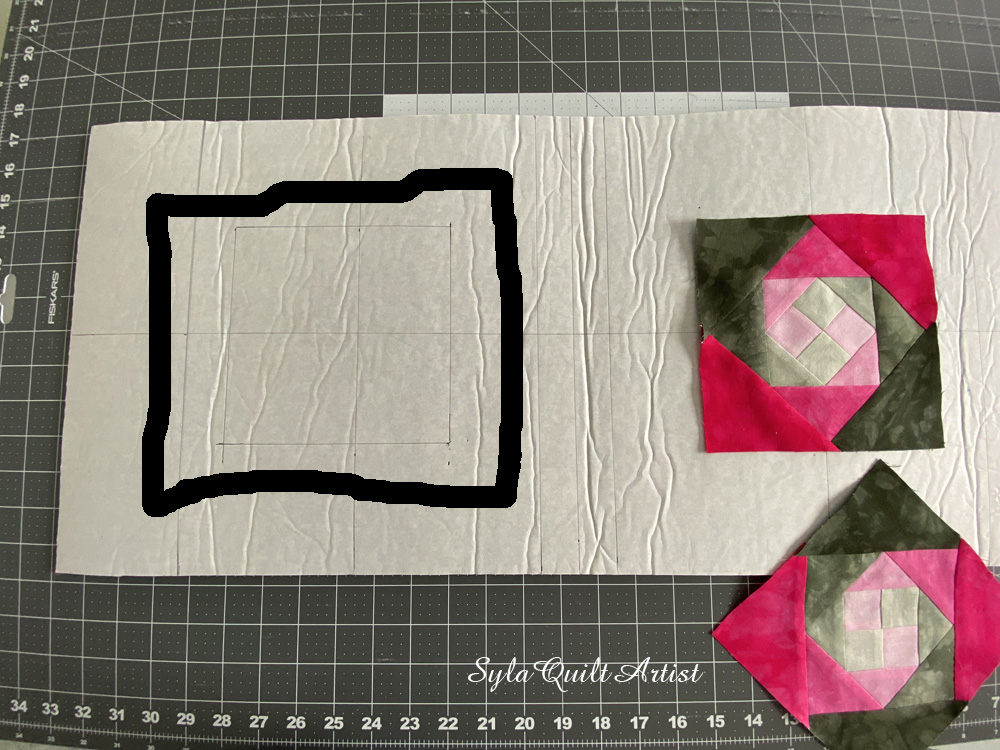
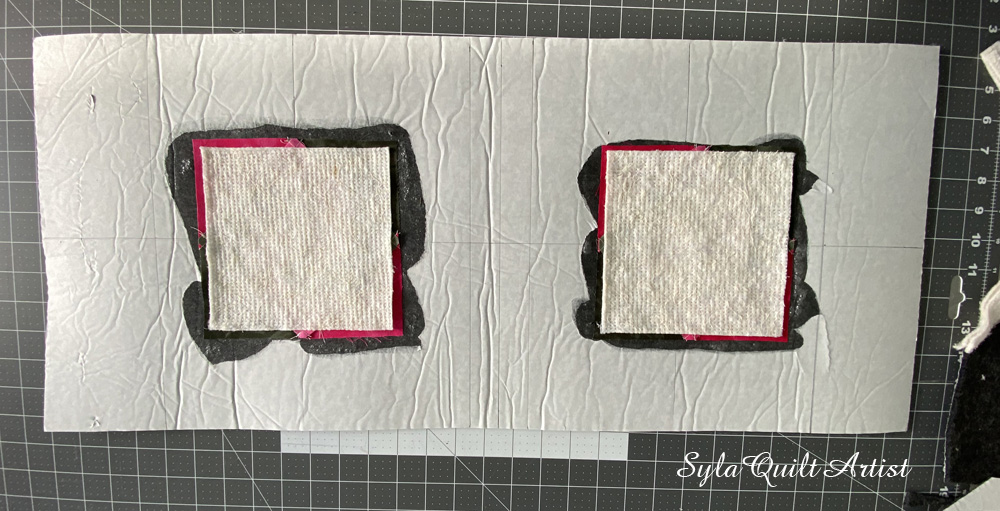
Wycinając filc pamiętałam żeby dodać kilka cali na skrzydło tylne i przednie. Skrzydła te zostaną zagięte, a potem zszyte z okładką tworząc kieszenie w które włożę segregator. Okładkę podzieliłam na pół i na środku strony przedniej i tylnej narysowałam kwadrat o pół cala mniejszy niż gotowy blok. Dobrze że na lewej stronie był papier. Dzięki temu rysowało się bardzo dobrze.
When cutting the felt, I made sure to add a few inches for the front and rear wings. These wings will be folded and then sewn in with the cover to form the pockets where I will put the binder. I split the cover in half, and then, in the center of the front and back sides, drew a square about half an inch smaller than the finished snail block. Good thing there was paper on the back side, this made drawing much easier.
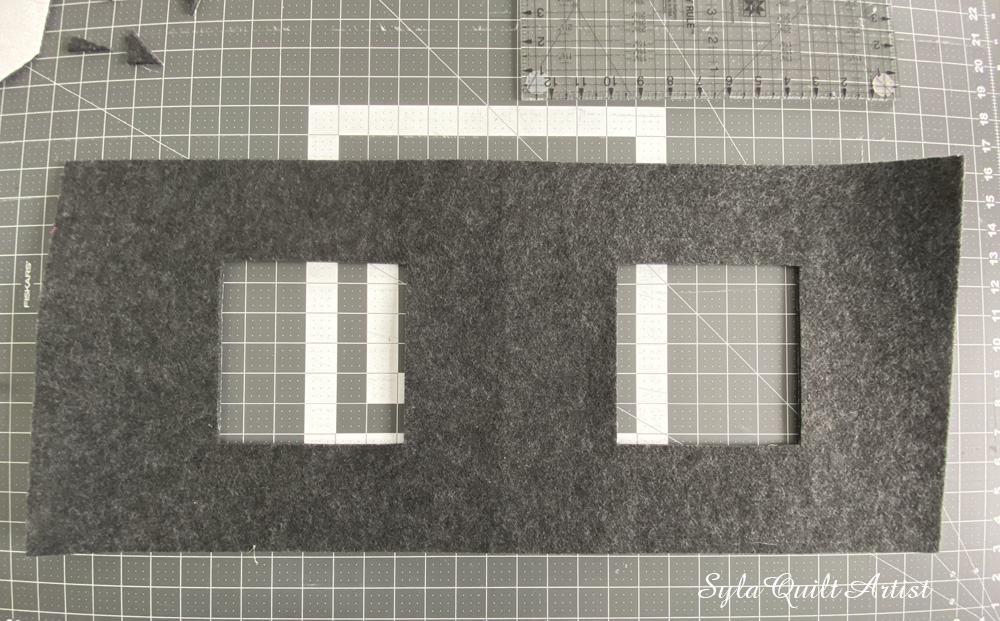
Następnie wycięłam narysowane kwadraty.
Next, I cut out the squares I just drew.
Pasowało idealnie.
It fit perfectly.
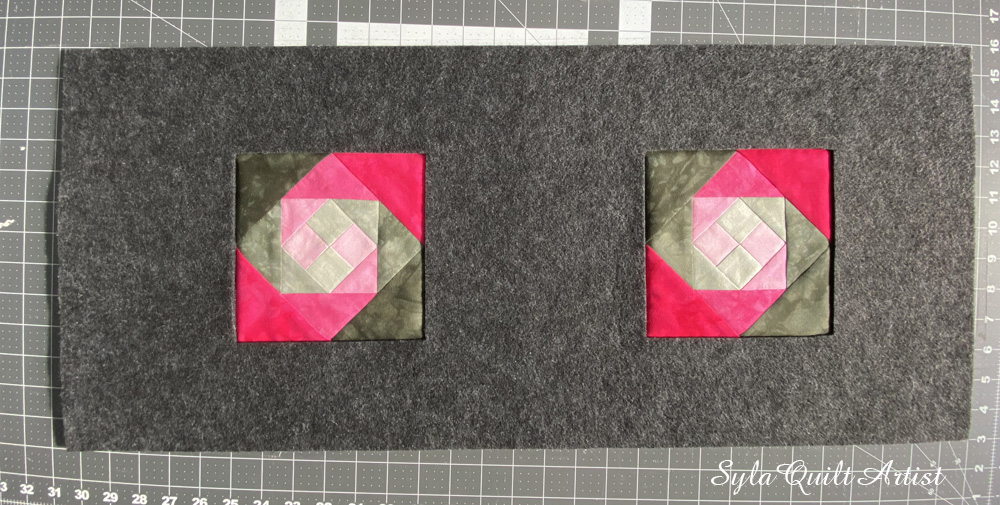
Odwróciłam filc na lewą stronę oderwałam papier, który chronił klej i ułożyłam dokładnie bloki.
I turned the felt inside out, tore off the paper that was covering the glue, and placed my snail blocks neatly.
Do wyciętych kwadratów dołożyłam wypełnienie bawełniane.
I added a cotton filling to the cut squares.
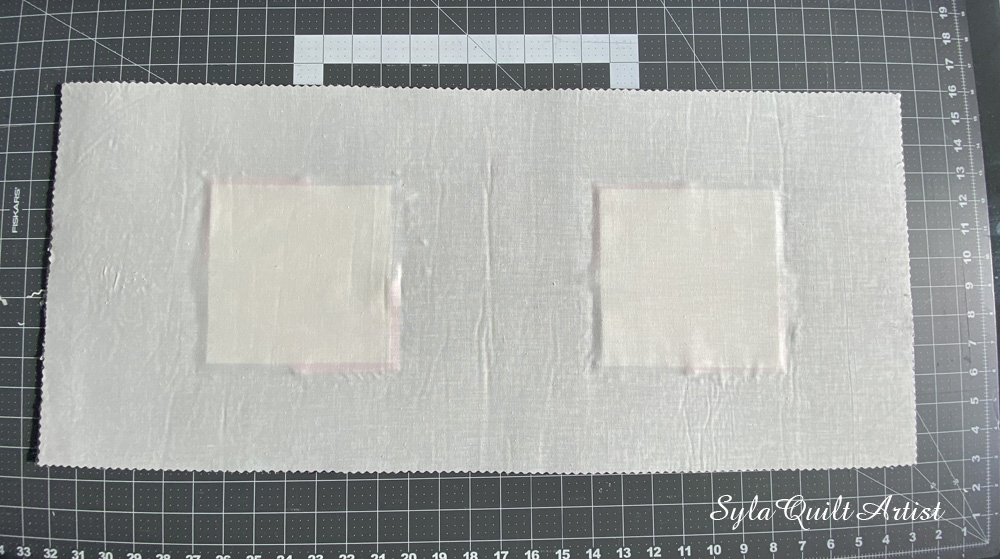
Oderwałam cały papier i przykleiłam tkaninę bawełnianą. Zasłoniłam nią klej oraz wypełnienie.
I ripped the paper off and glued a cotton fabric. I covered the glue and the filling with it.
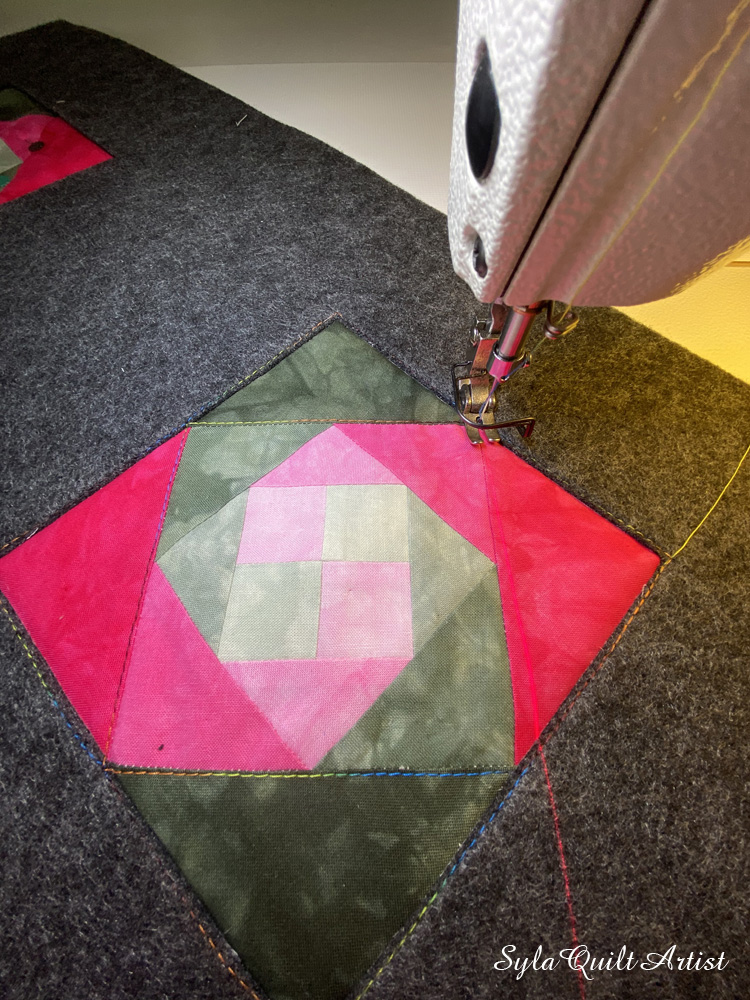
Przepikowałam oba bloki bawełnianą nicią (multikolor)
I quilted my two blocks with a cotton thread (multicolor).
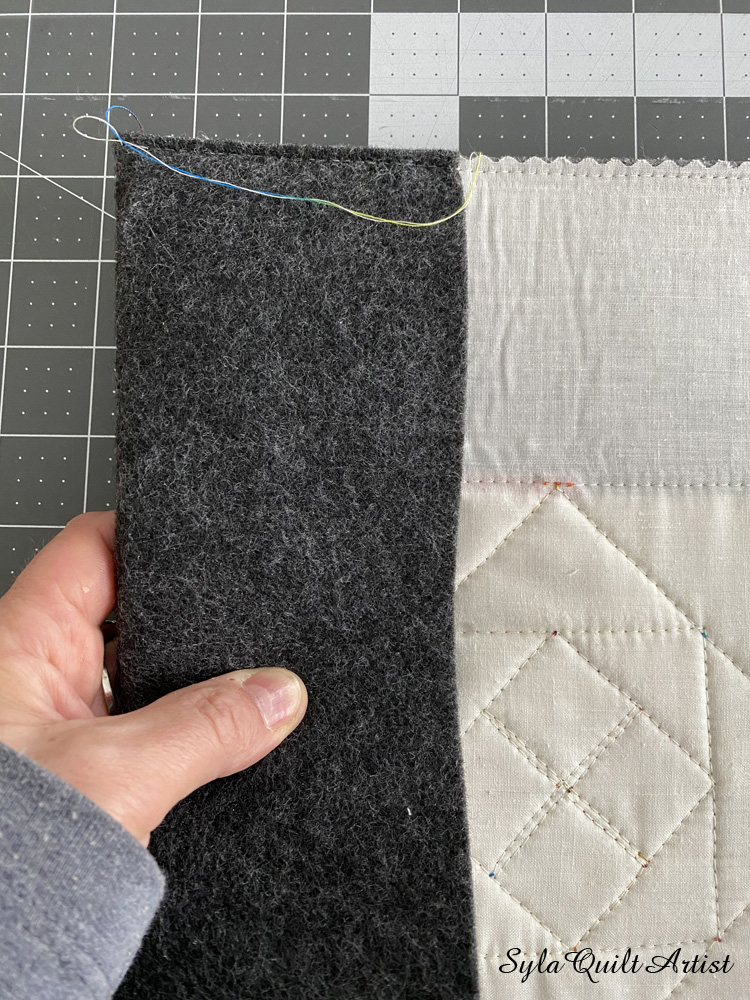
Zaznaczyłam, złożyłam a następnie przeszyłam skrzydełka tworząc kieszonki na okładkę segregatora.
I marked, folded, and then stiched the wings to form the pocket on the cover of my binder.
Włożyłam segregator.
I put the binder in.
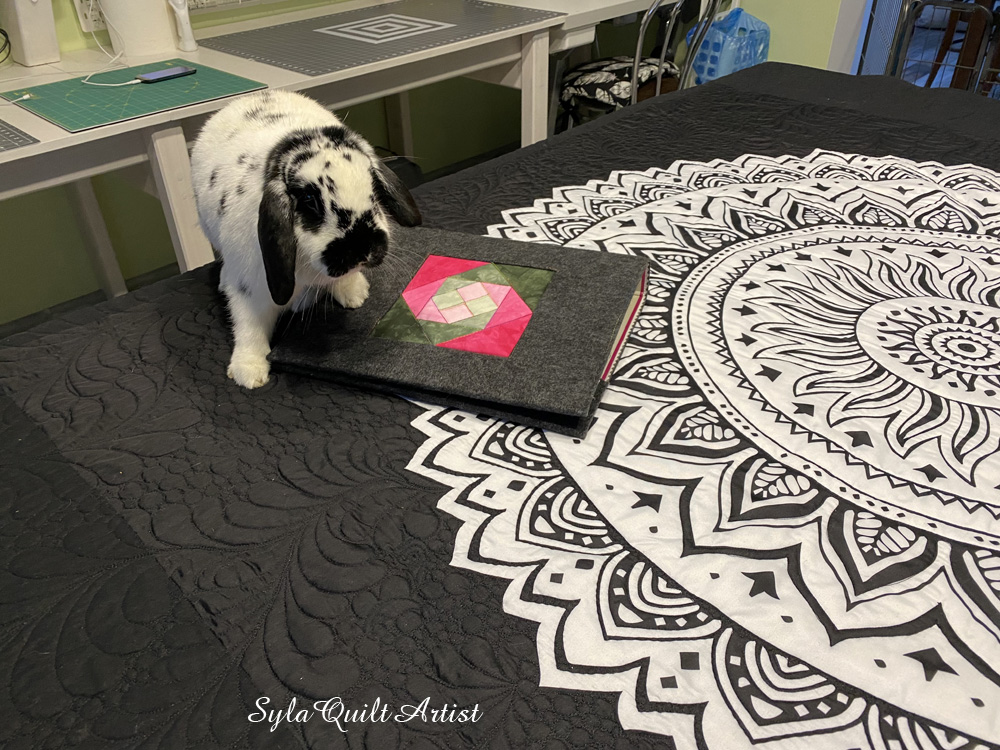
Okładka z blokiem ślimaka gotowa.
The snail block cover is ready.
Królikom też się podoba.
My rabbits like it.
Łatka pokazała że to jej i nie odda.
My „Little Patch” showed that this is now hers and she will not be giving it back.
You may also like
3 komentarze
Dodaj komentarz Anuluj pisanie odpowiedzi
Ta strona używa Akismet do redukcji spamu. Dowiedz się, w jaki sposób przetwarzane są dane Twoich komentarzy.
Sylwia, Dear Jane w Twoim wykonaniu zapowiada się ciekawie. Miałam już kilka podejść do tej pracy. Kiedyś uszyję! Może właśnie…
Thank You
Thank You
what a beautiful pair of plaid mittens!!





Love the colors. This is beautiful!
Beautiful project for this week’s Project QUILTING challenge!! Enjoy it!
so cool! Thanks for sharing your process!