
Hi it’s me -Sylwia 2
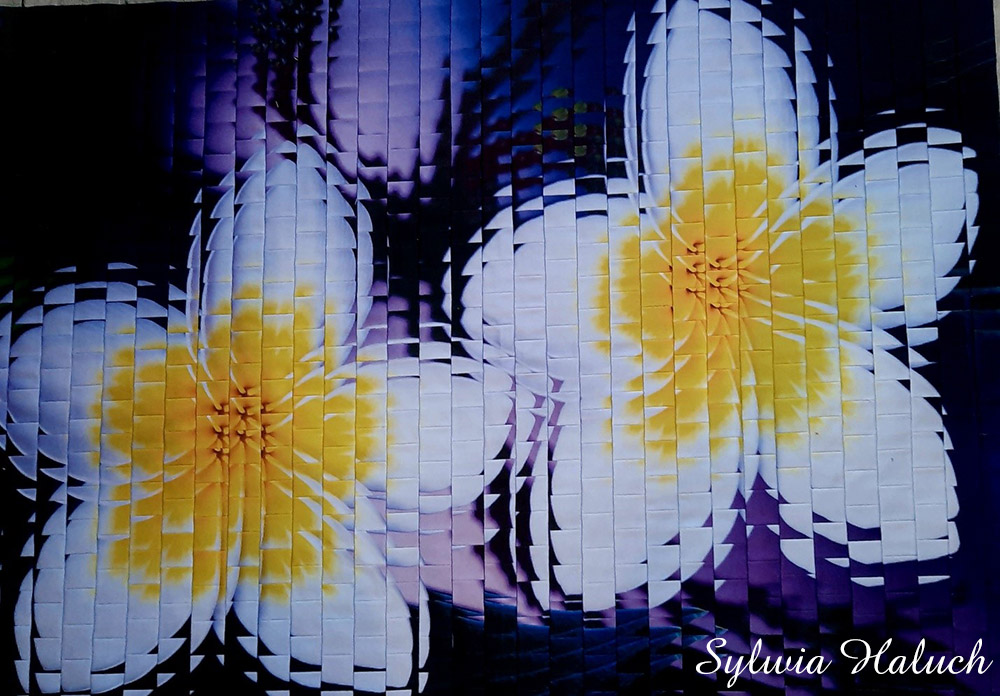
Following Sylwia Ignatowska’s footsteps, I decided to order panels from CottonBee. I asked for prints to start playing with fractures after a long break, again. I learned this technique from the book “Fabules Fractures” by Brenda Esslinger.
The photo bank helped me.

This time I needed nine identical panels of the image. I labeled three images “A”, three images “B”, and three images “C”. My panels are 19” high (48,5cm) by 13.5” wide (13,5cm).
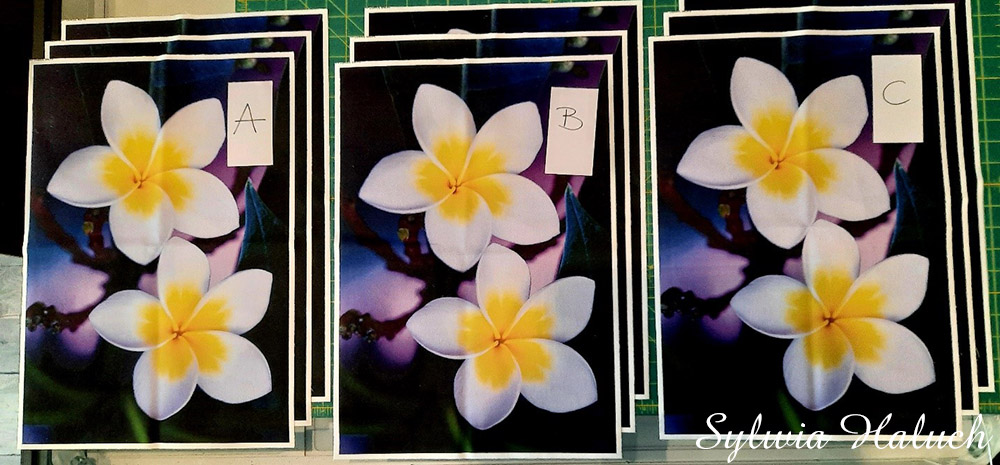
- I stacked the three “A” images neatly on top of each other and cut them vertically, into 1.5” strips, from left to right. It is very helpful to label them “A1”, “A2”, “A3” etc. I didn’t do it and regretted it later, but my Guardian Angel was watching over me and, luckily, I took a picture right after I arranged the strips earlier.
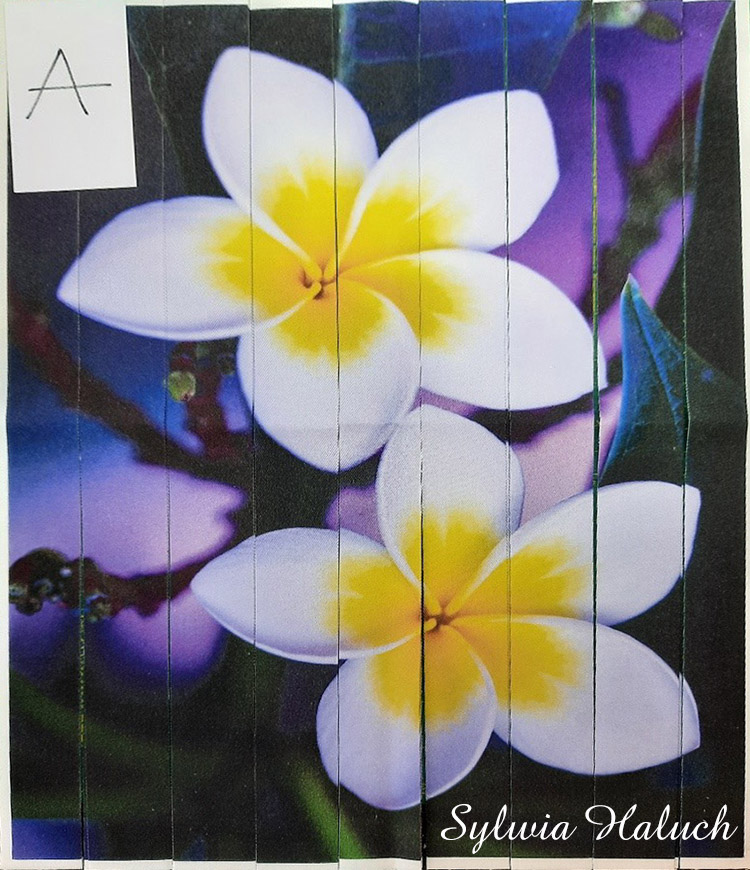
2. Next, the three panels from group “B”. I stacked them just like I did with the “A” panels and cut off a ½” strip from the left side and threw it away. The rest of it, I cut into 1.5” strips just like before and labeled them “B1”, “B2”, “B3” etc.
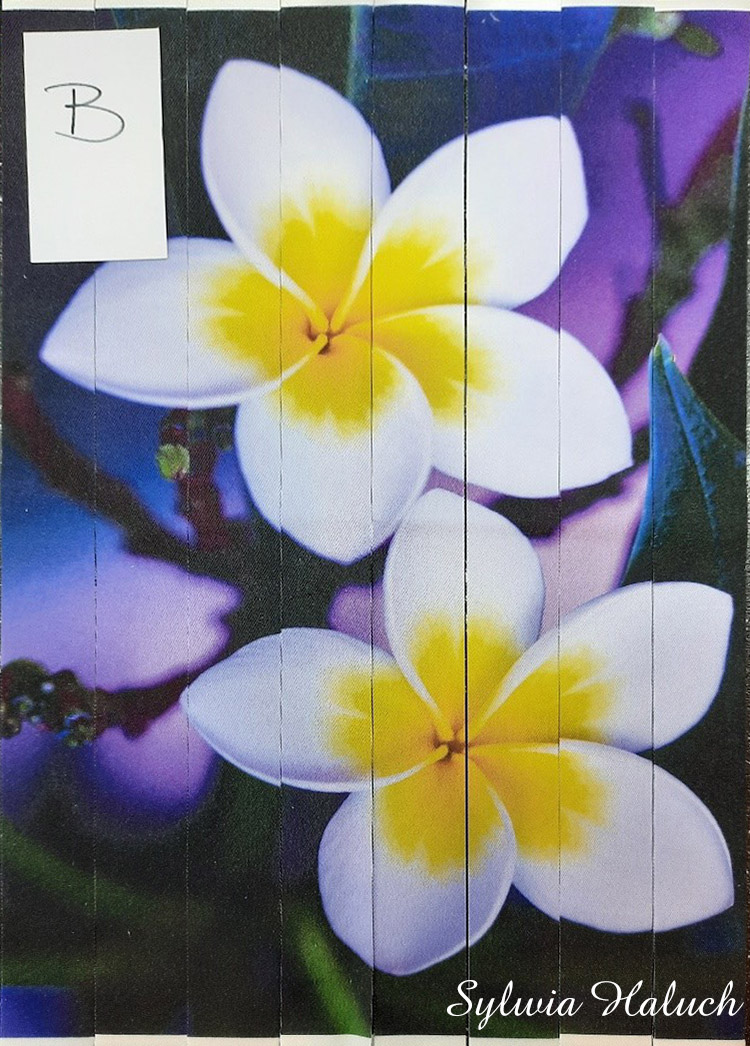
3. With the last set, “C”, I began by removing a 1” strip from the left side and threw it away. Then the rest I cut into 1.5” strips again.
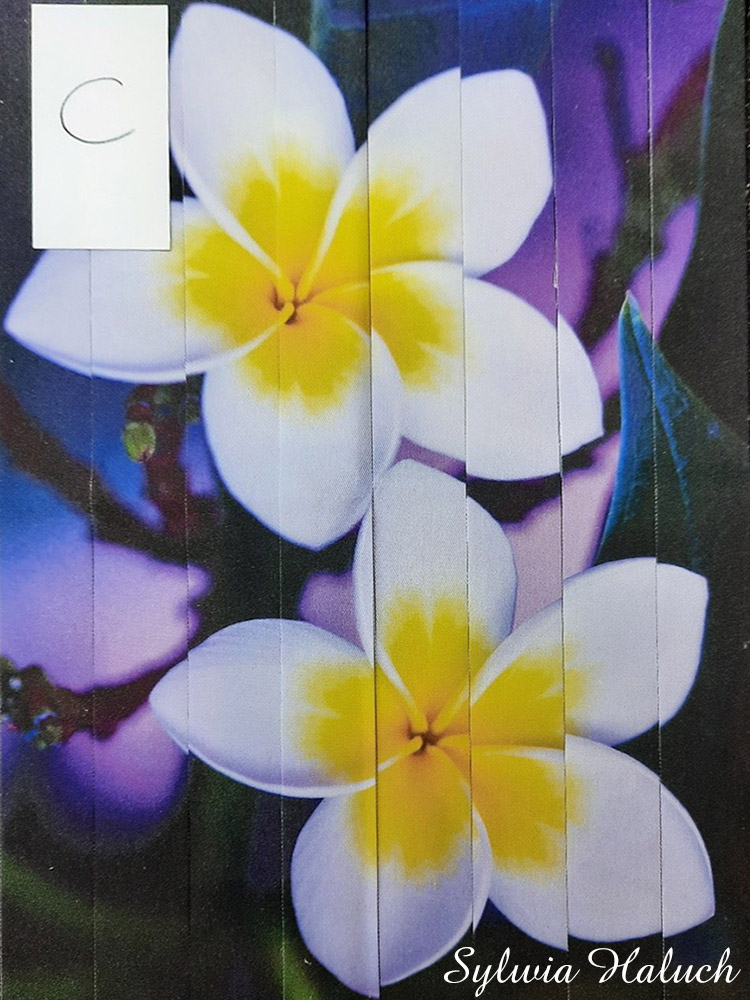
4. I arranged the strips in this order: “A1”, “B1”, “C1”, “A2”, “B2”, “C2” etc. and then sewed them together.
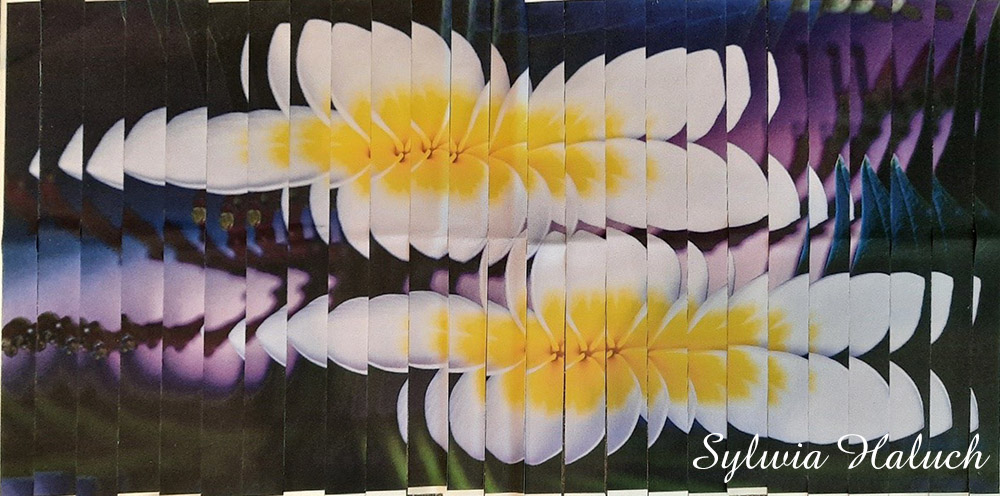
At this stage of my work, I decided to remove a few strips because I came to the conclusion that they elongated the image unnecessarily. Just remember, you need to remove the same strip from each group.
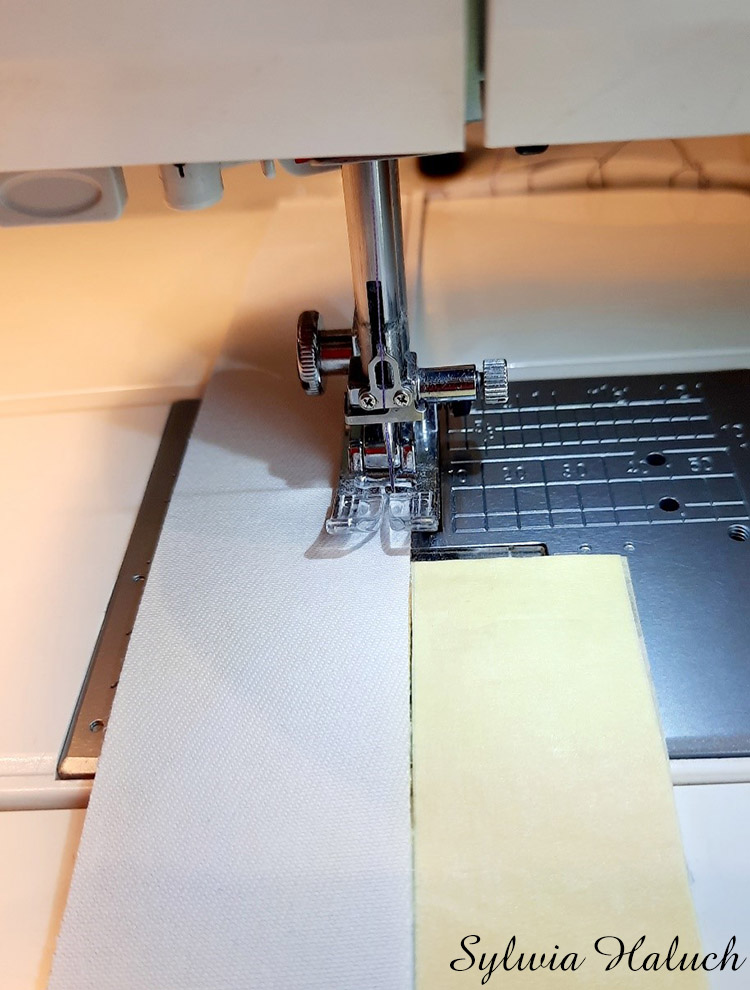
I used a 1/8” seam, to make it even I used painter’s tape. I put several layers, one on top of the other, keeping it the right distance from the needle, and used it as a guide.
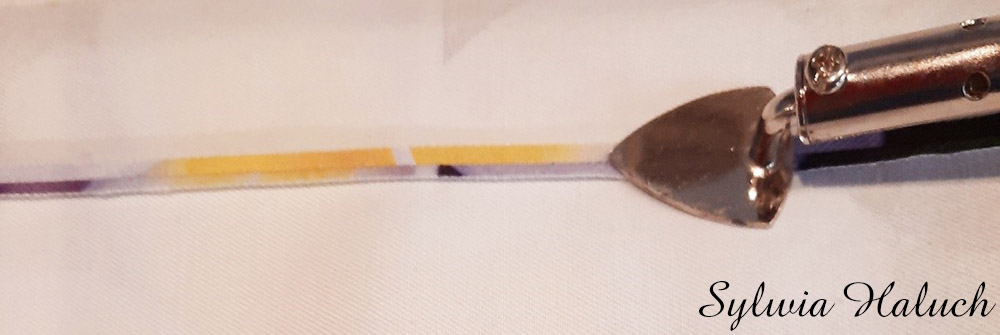
As Brenda says, seams need to be ironed open, so the mini-iron comes in handy.
I ended up with three identical panels, I marked them just like before, “A”, “B”,” C”
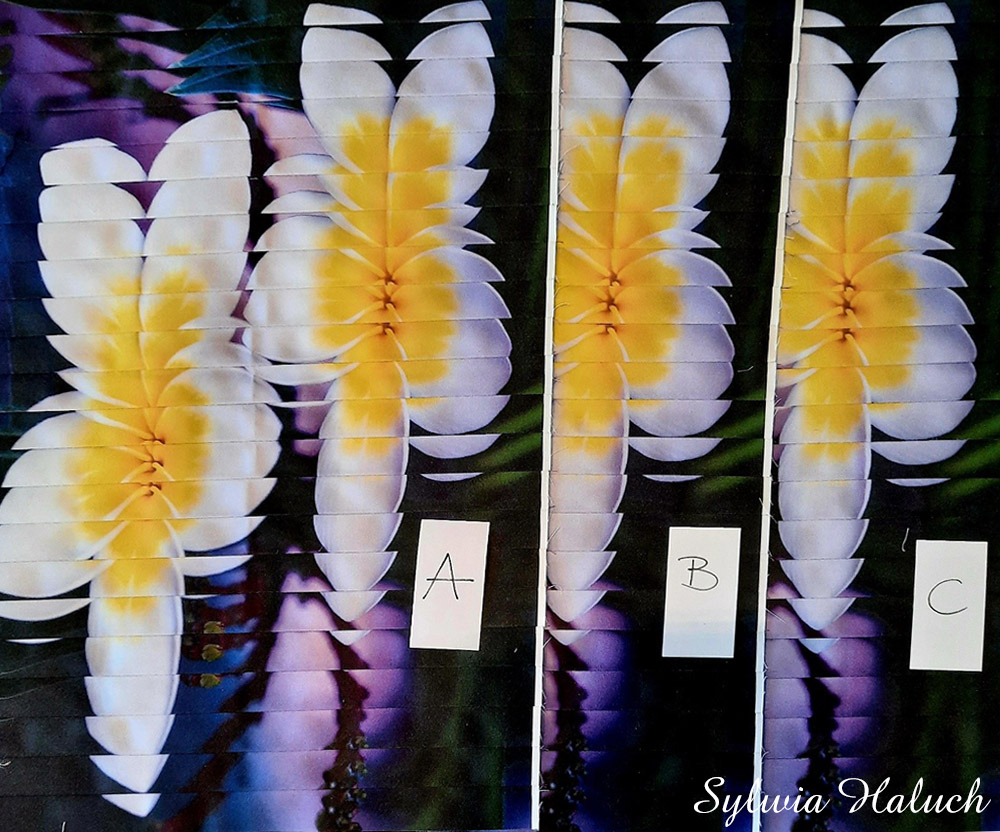
I rotated them about 90° and repeated steps 1-4. Make sure you rotate all three panels in the same direction.
I arranged the stripes “A1”, “B1”, “C1”, “A2”, “B2”, “C2” etc.
Since plumeria is called the flower of love, I decided to show lot of love to myself. Why? I ended up with over 700 tiny 1” squares that needed to be sewn together piece by piece – an impossible task.
I am not the queen patchwork, so I decided to ease myself and my household the mental anguish that this would bring and sewed them in bricks instead. I think it did not spoil the pattern. People say -happy wife, happy life.
The final size of my project is H27” x W40” (69 cm high x 99 cm width)
I think that I will quilt it lightly with a stitch in a ditch method.
Happy sewing
Komentarze