
For a few years now, I dream about tulips at this time of the year. Not the store-bought kind either, the ones you grow in your own garden. You can tell me, “just go to the nursery store and buy some bulbs in the fall and plant them, come springtime they will grow, there is nothing easier.” And here the problems begin. My yard has been invaded by tiny, nasty, and always hungry little animals called voles. They eat everything (even the plastic baskets that are supposed to protect the bulbs in the ground). They started in the greenhouse, then moved to my fruit trees, and then finally, they ate all my flower bulbs. It is difficult to get rid of them considering the fact that my yard is almost one hectare.
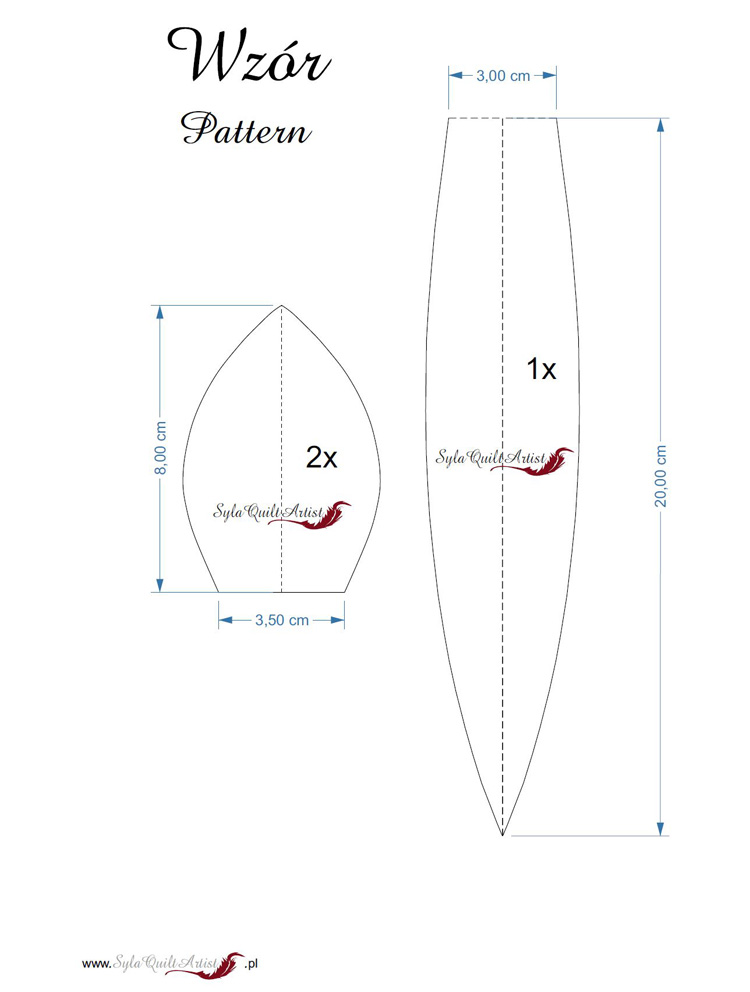
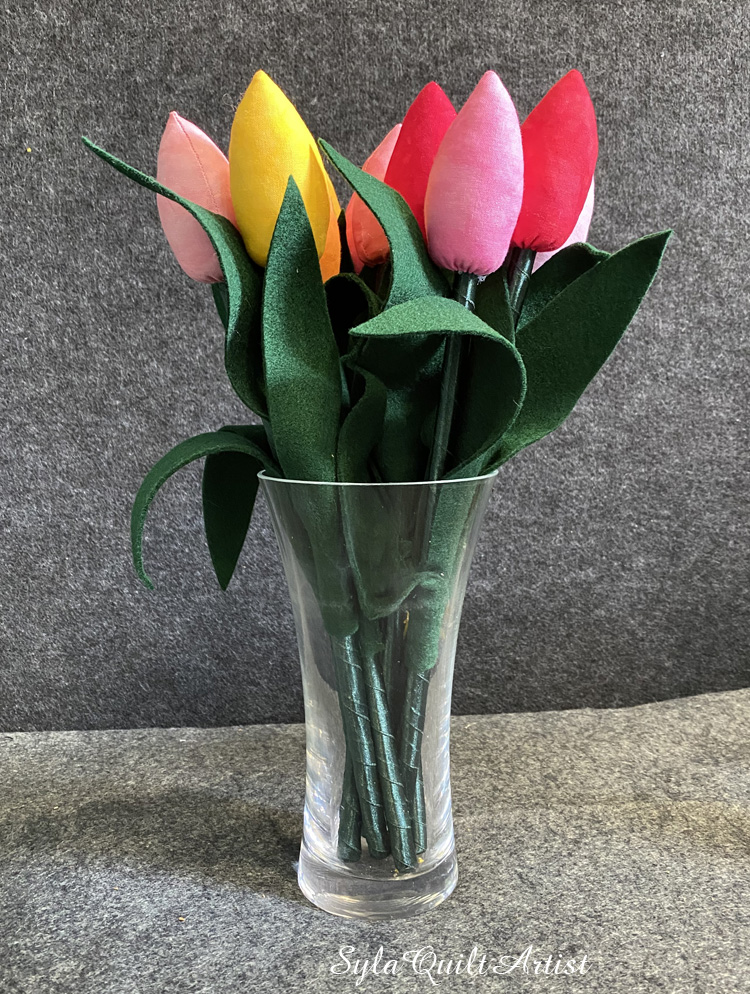
That is why I decided to sew my own tulips this year. I found some inspiration and instructions online and I made my own pattern according to my needs and went to work. You can download the pattern here.
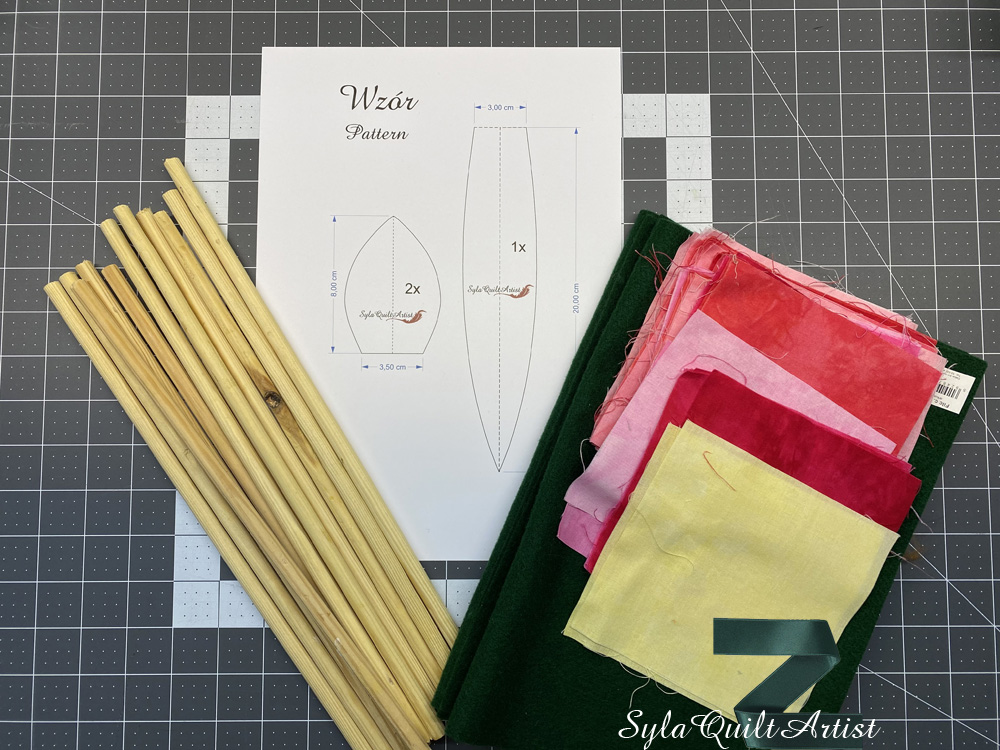
To make tulips, you need a pattern, colored fabrics, wooden sticks, a satin ribbon, and green felt.
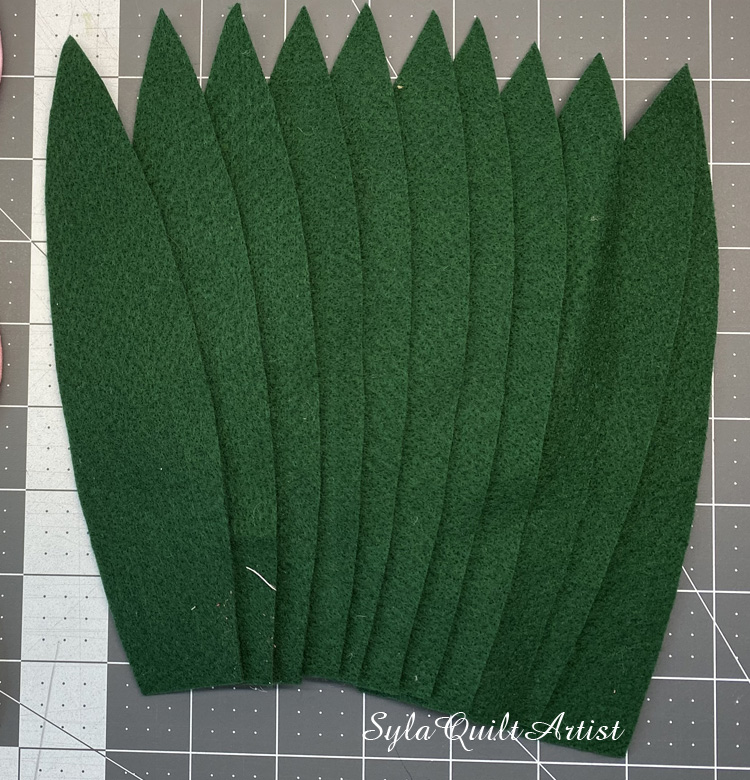
I printed the pattern and cut it out. I traced the tulip leaves on a single layer of felt and cut them out in a line. You can use a different fabric, but then you would have to sew the leaves together just like the tulip heads.
Time to make the tulip heads. I used 5” squares, which I folded in half and drew the pattern on them.
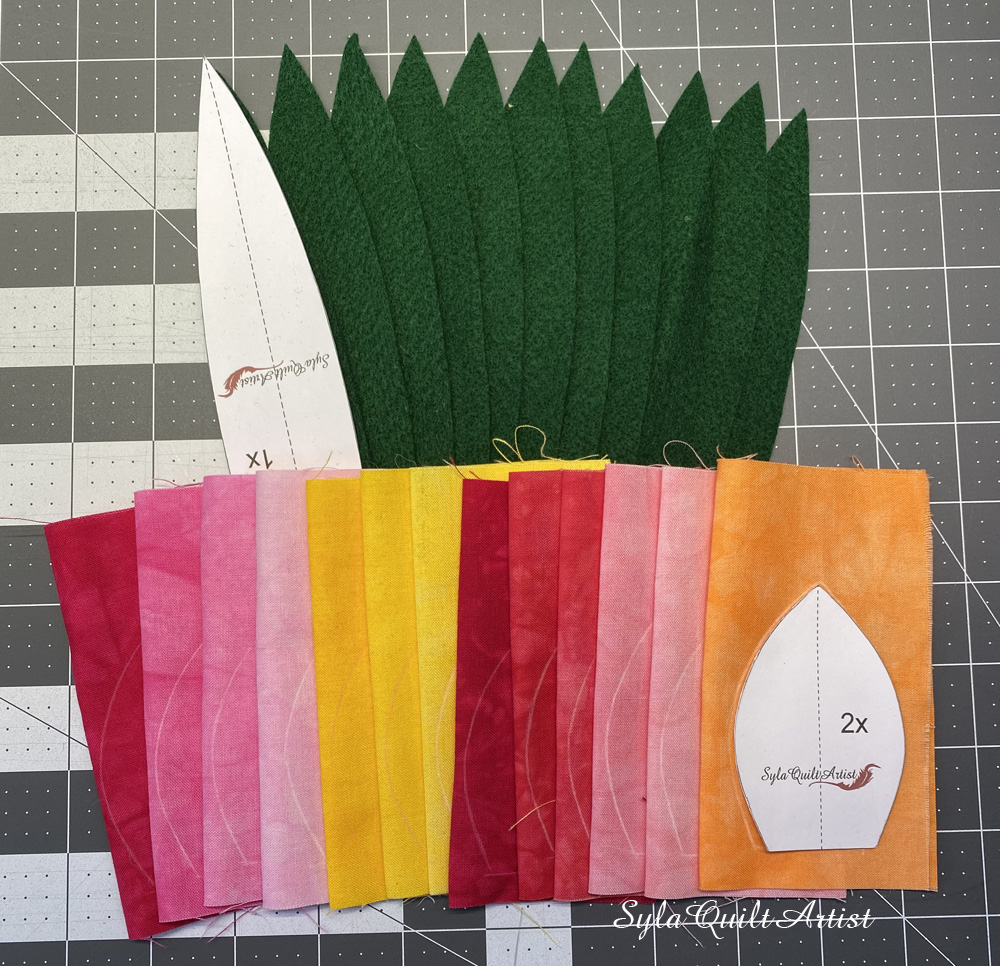
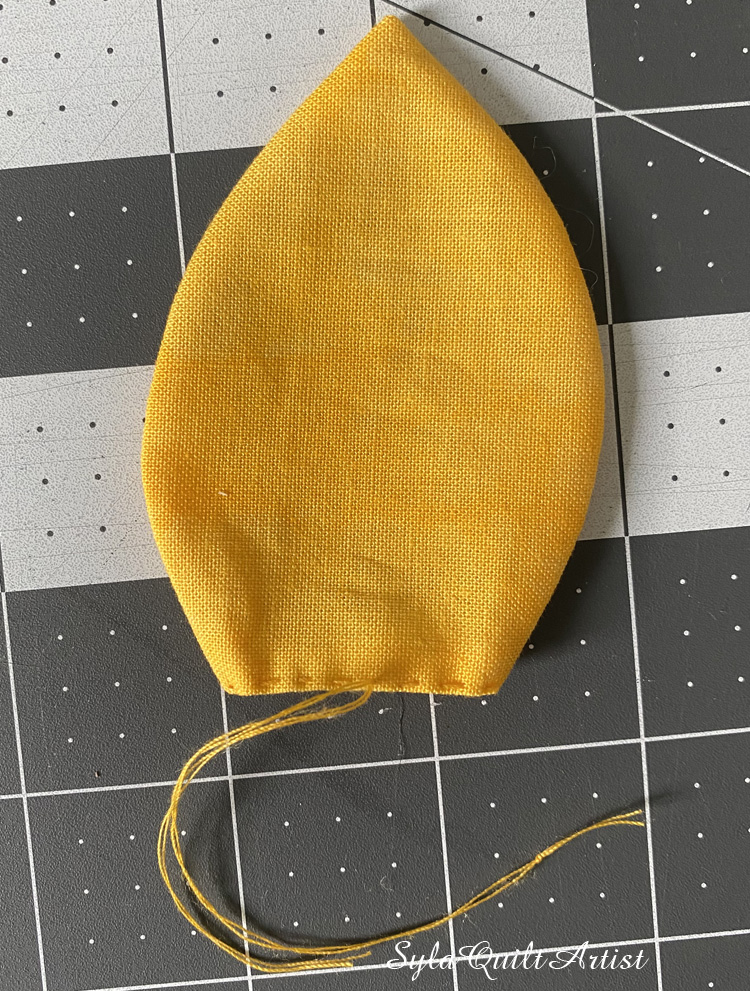
Next, I stitched along the lines, trimmed the seams and turned inside out.
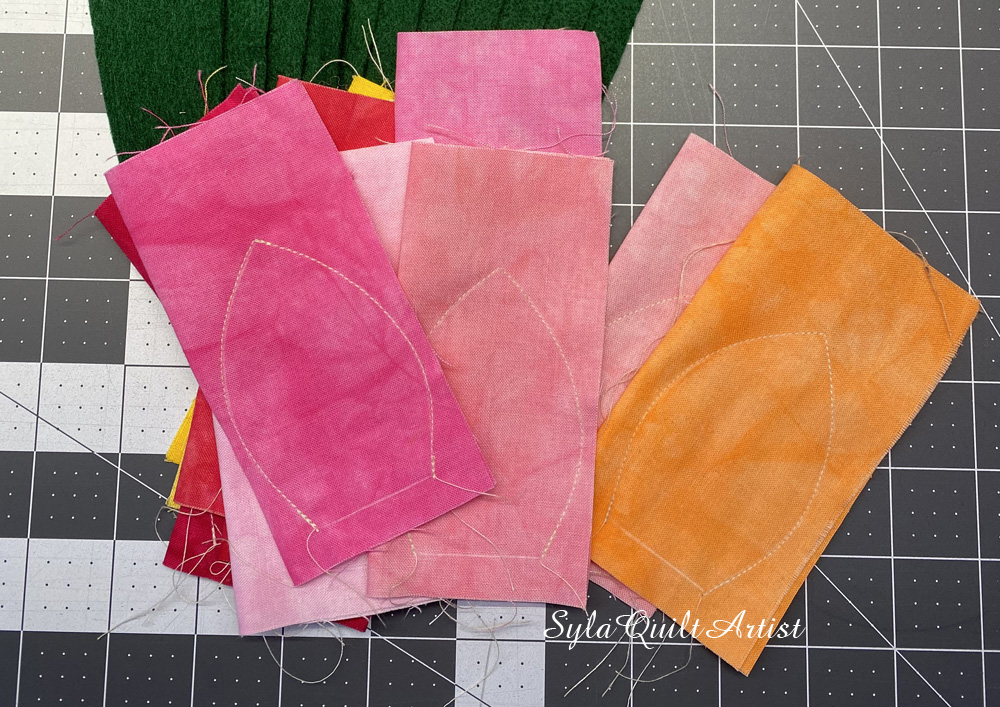
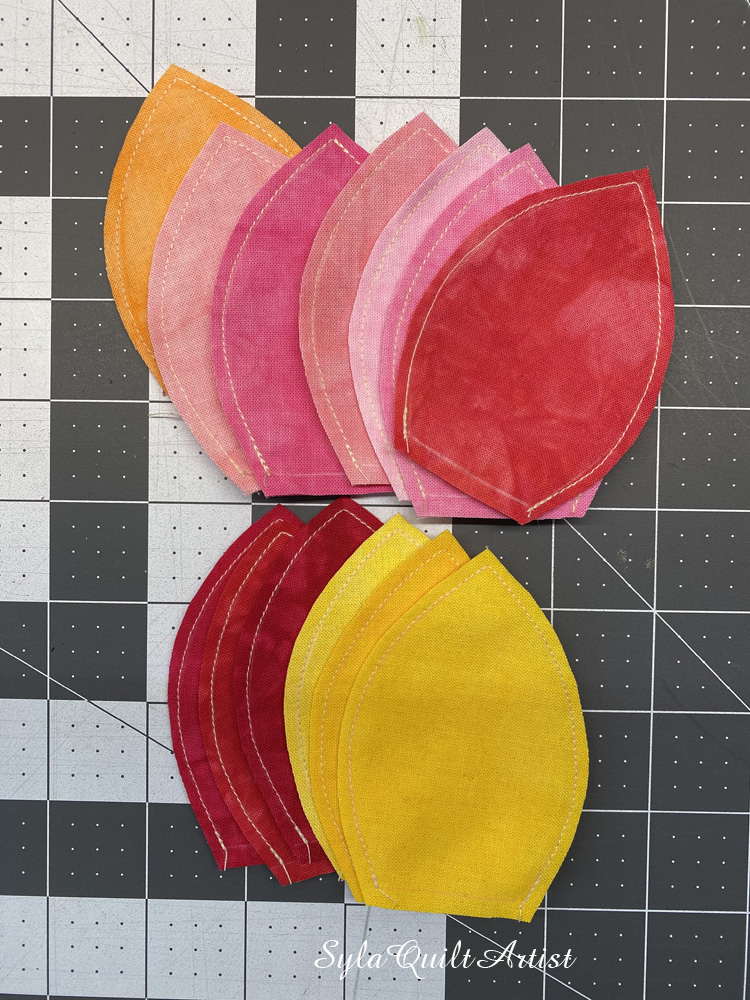
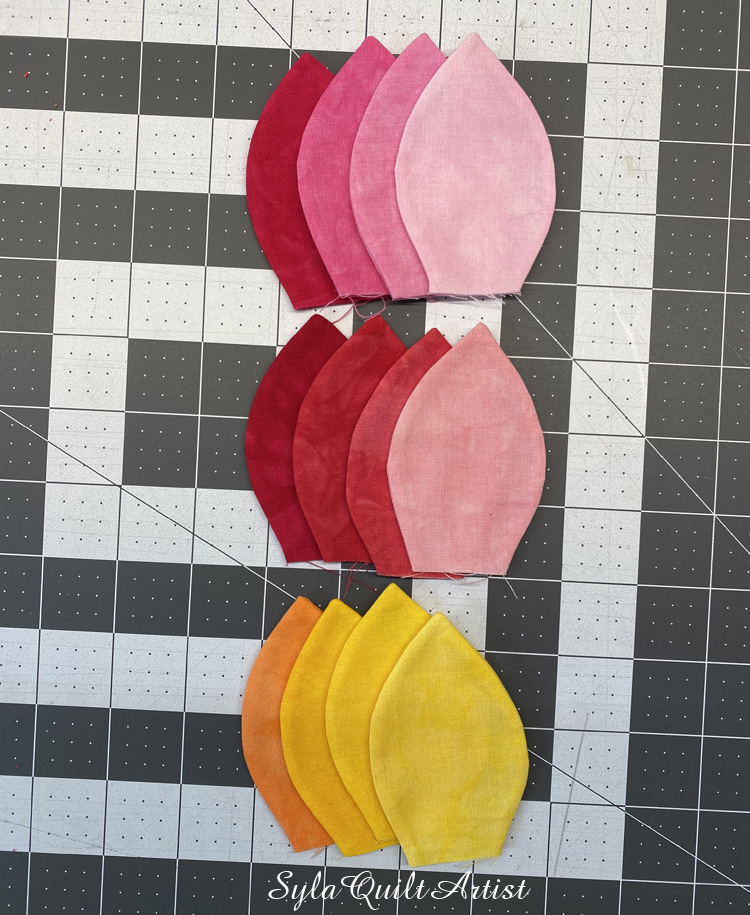
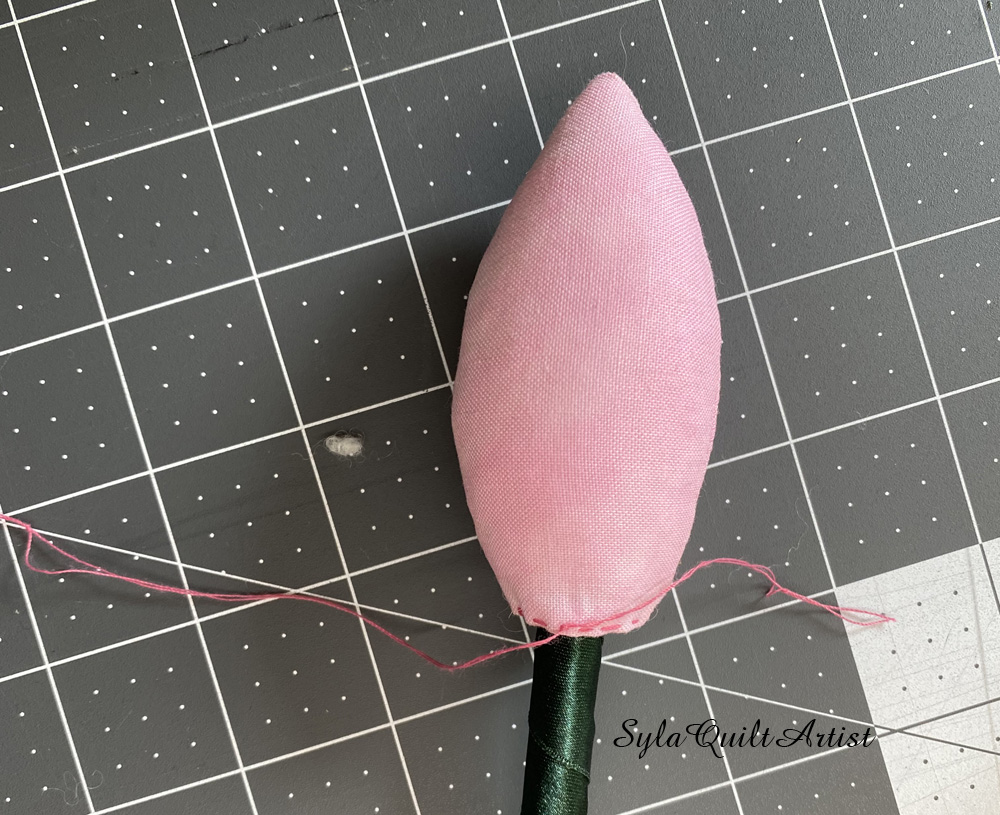
The heads are almost ready. I folded the bottom of the tulip and sewed it with a thick basting stitch in the color of the tulip head. This thread can be seen when we attach the head to the stick. Therefore, it is worth paying attention to it.
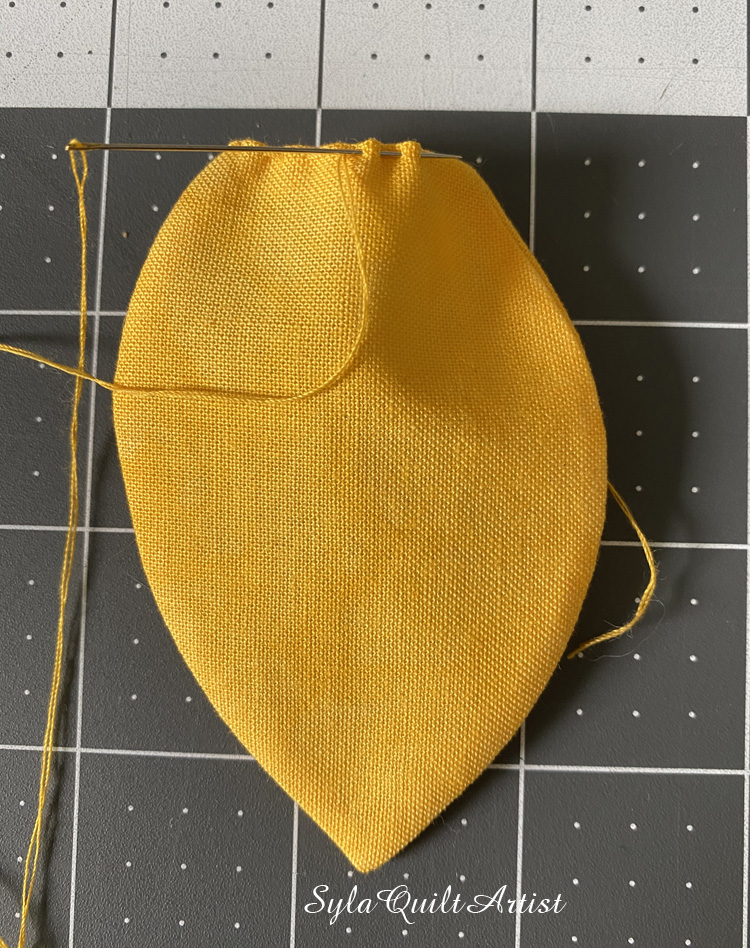
I left excess thread at the beginning and at the end of sewing. Just enough to be able to tie a knot and hide the thread while attaching the tulip head.
Next, I filled the tulip head with silicone balls.
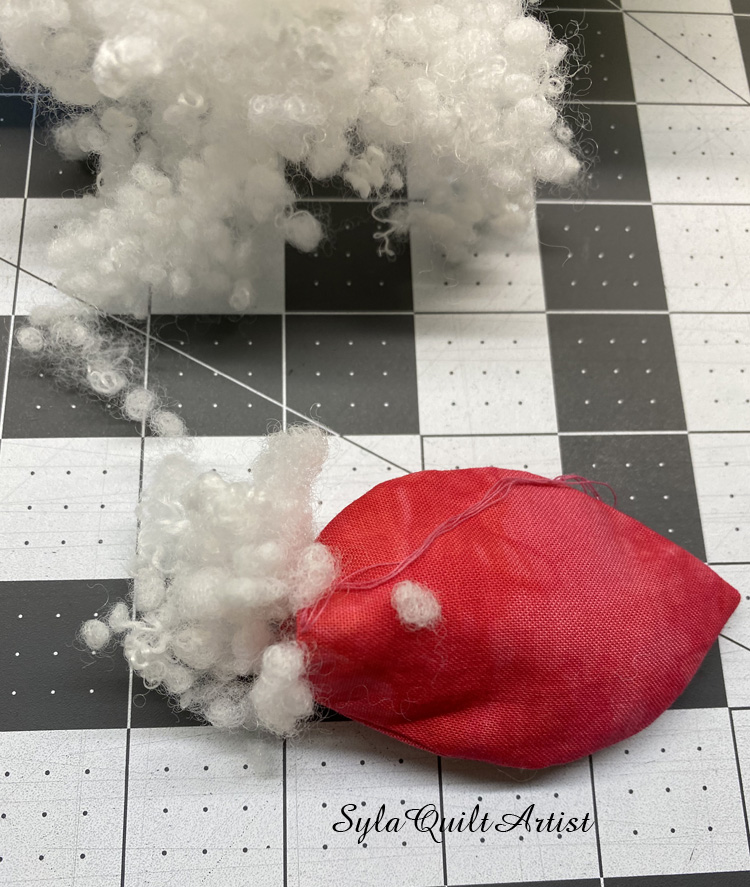
After filling the heads, that I started to work on the stems for my tulips.
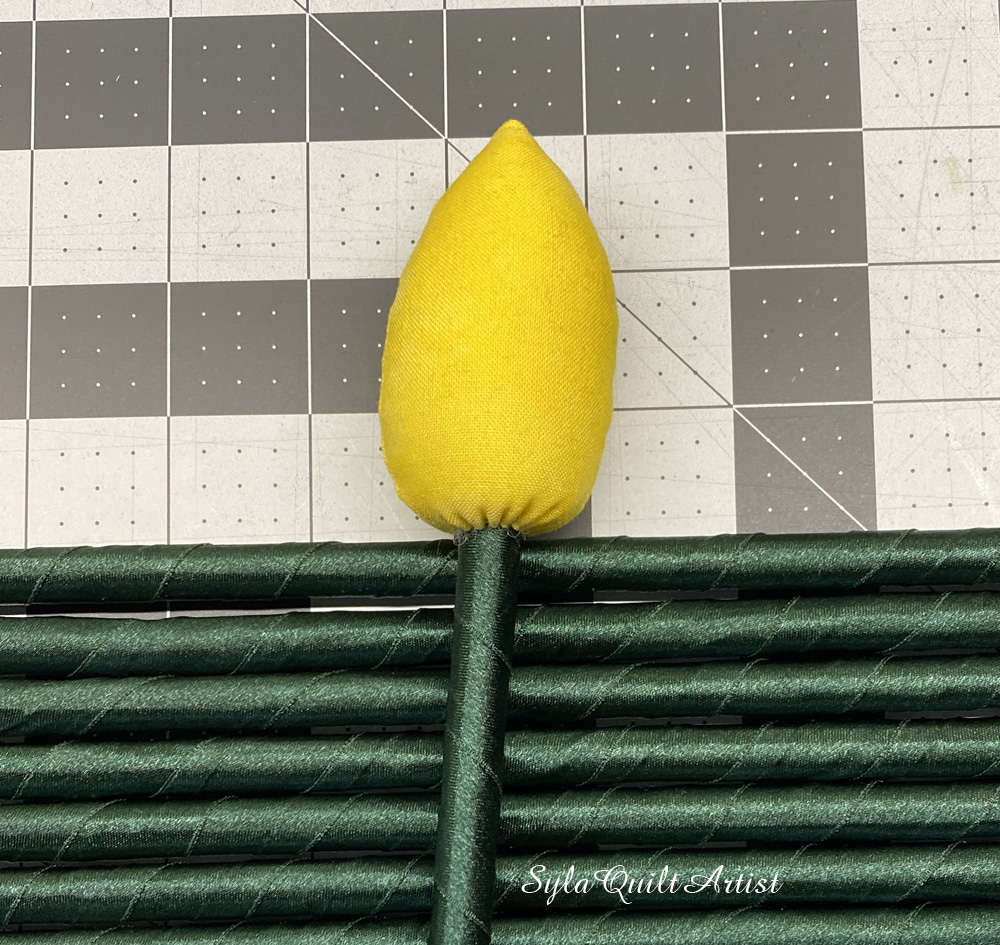
I wrapped the wooden sticks with a satin ribbon. So that the ribbon does not unfold, I melted the beginning and the end and glued them together. You have to be very careful because the ribbon is very hot for a while after it melts.
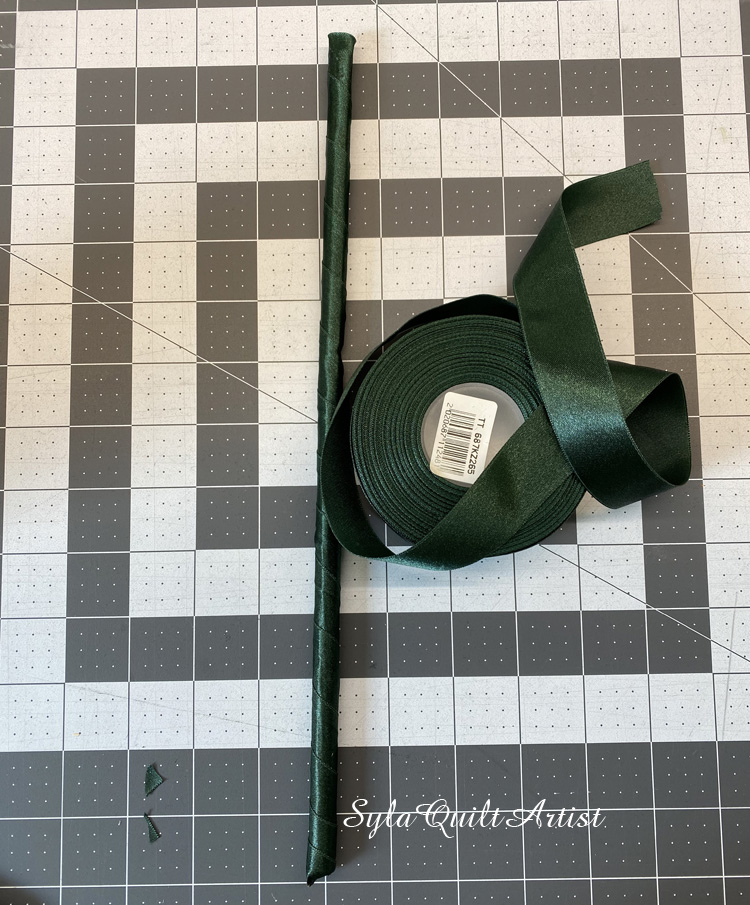
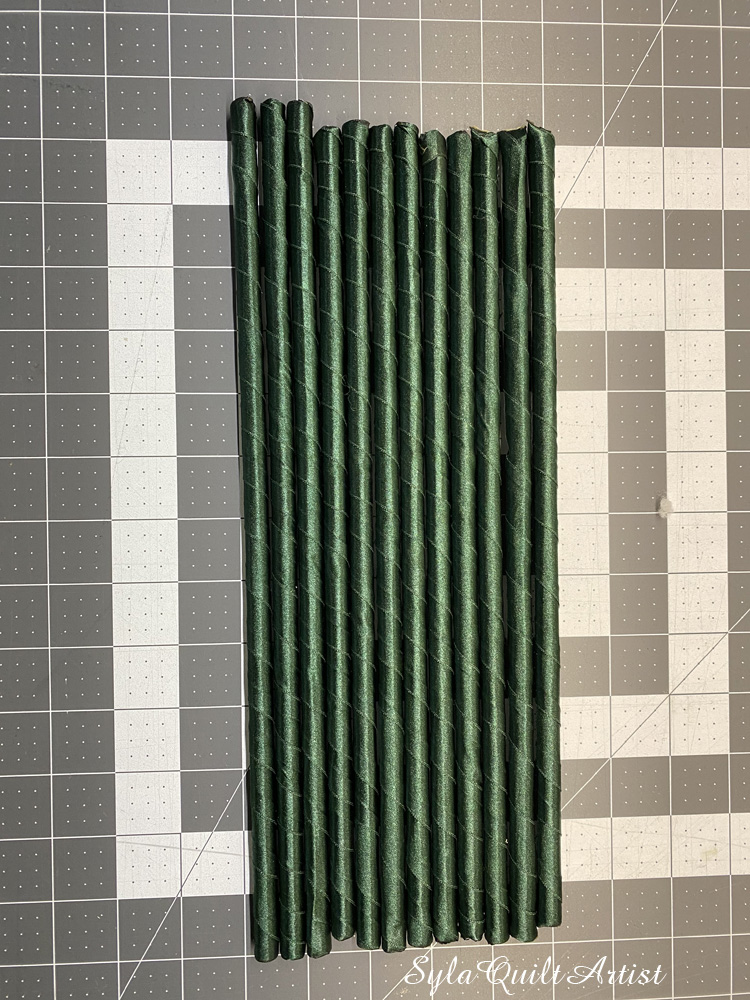
I pushed the finished stems one by one (deeply) into the tulip’s head. Then I took off the threads I had left behind and made a tight knot. I hid the thread with a needle in the tulip’s head.
Next, I sewed the leaves on and my tulip is ready.
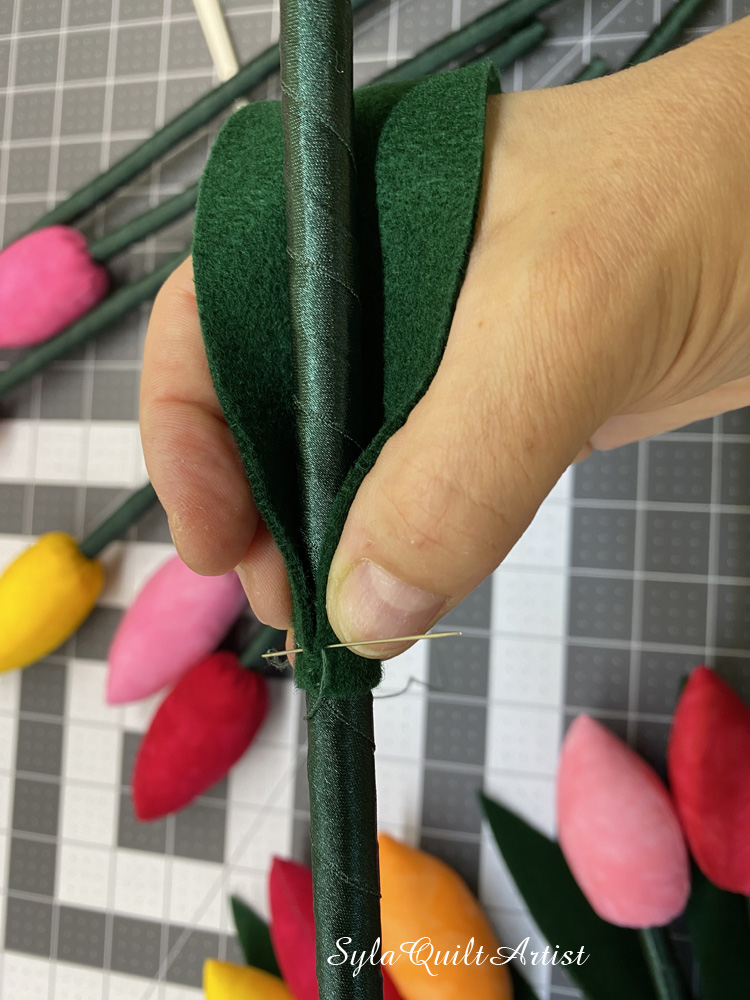
In the beginning I had planned to sew in one leaf only, but I thought two leaves would look better. I am delighted. Finally, I have my own tulips that won’t be eaten by voles. I can enjoy them all year round.
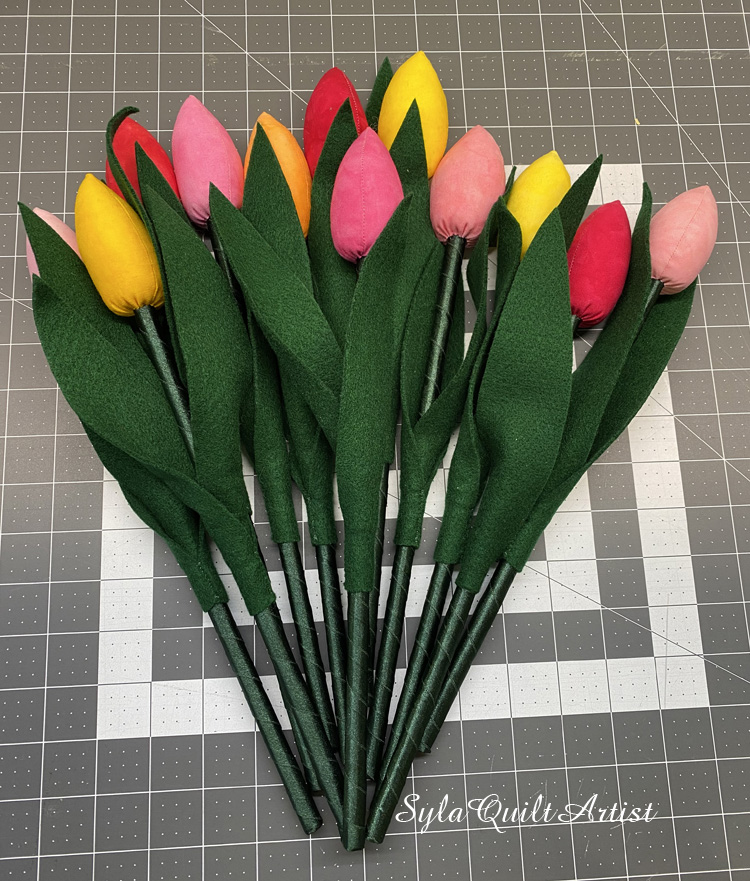
Have a nice spring.
Komentarze