
„Snail, snail show us your horns, I’ll give you some cheese for dumplings. If not cheese, then some cabbage. You’ll be fat with cabbage.” Does anyone else remember these rhymes from their childhood? I just remembered this one when I saw the topic of the fourth challenge from PROJECT QUILTTING by Kim Lapacek.
Lets get to work, this time we sew a traditional snail block.
I printed out the block pattern using the Electric Quilt 8 program. An excellent program.
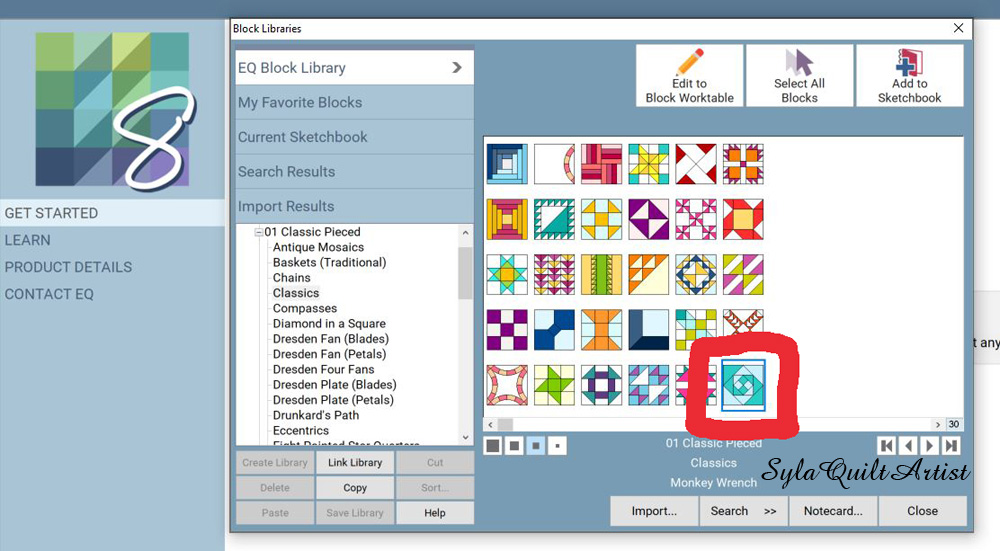
You can download it from the AQSblog.com, you can also find step by step sewing instructions there.
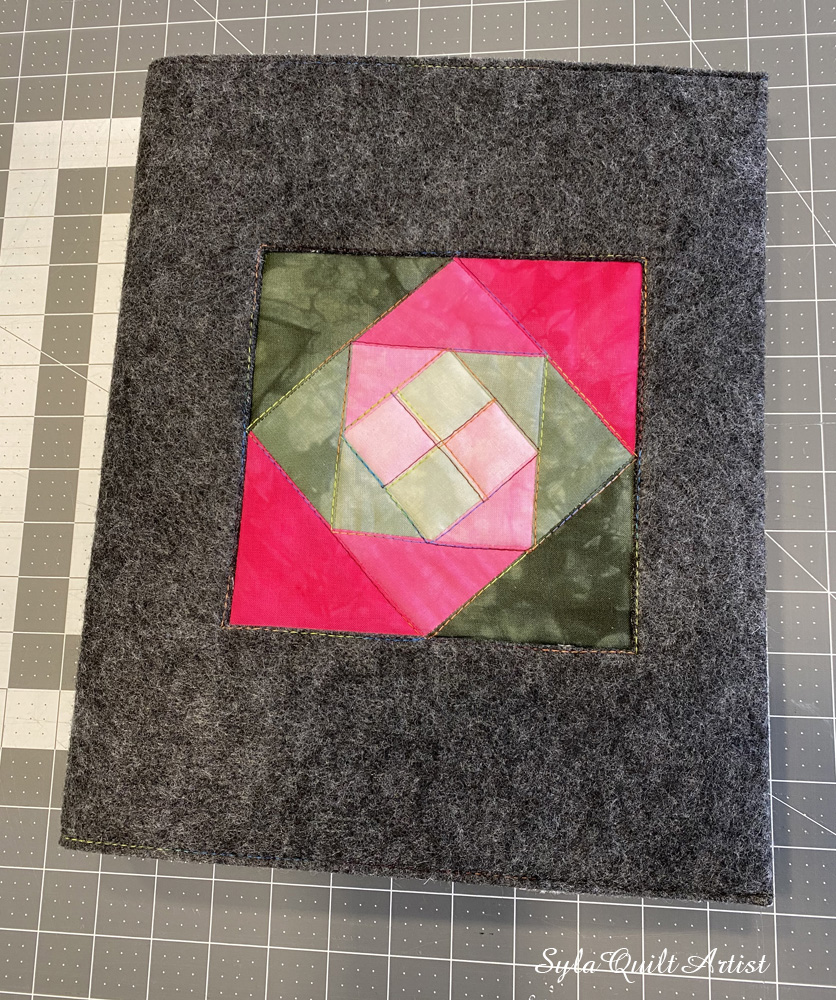
I decided to put my snail block on the cover of a binder.
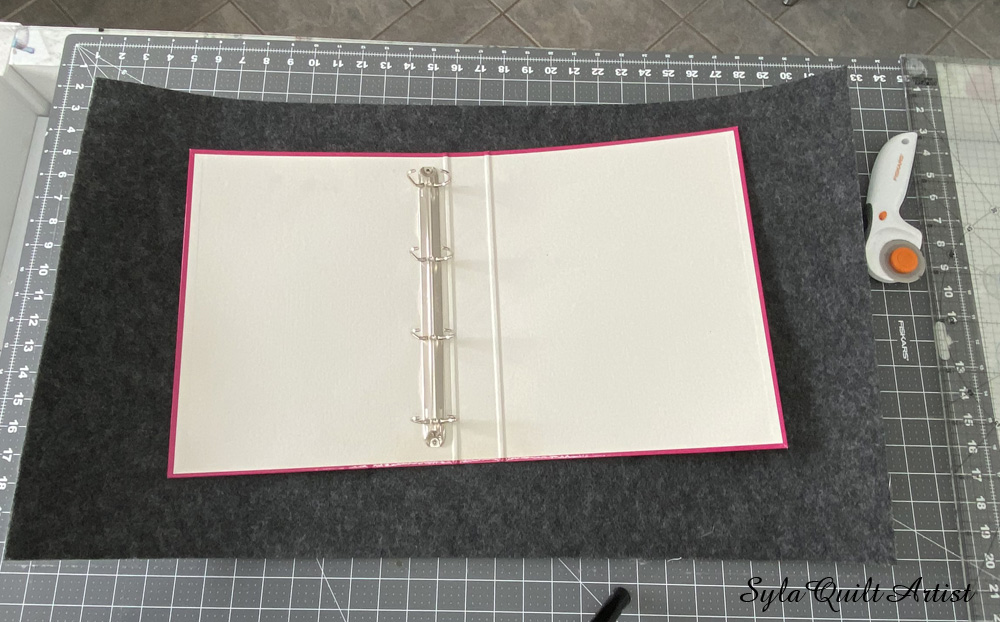
For the cover, I also wanted to use some of the leftover felt that I had after making a wall design display on a warddrobe door. Figuring out how to do this was not an easy task. I had to remember that my cover had to meet the requirements that Kim wrote about here.
First, a snail block had to be sewn.
For this task I chose two colors, pink and green. I love my hand dyed fabricks. Thanks to this each my project is so unique.
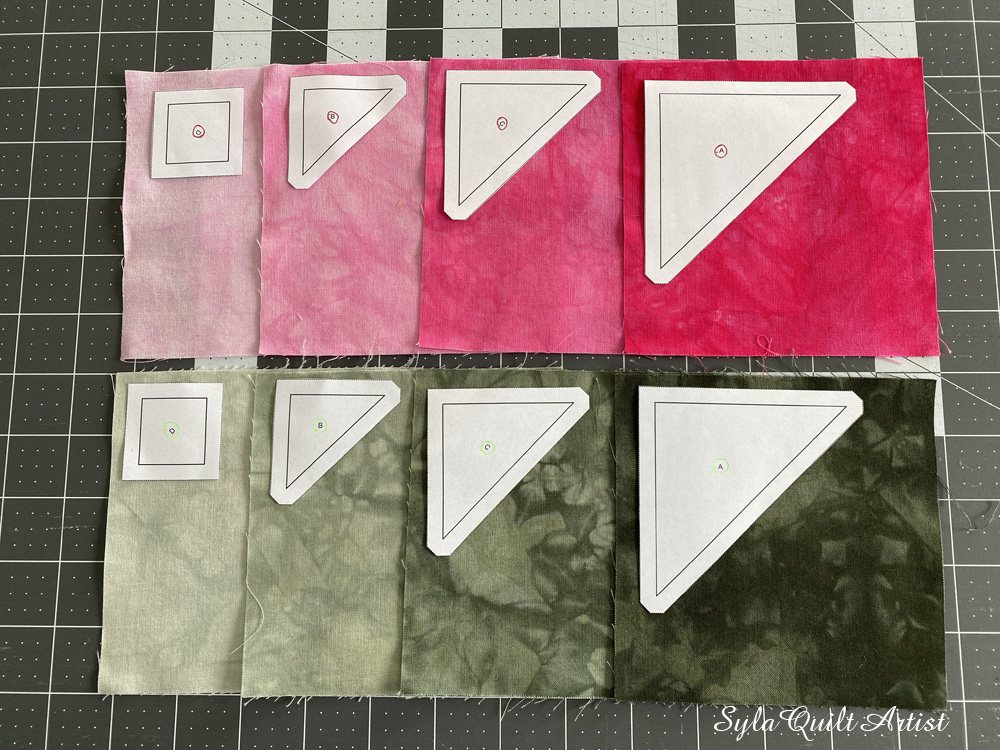
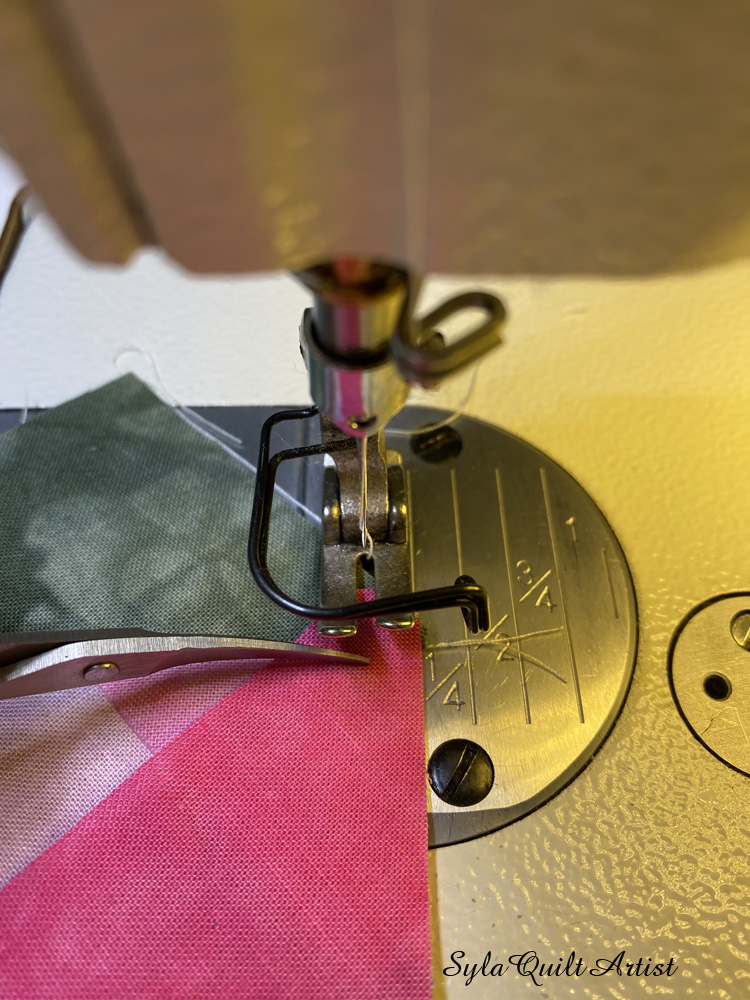
I cut out the individual parts one by one and started sewing them together.
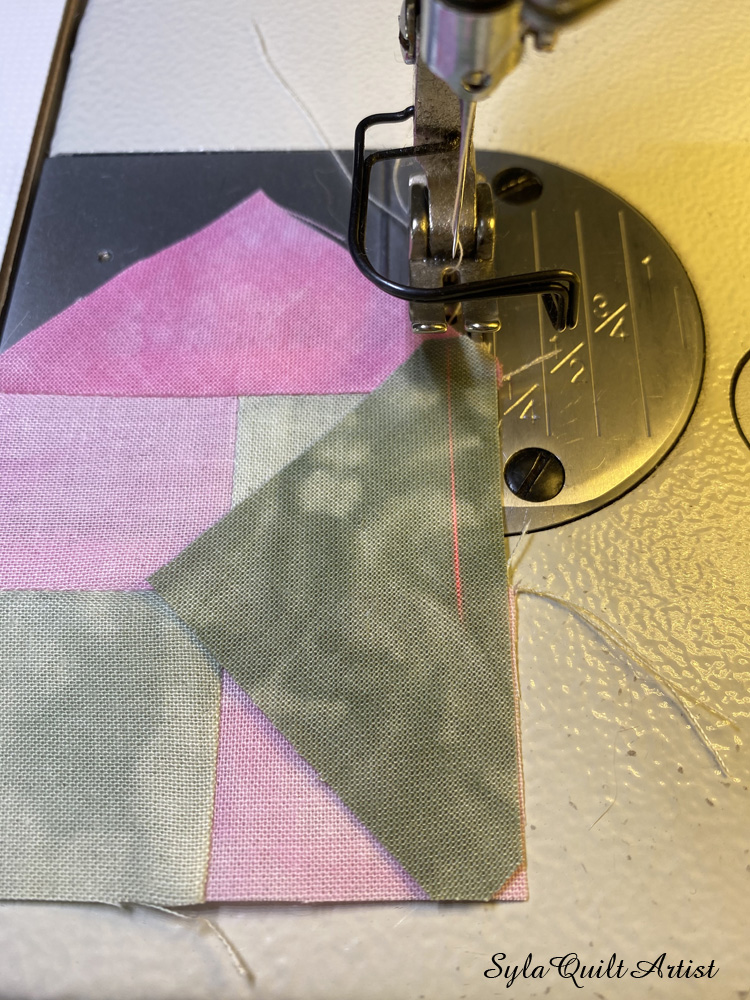
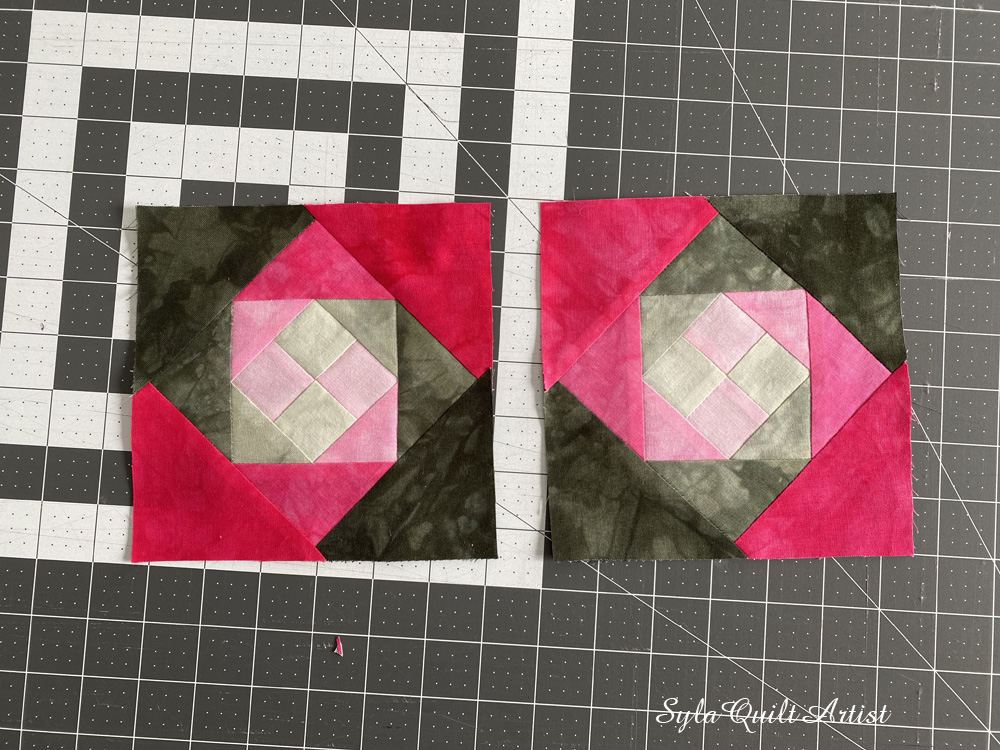
And this is how two snail blocks came to be. One for the front and the other for the back of the cover.
When the blocks were ready, I started working on the felt cover. I have to add that the felt had glue on one side.
When cutting the felt, I made sure to add a few inches for the front and rear wings. These wings will be folded and then sewn in with the cover to form the pockets where I will put the binder. I split the cover in half, and then, in the center of the front and back sides, drew a square about half an inch smaller than the finished snail block. Good thing there was paper on the back side, this made drawing much easier.
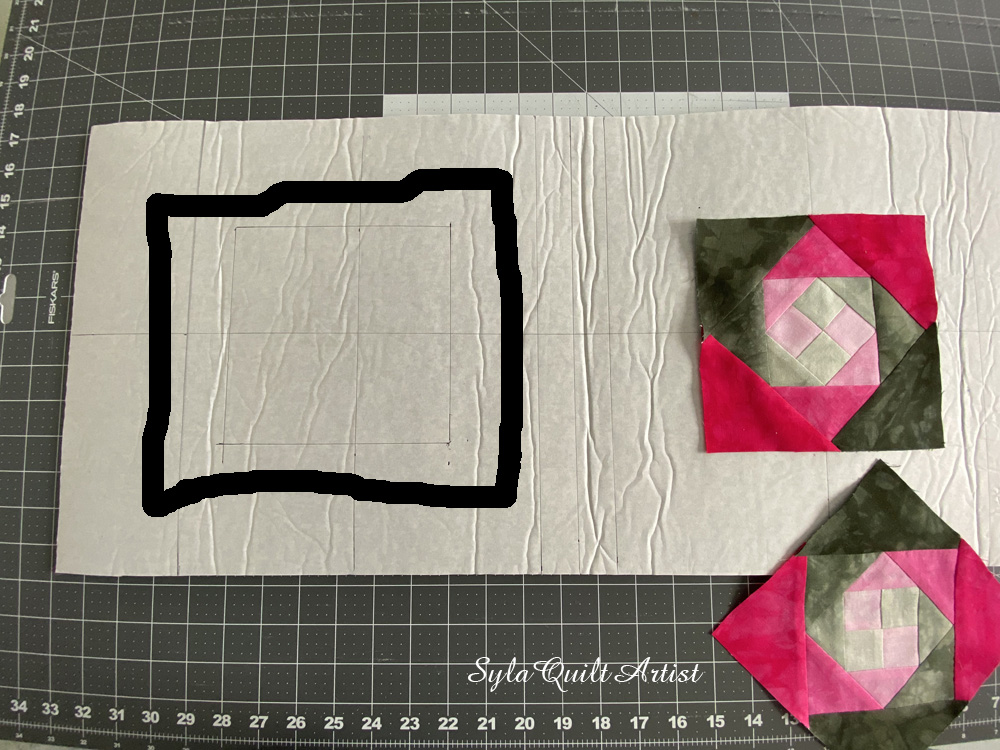
Next, I cut out the squares I just drew.
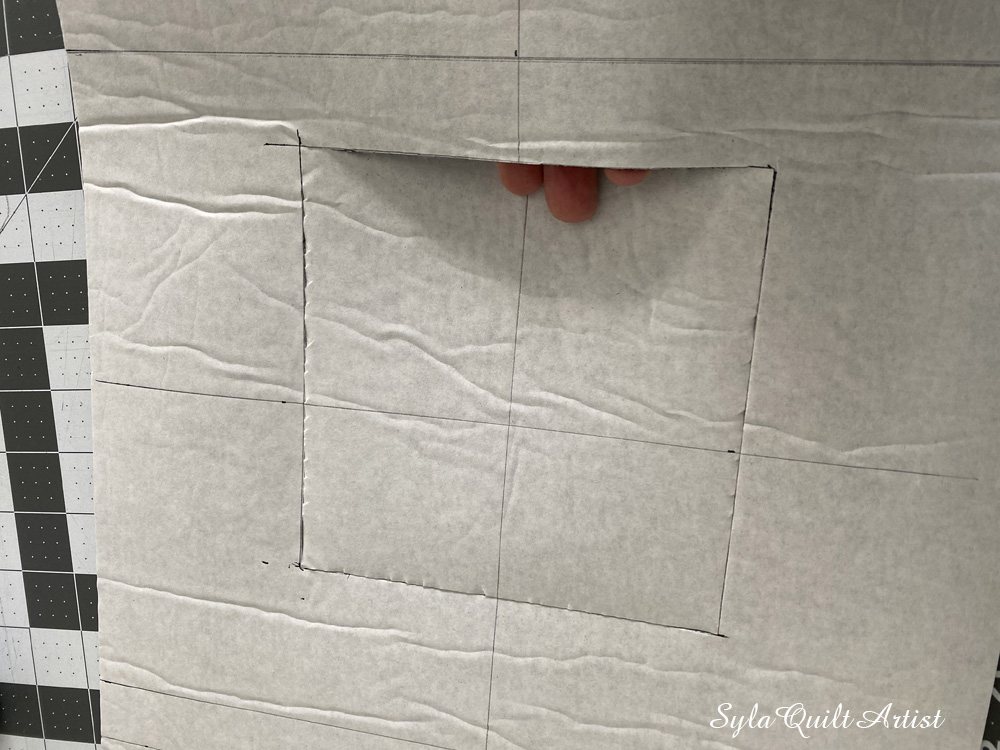
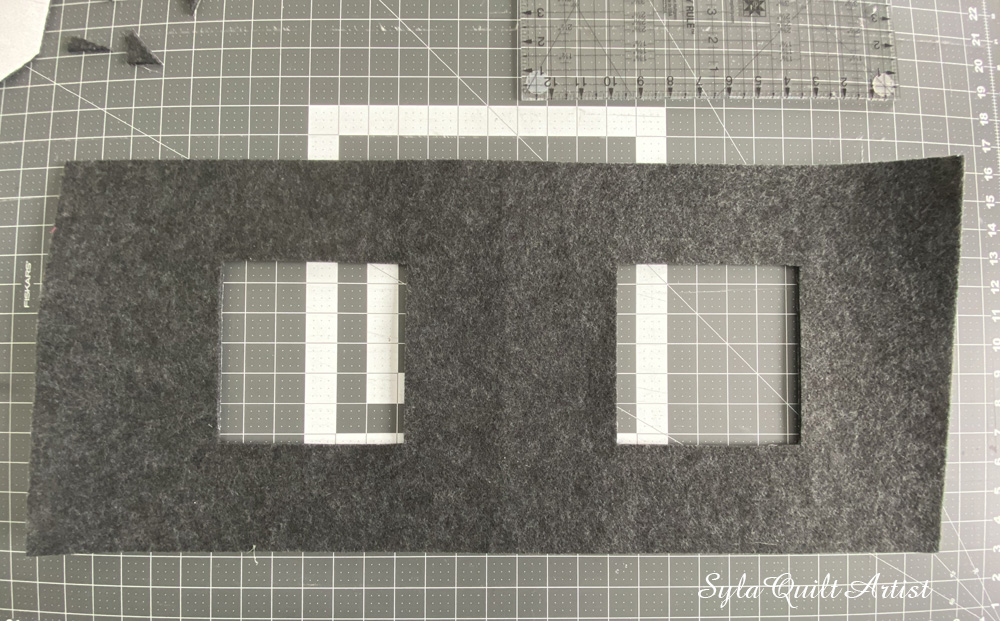
It fit perfectly.
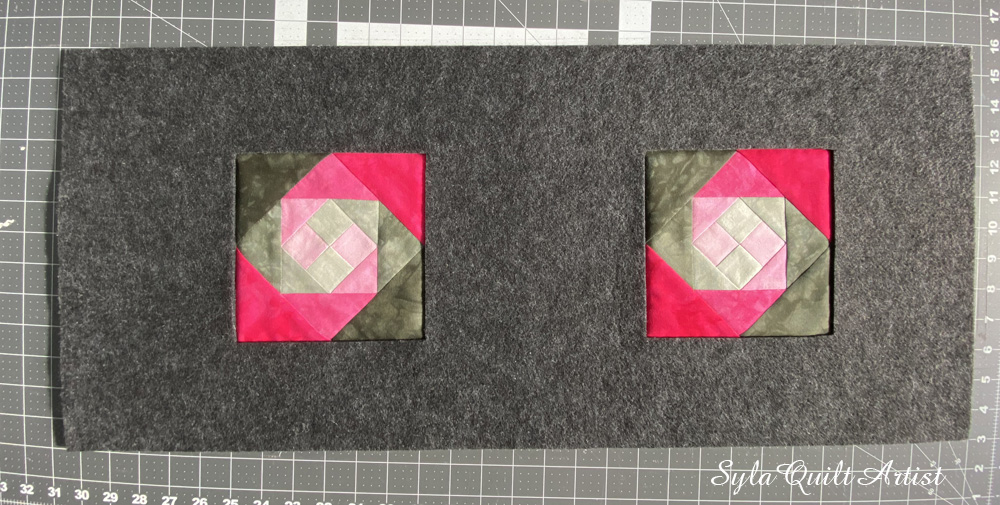
I turned the felt inside out, tore off the paper that was covering the glue, and placed my snail blocks neatly.
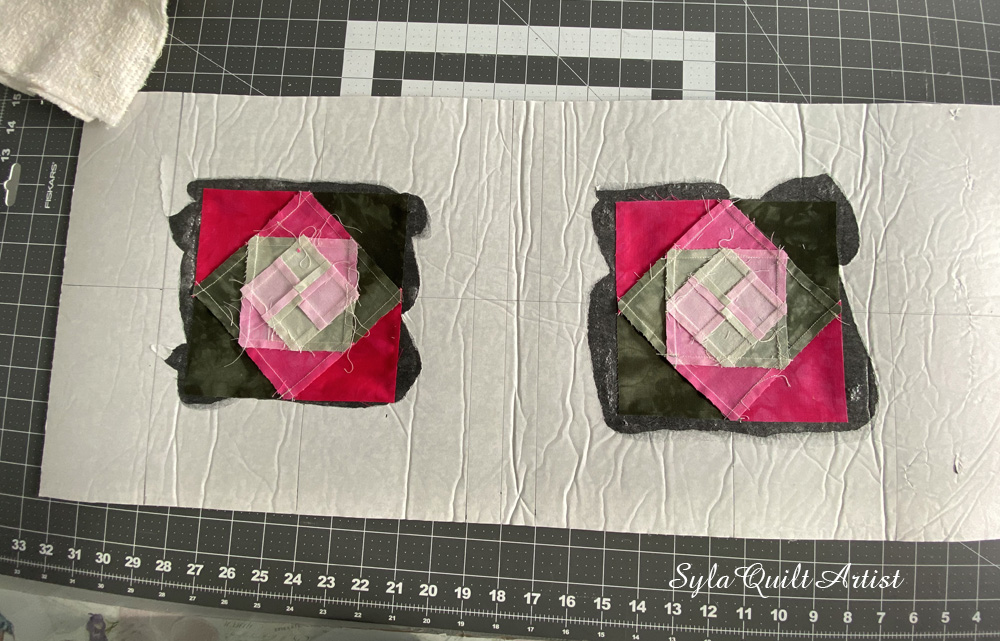
I added a cotton filling to the cut squares.
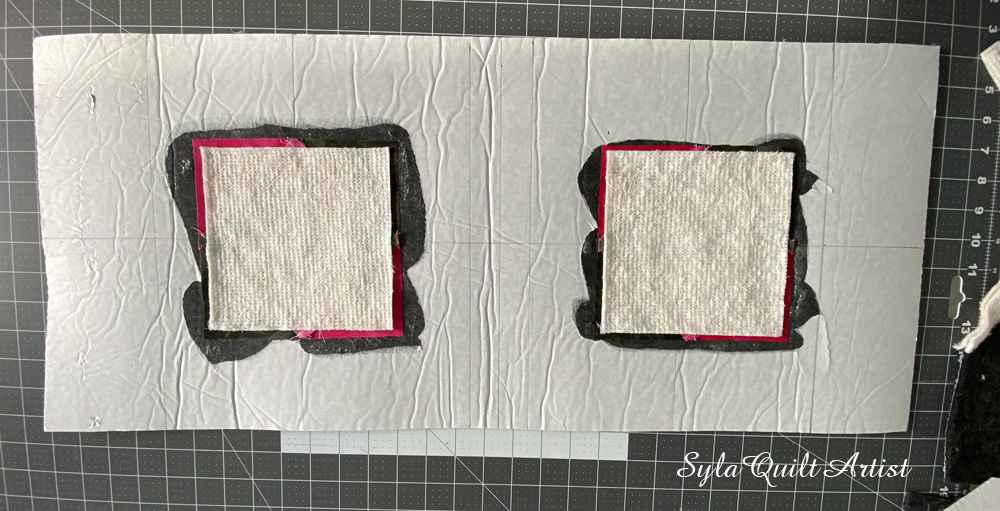
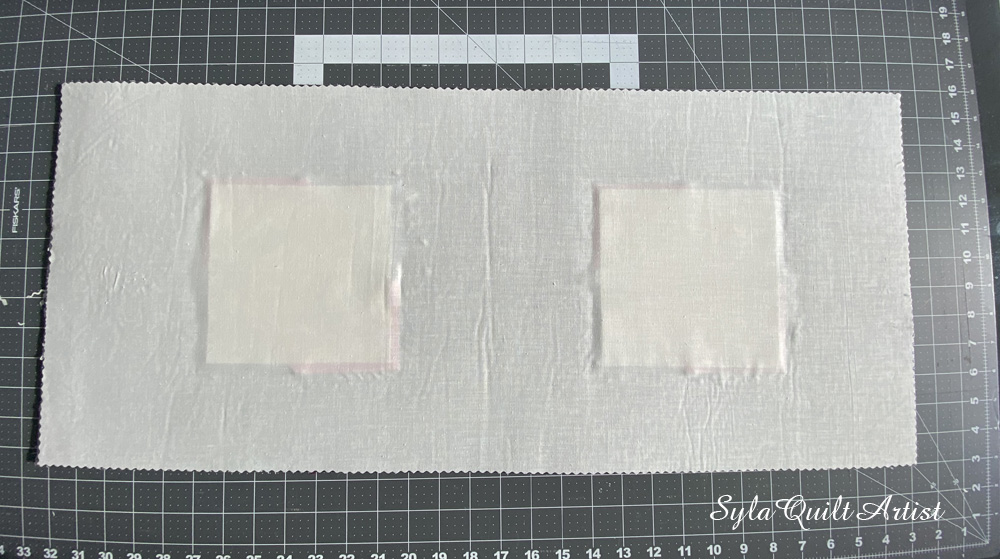
I ripped the paper off and glued a cotton fabric. I covered the glue and the filling with it.
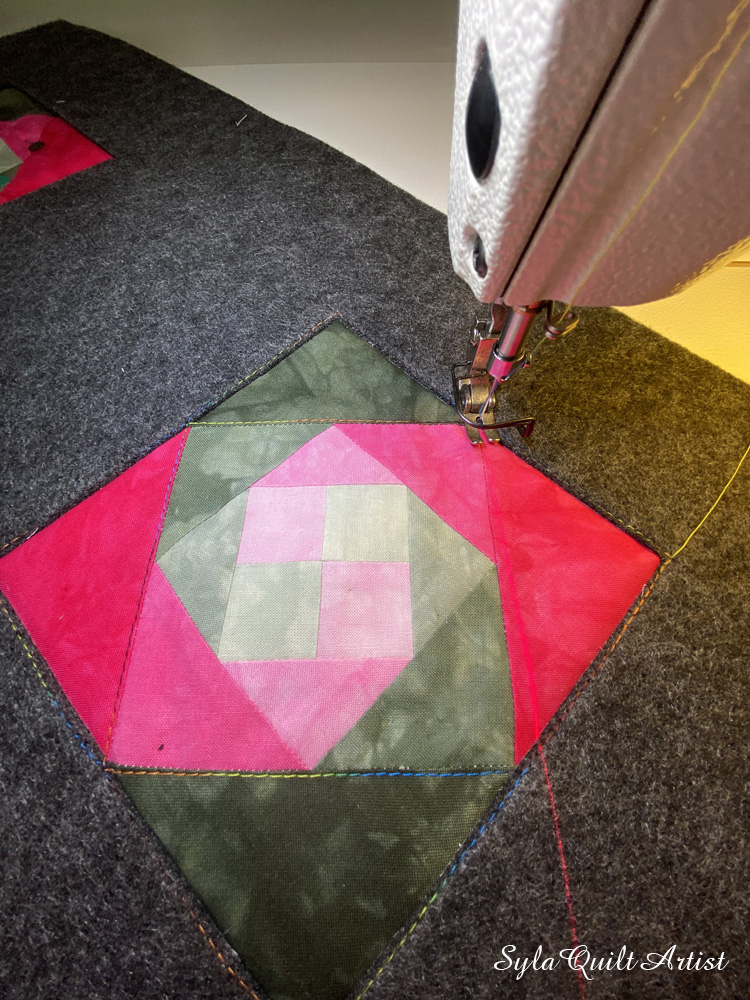
I quilted my two blocks with a cotton thread (multicolor).
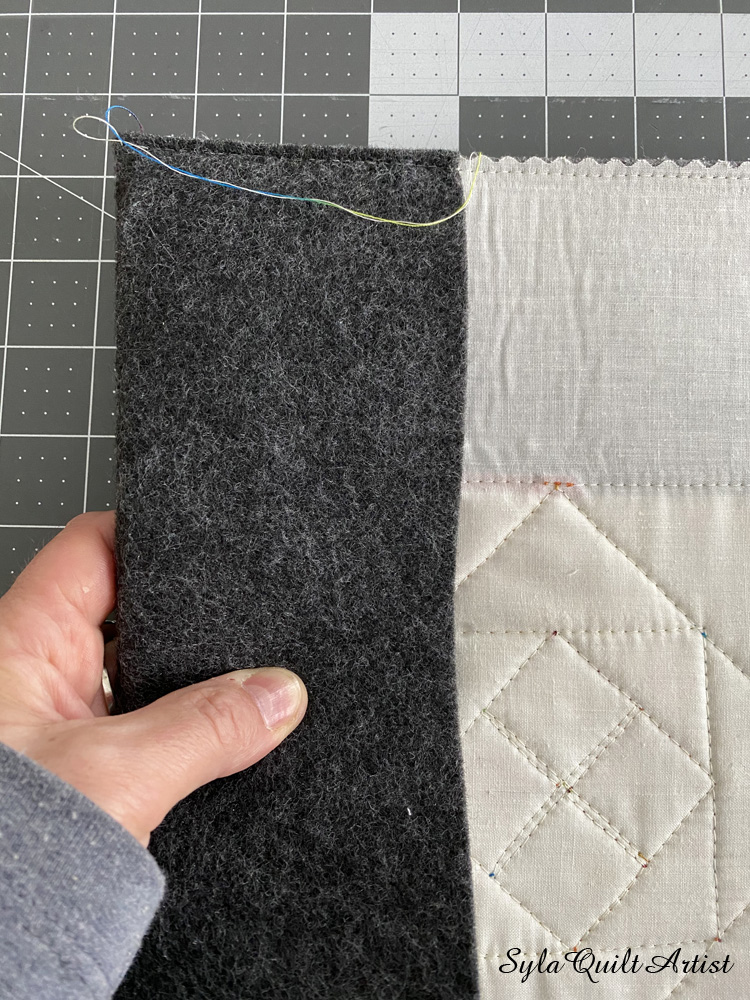
I marked, folded, and then stiched the wings to form the pocket on the cover of my binder.
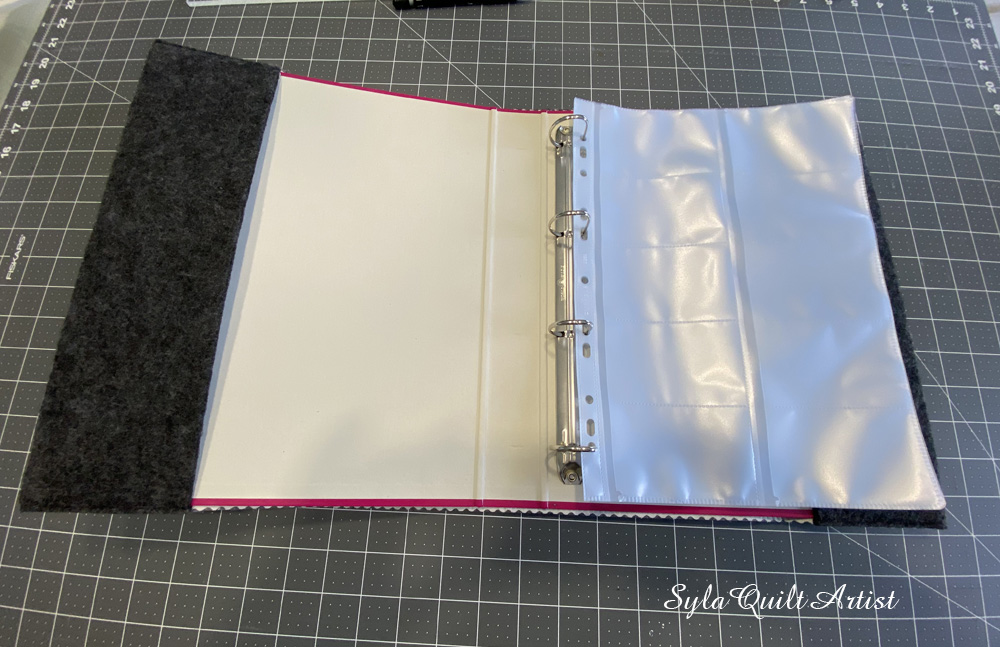
I put the binder in.
The snail block cover is ready.
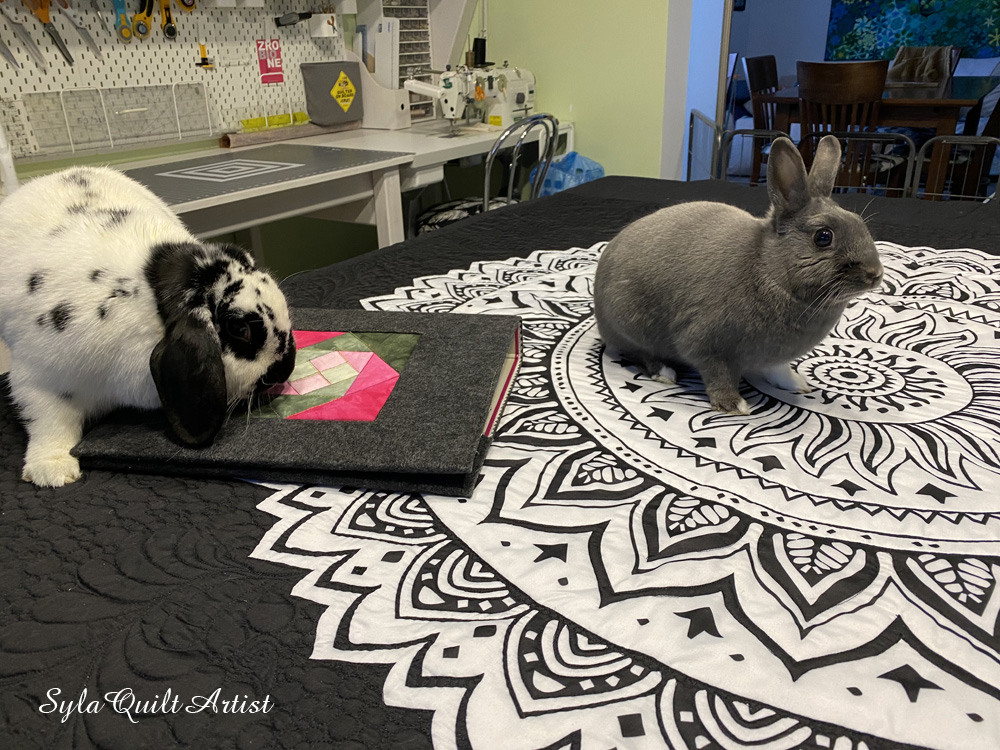
My rabbits like it.
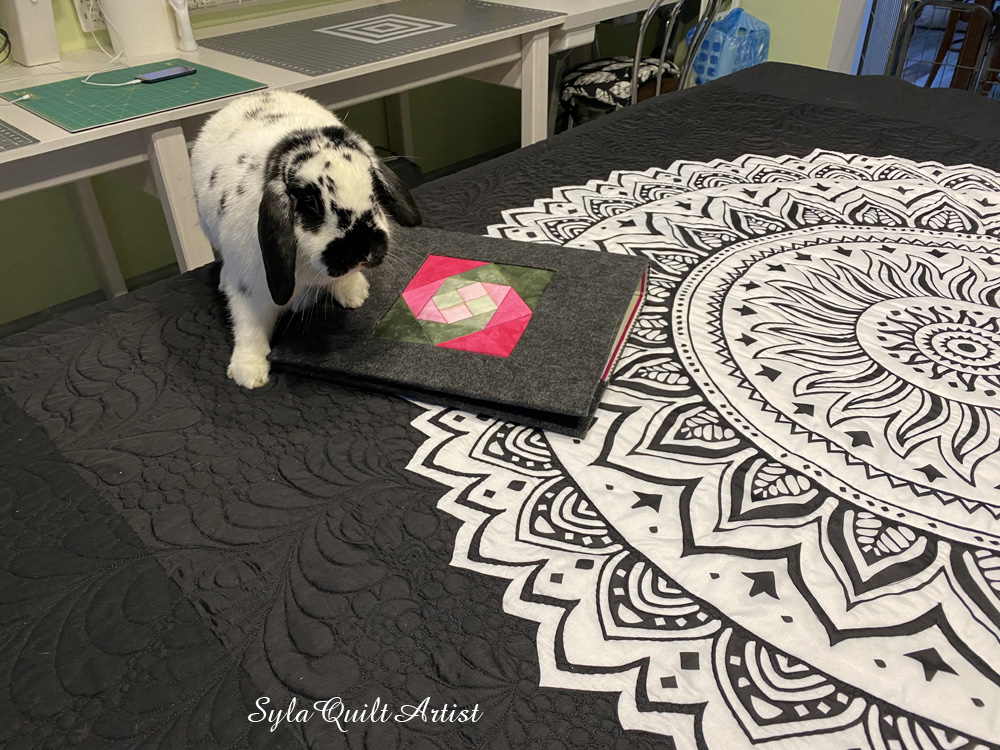
My „Little Patch” showed that this is now hers and she will not be giving it back.
Komentarze