
Two panels, which I will call “A,” were cut starting from the bottom left-hand corner and angled at 60 degrees to the right. These I cut into 1.5” strips. Working from left to right, I labeled the strips A1, A2, A3, and so on.
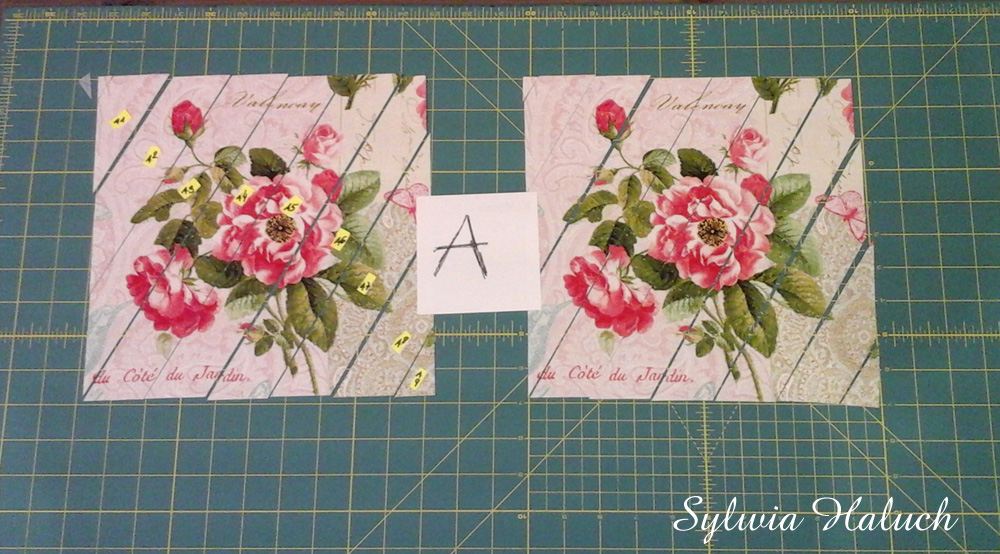
We have two other panels, which I will call “B,” that need to be cut at 60 ˚ in a similar way with one difference. In the “B” panels the starting point is ¾” away from the bottom left-hand corner. The first piece that is cut is ¾” wide. Throw it away. Continue with the same pattern as we did on the “A” panels and slice the rest of the “B” panels into 1.5” strips.
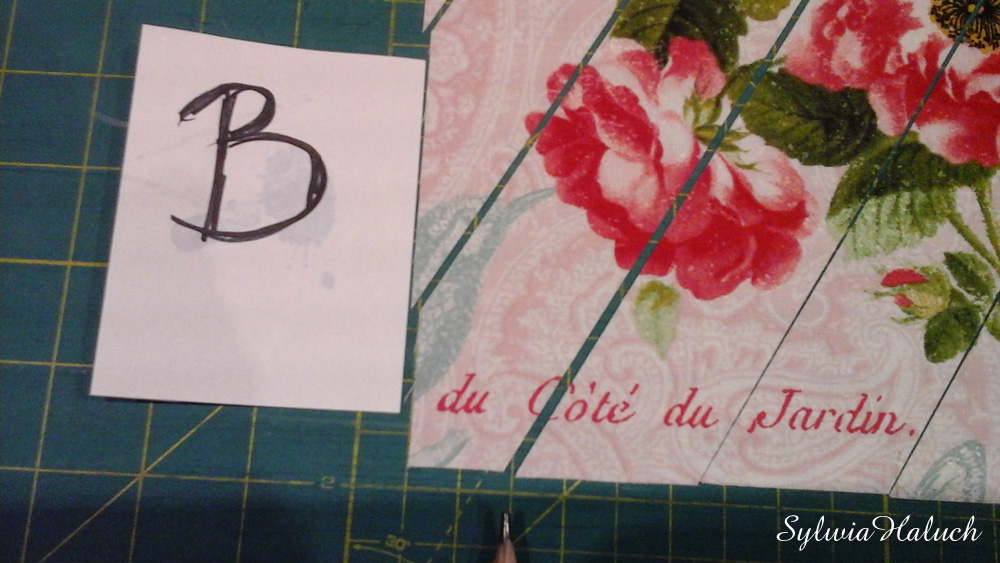
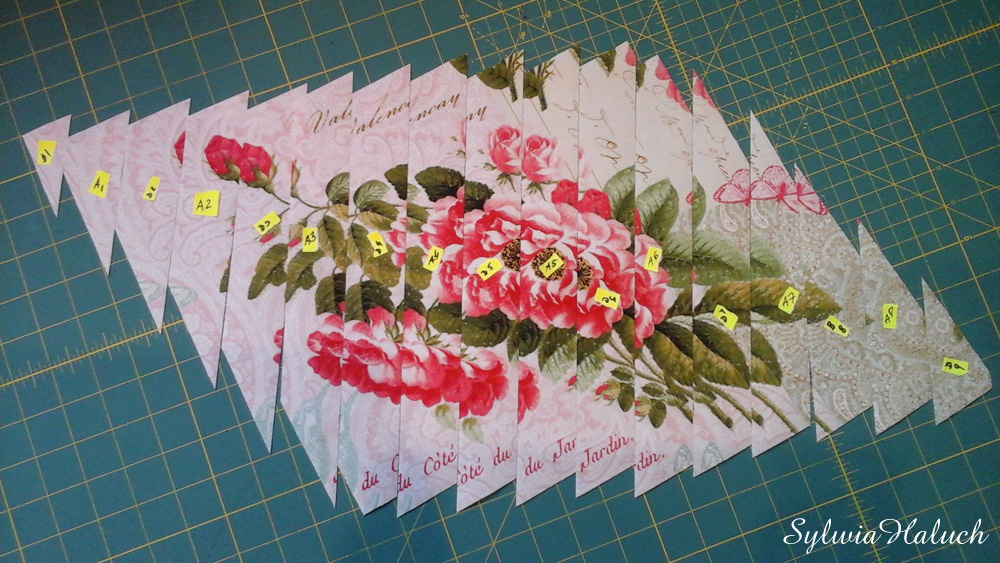
Working from left to right, the cut pieces from panel “A” are labeled A1, A2, A3, etc.
Working from the left to right, the cut pieces from panel “B” are labeled B1, B2, B3, etc.
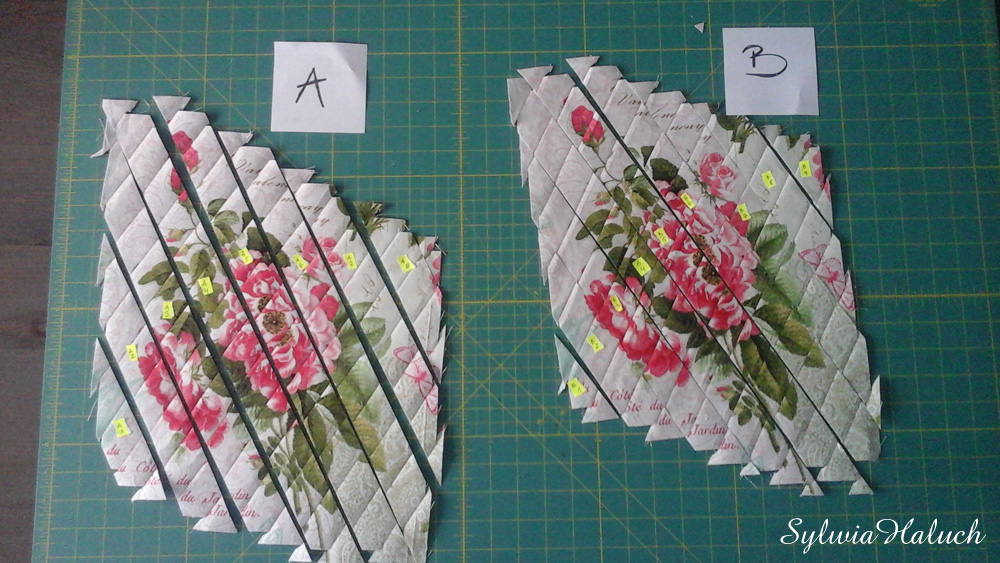
We can arrange the panels together following the pattern of A1, B1, A2, B2, A3, B3, etc. I cut the strips having the panels upside down so my pattern was slightly different, B1, A1, B2, A2. This didn’t change the design.
This is how it looks arranged together.
And here is the back.
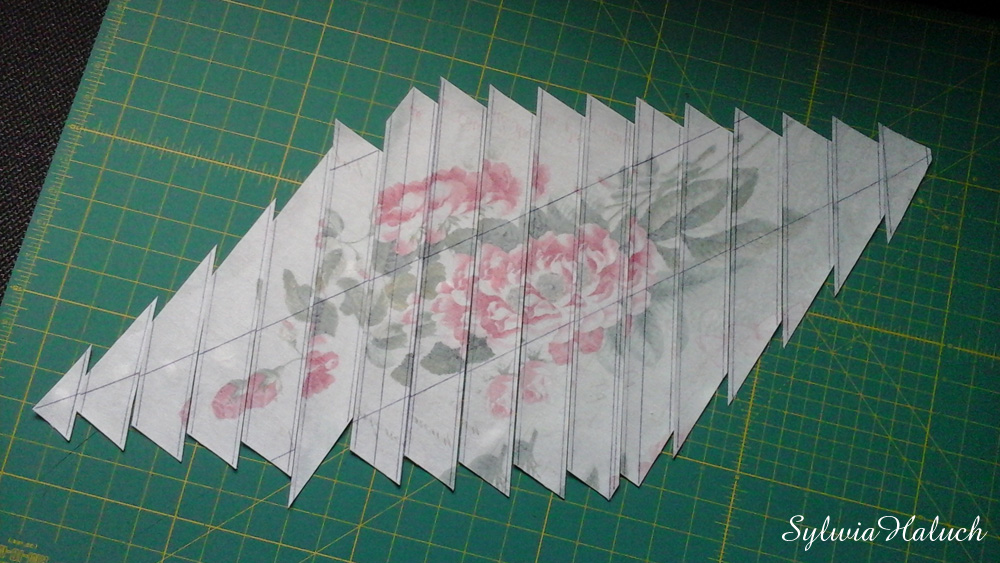
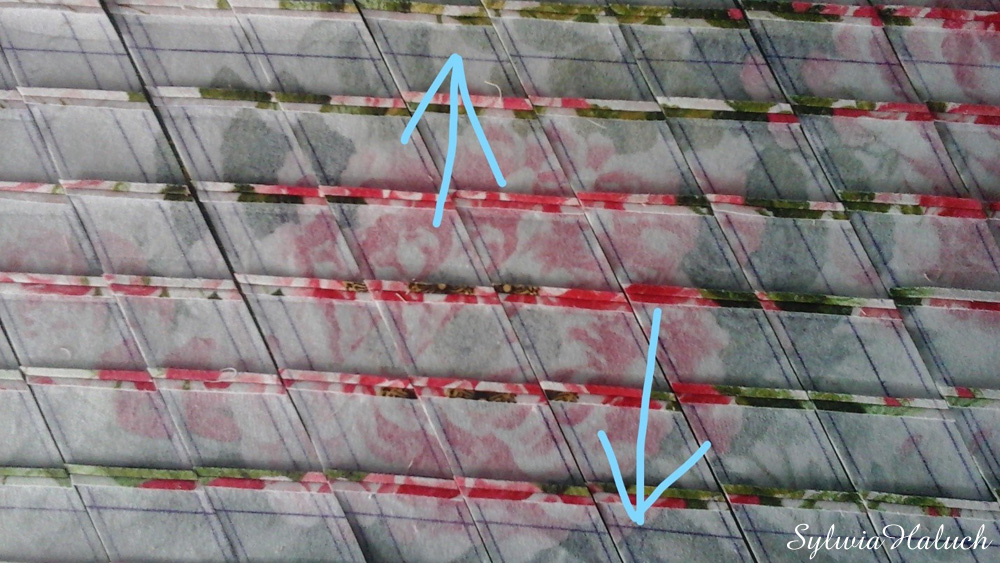
Here you can see what the guidelines were for. The strips are sown together according to the lines.
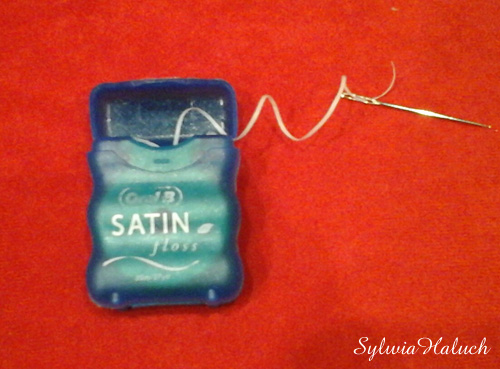
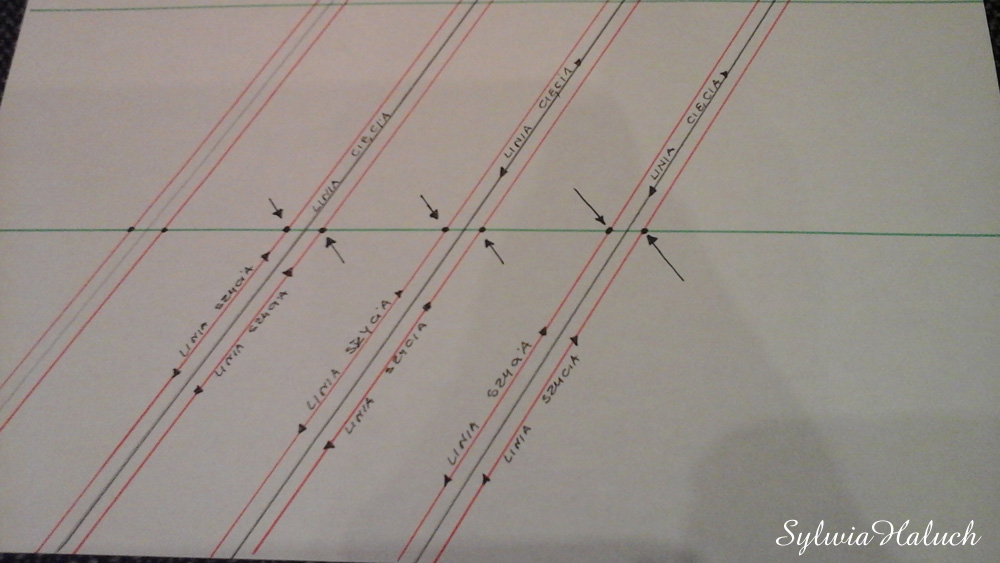
I drew this method out on a sheet of paper to make it clearer. Through the marked points we drag the needle with dental floss, connecting the strips. The black line in the middle is the cutting line, the red is the sewing line.
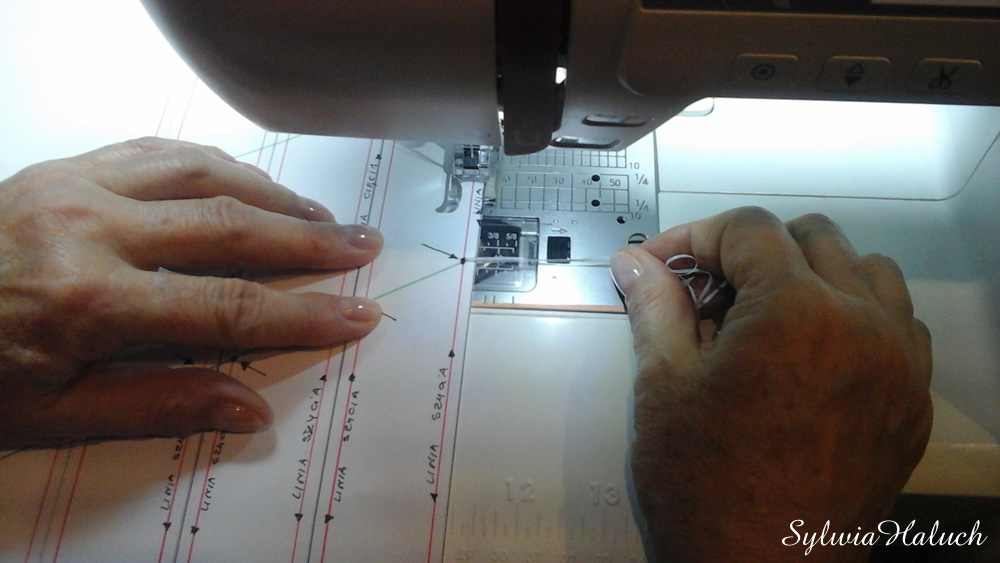
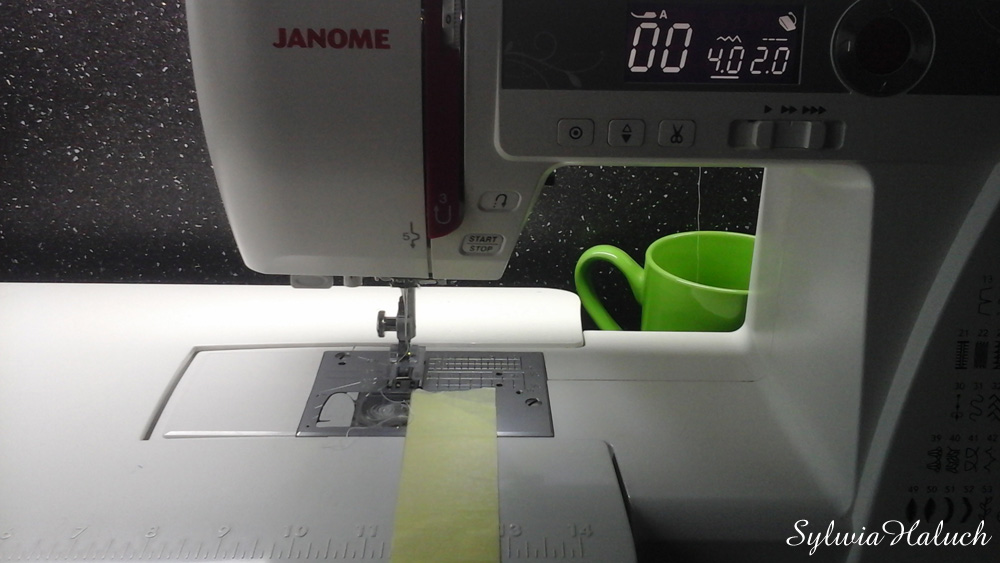
The strips are sewn together on the machine using the dental floss, the floss won’t damage the needle.
After the strips are sewn, the back of panel A and panel B should look like this. Press the seams open.
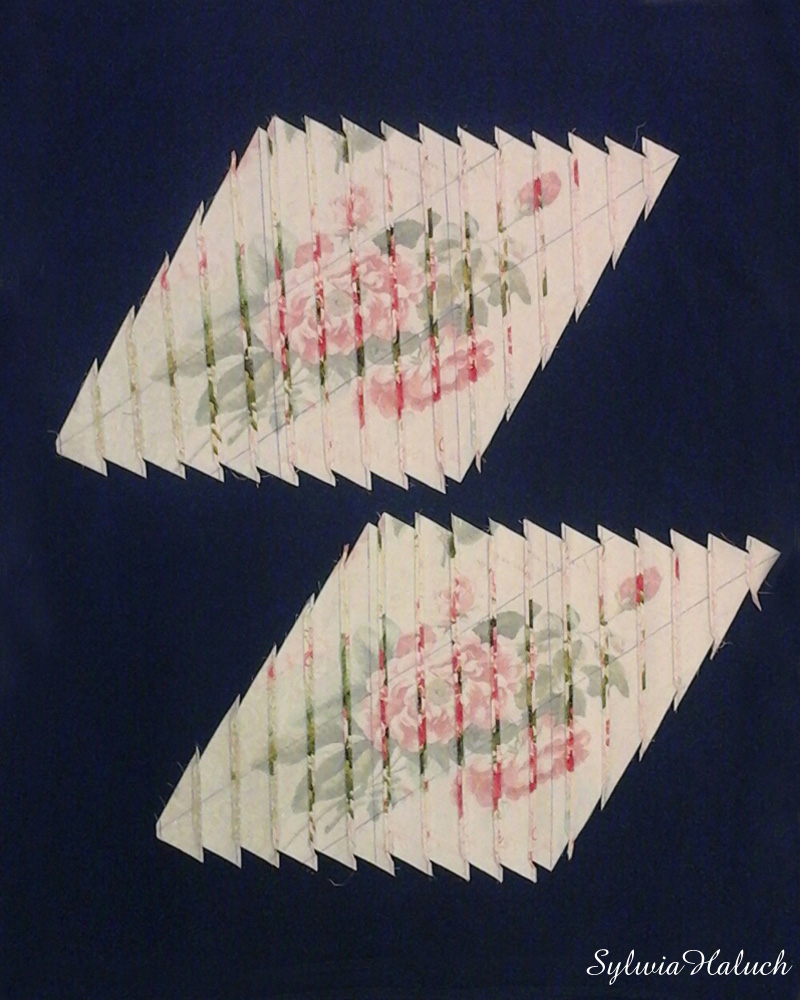
So, I got panel “A” and panel “B”
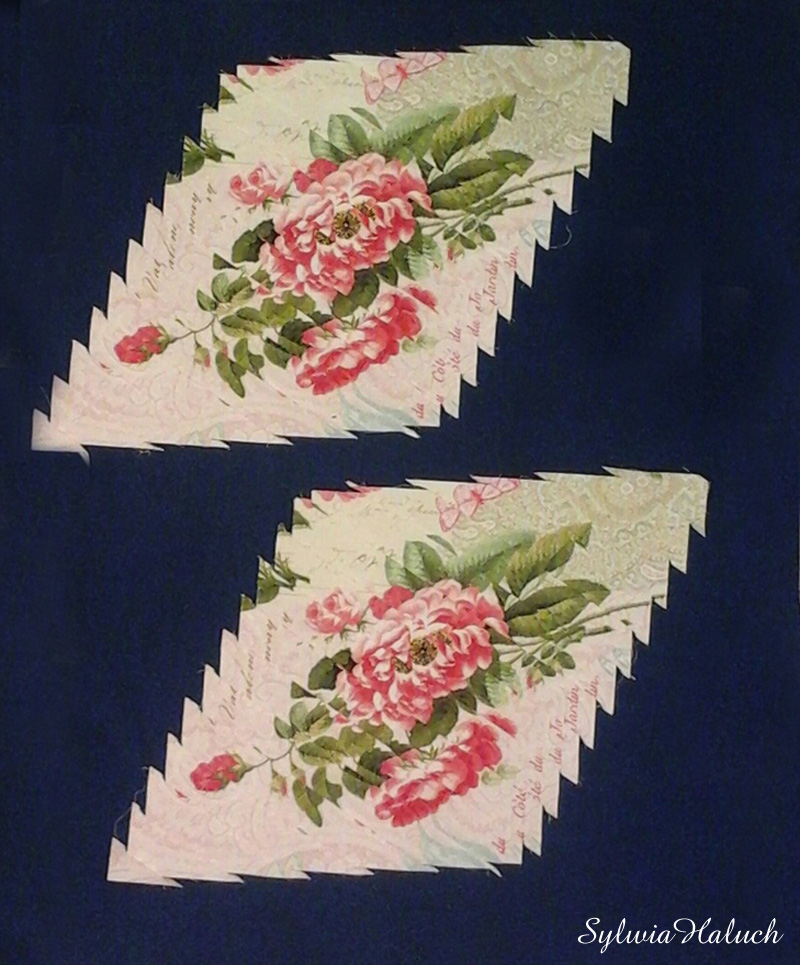
Lets start working with the second set of panels “A” and “B”.
The second panel A is cut into 1,5” strips at 60 ˚angle using the same method as before with panel A that means we start cutting process from the left lower corner. We label them A1, A2, A3 etc.
The second panel panel B is cut into 1,5” strips at 60 ˚ angle using the same method as before with panel B that means the starting point is 3/4 “away from the left lower corner. We label them B1, B2, B3 etc.
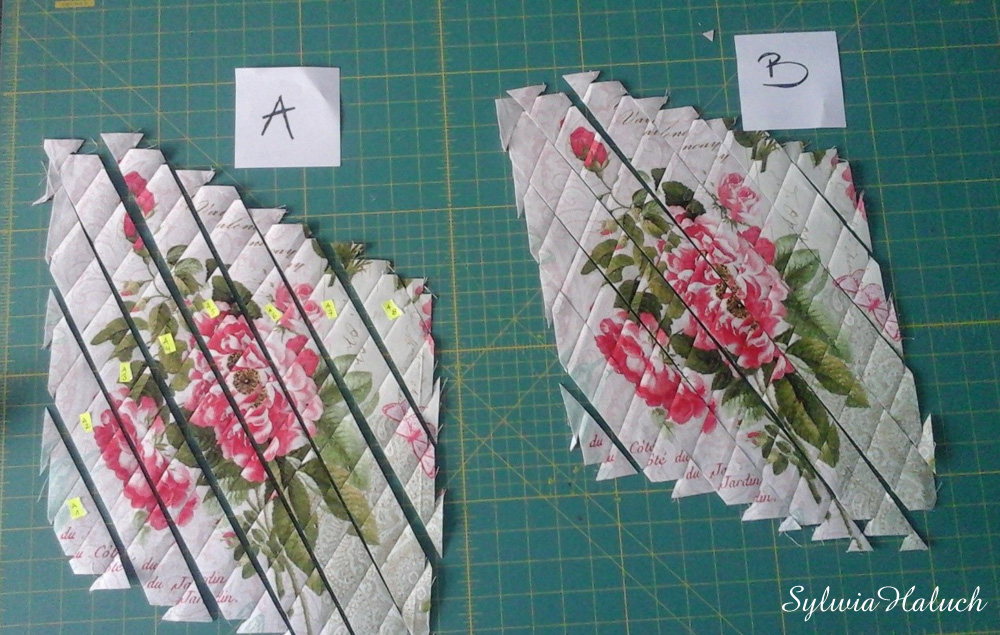
We arranged strips from left to right A1, B1, A2, B2 etc. and sew them together using the same trick I shared with you on previous post, using dental floss. Here you can see the guide lines being helpful again.
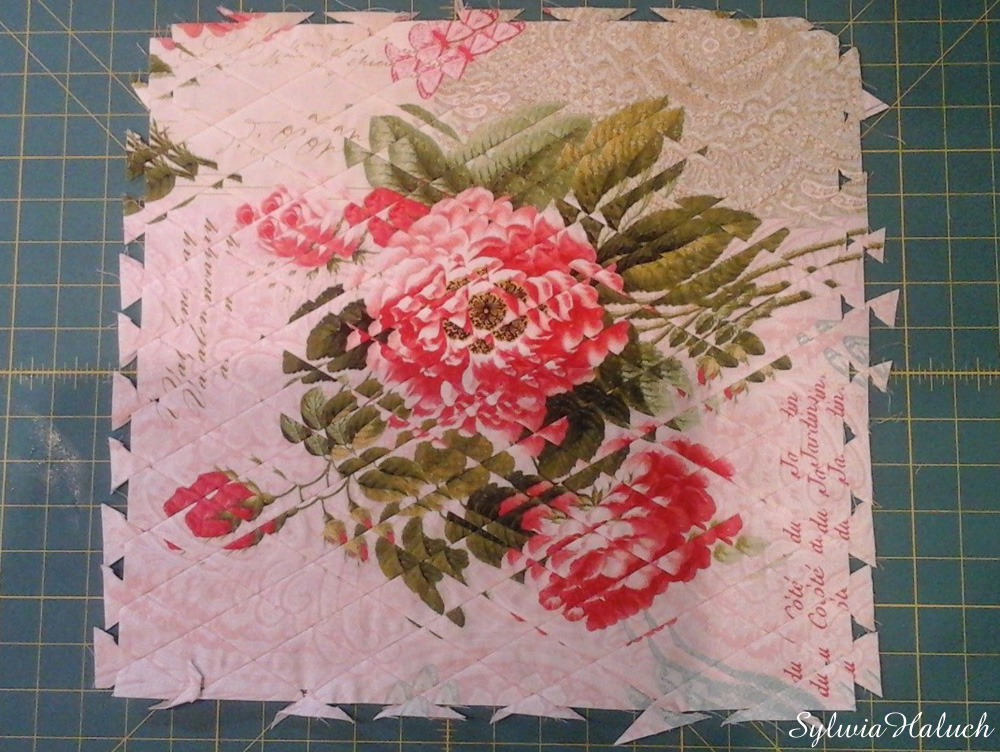
The face of the panel.
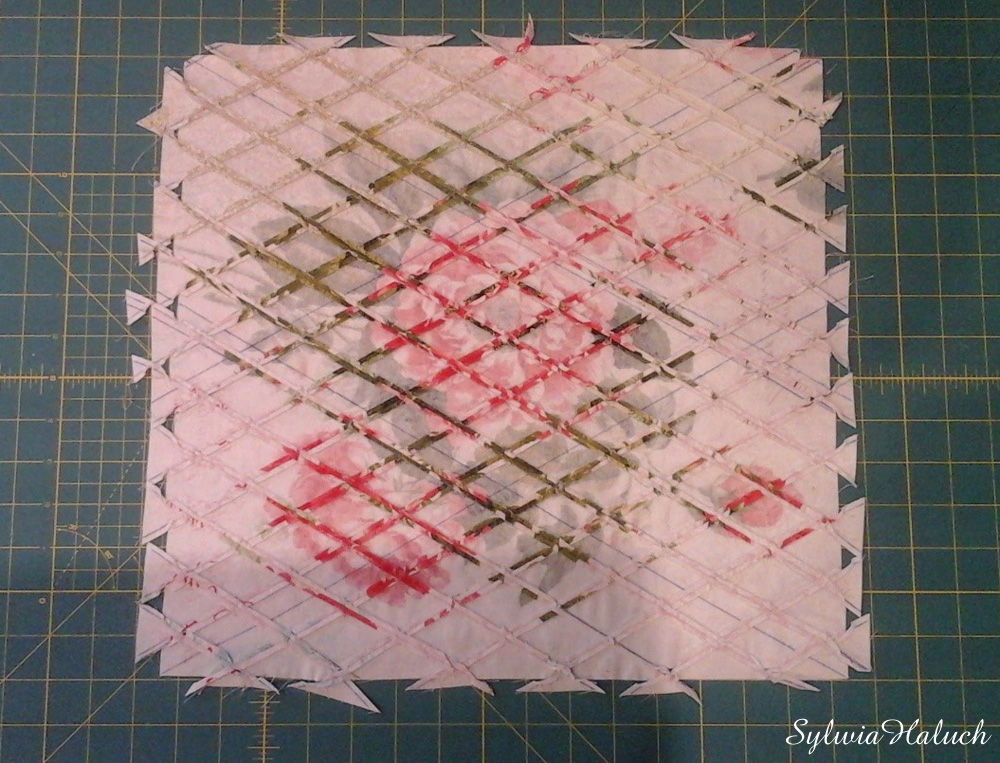
The back of the panel. Press the seams open.
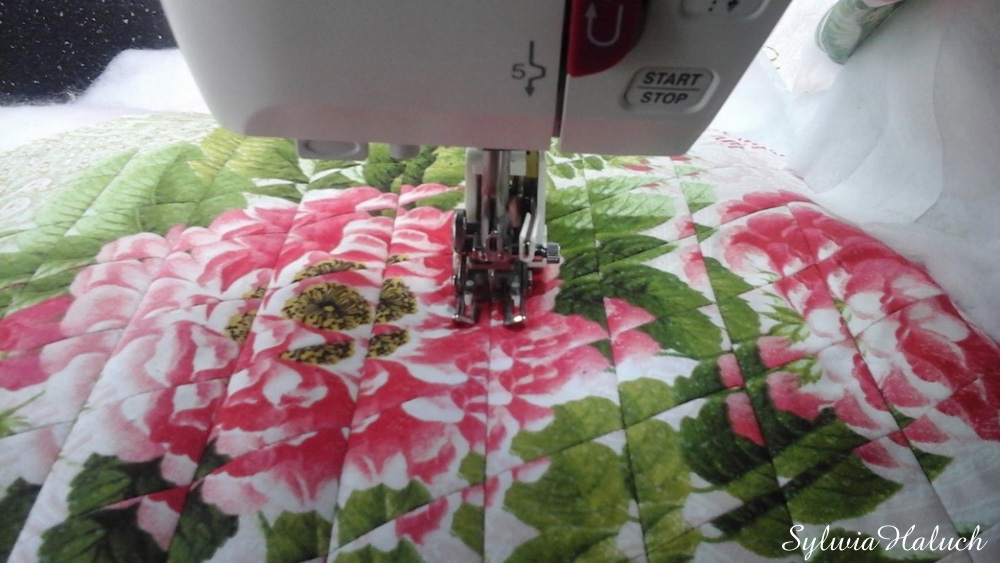
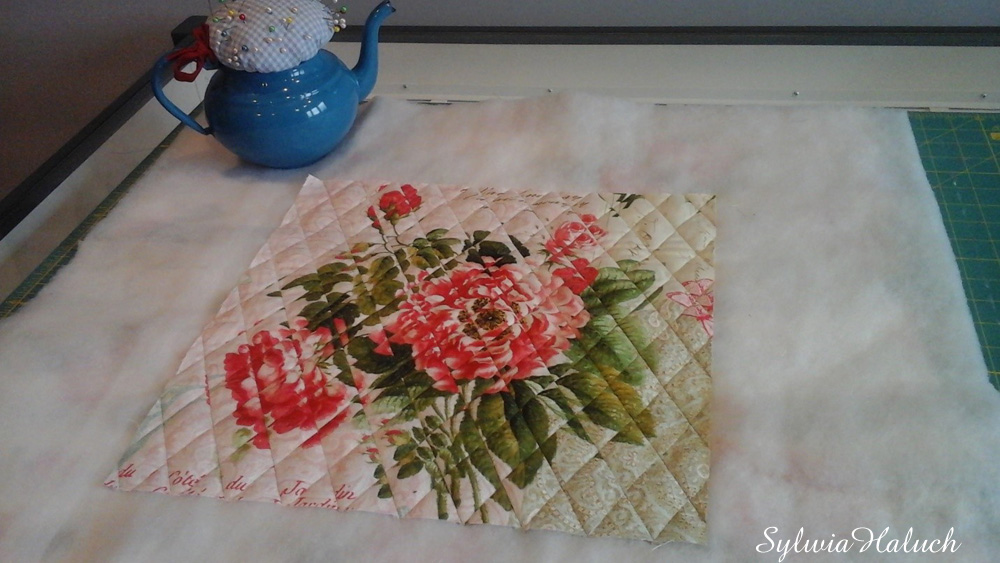
I cut the sewn panel and stich in a ditch with polyester thread emphasizing nice diamond shapes.
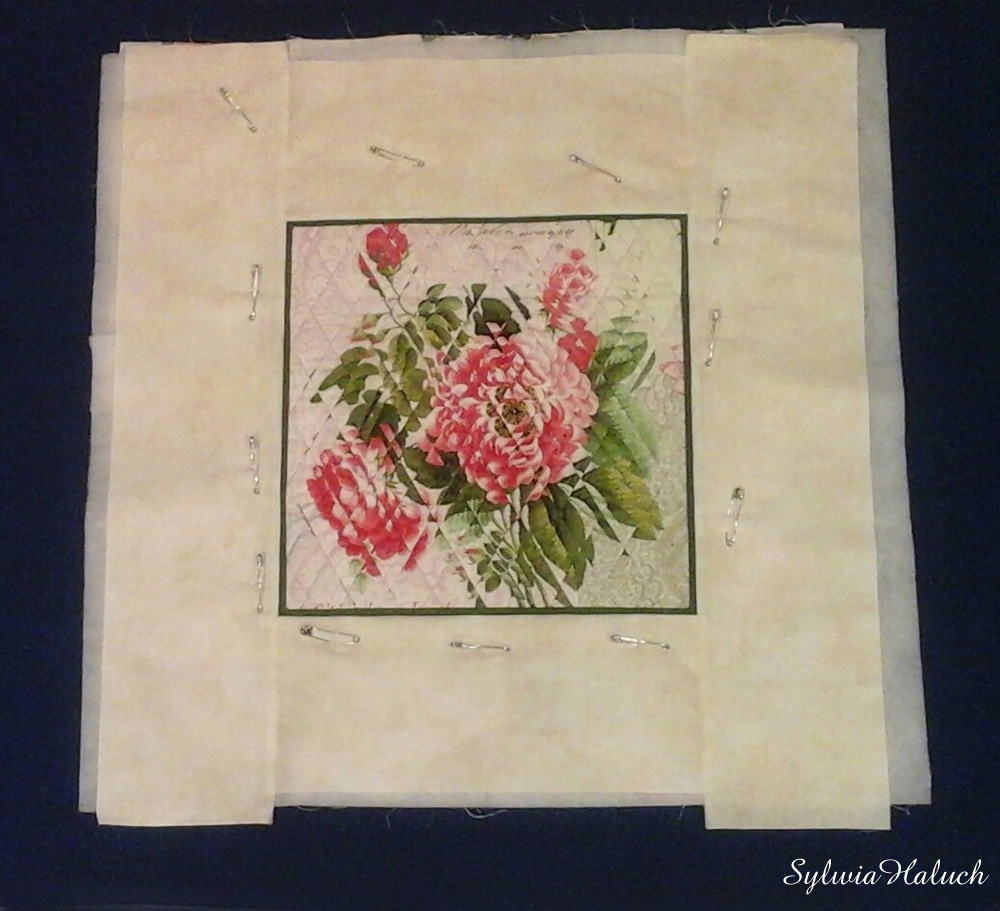
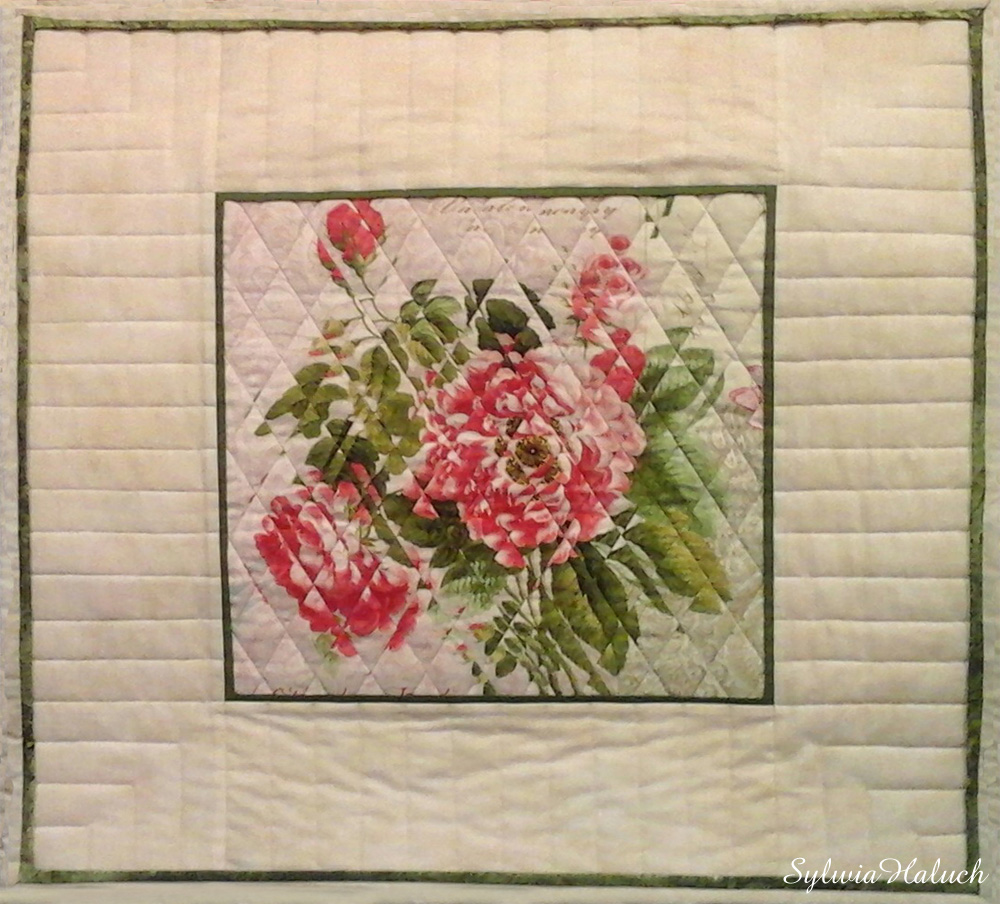
Here is my finished “Rosa Romantica.” She measures 24”x24” (60cmx60cm) in size. I described the harder stage of working on this project. The few next steps do not need such a detailed description. I believe these will be creative decisions made by whoever is sewing on how to finish the piece. My “Rosa Romantica” went to an exhibition, but this time it was virtual because of corona-virus restrictions.
Komentarze