
I was overwhelmed by a dying frenzy. This time I decided to make circles.
For this purpose, I prepared a fabric, ruler, needle, thread and dissolved dyes in water bottles.
I folded the fabric in half, then, with a ruler that I made myself, for which the idea came from something I saw online, I drew half-circles. Please note that we draw the half-circles from the inside of the folded material.
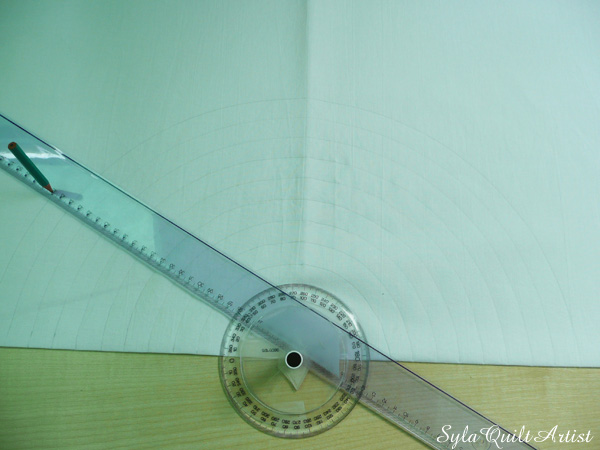
The ruler worked great. Maybe I will buy the real one someday.
When the half-circles were drawn, I started making a basting stitch on the lines. I tried to make equal intervals between the punctures. I left a loose thread at the beginning and at the end.
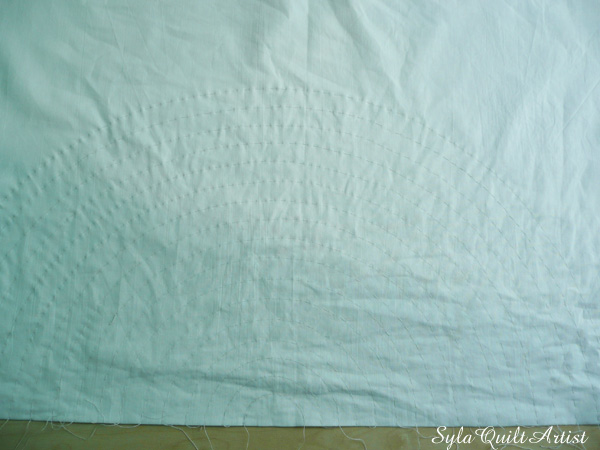
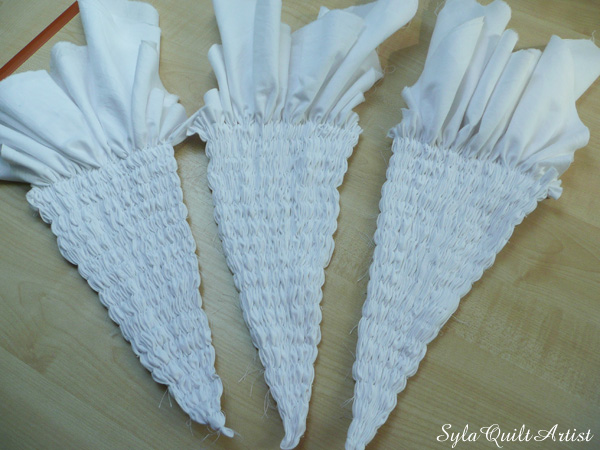
After basting, starting from the smallest semi-circle, I gently pulled off the stich from both sides basting. Wrinkles began to form on the fabric. When the fabric was ready, I dipped it in soda ash. After about an hour I pulled it out, pressed, it and then put it to the side ready for dyeing.
For this purpose, I used a painting grid, which I bought in Castorama.
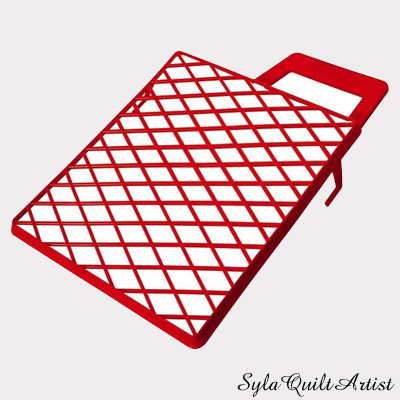
I put the grid on the bucket, then put the previously prepared fabric on it and started dyeing. I dissolved the paints in drinking water bottles with a spoutand poured them over the fabric. I covered the dyed fabric with foil and set them aside for 24 hours.
Unfortunately, while preparing the dyes, I killed my phone, so I do not have any pictures.
After rinsing and drying the fabric, these pretty circles appeared.
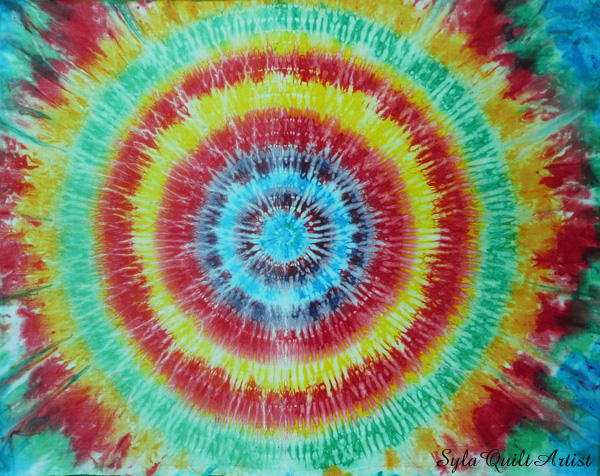
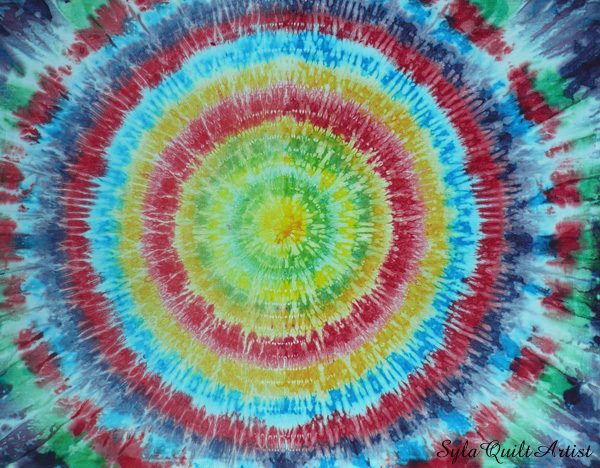
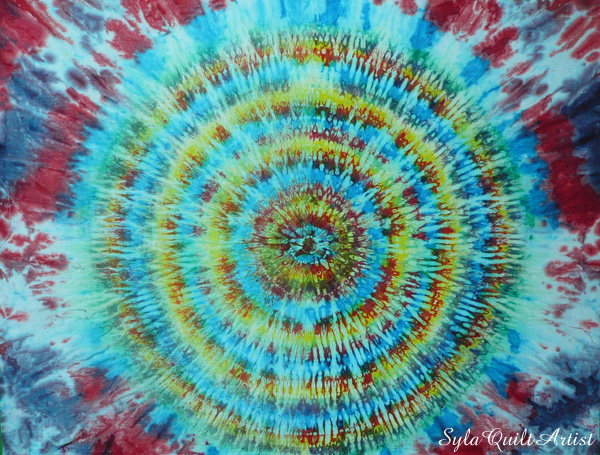
But did you notice that one part of the fabric has such nice vivid colors while the other one is a little dimer.
This is visible in all three photos of the fabric. I think I know why this happened.
When the folded fabric was laying on the grid, I poured the dye on one side only. Paint on the other just soaked. After pouring, I should have turned over the fabric and poured the paint on again in the same way. This way the dye enters thefabric from both sides.
Of course, this is only my best guess right now. I must try this again, and then we will see if I was right.
Komentarze