
Hi, I am a guest over here so let me introduce myself. My name is Sylwia, to make things easier, you can just call me Sylwia 2. I think that you can easily guess what brought me and Sylwia 1 (the host of this blog) together. Of course, sewing patchworks, art quilts etc. The world of patchworks and art quilts is huge and there is enough space for everyone, the number of methods and patterns is unlimited.
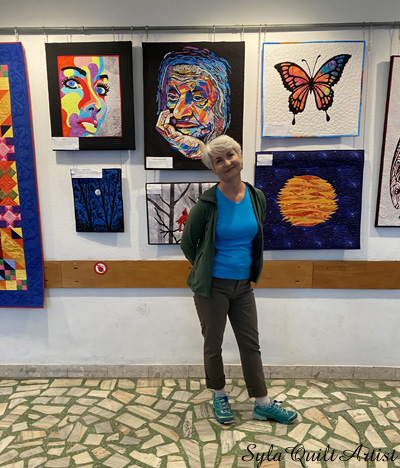
Unlike Sylwia 1, I never went to sewing school, as a matter of fact I never even liked sewing😊 There was a sudden moment in my life where, much like the Angela Wolters quote “quilting is my therapy”, sewing and quilting became a kind of therapy for me. I learned sewing from scratch by watch YouTube. Never in my life did I think that I would be sharing my experience with others. Because of this, I only occasionally took pictures of my projects, but I will do my best to explain the methods I used.
Let me tell you about one of my projects. Yulia Brodskaya was a big inspiration to me on this piece. She is a master of quilling. Yes, one letter makes a big difference 😊 I am a big fan of her talent and have been admiring her work for years. One day I dared to sew her two pieces according to her designs. Today I will tell you about one of them, “Babushka”, whose original title is “Headscarf left behind”.
First, I had to print the entire image of my “Babushka” in a size of about 30x50cm. To sew the face, I used a white water-soluble film stabilizerI want to emphasize that I used the white one because there are several types and the fact that I used the white one is quite important in this project. Back then, I did not have a table with built-in lighting, so I just glued the printed photo to my living room window and waited for the sun to shine at just the right angle. I put the water-soluble interfacing on my “babushka’s” face and started to trace every line with a black marker. I then made a sandwich with the black top, the batting, and the back. I secured all three layers with safety pins, then put stabilizer on the top and started stitching. Using white thread, I stitched every beautiful wrinkle, one by one. When her face was finished, I put the whole piece into cold water and waited till the stabilizer disappeared showing my “babushka’s” face in full glory. That was the first stage of this project. Now it is time to make the headscarf.
At this moment Sylwia 1, my “artistic tutor,” came to help. I came to her for guidance because the first version of my scarf did not come out suitable for displaying. She, in just a few minutes, showed me the lines and details that were particularly important in the whole image. The headscarf is made using the collage method. Using double sided interfacing, we applied tiny pieces of fabric so that the colors created shadows and bends.
The headscarf was quilted mostly with a transparent thread, I used colored thread just to accent some details. On the black background I quilted the same flower design that “babushka” has on her headscarf. That’s it.
Komentarze