
Now, every other week, I will torment you by describing to you a new challenge that Kim Lapacek has invented for us, and you can read about them here.
This time this is ‘Fussy Cut”. For us this would be the designation and cutting of a highlighted motif on our fabric. This is often used with hexagons.
I have to admit that I did not know what method this was. But Kim gave us a brilliant page, where everything is clearly and accurately explained.
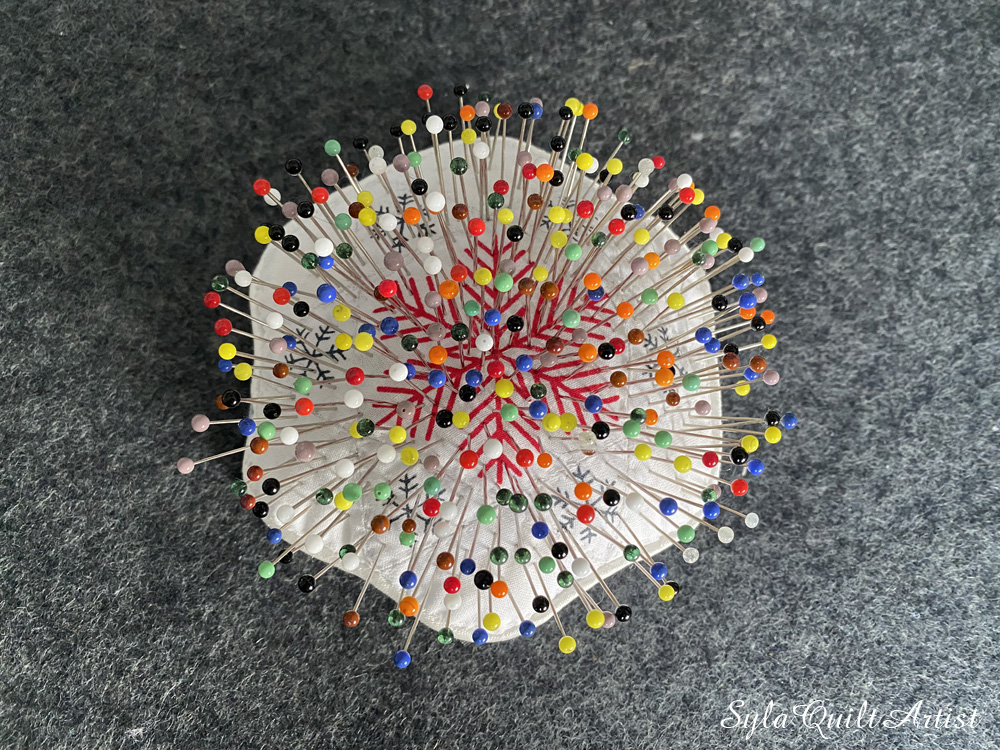
Since I like the works that I create to have some sort of practical application and not sit in a drawer, I decided to make a pincushion.
However, this will not be an ordinary pincushion. You will see for yourself.
Of course, this is an experiment, and it may not be entirely successful, so keep your fingers crossed.
First, I had to find the right fabric. This was not easy because the pattern needed to be small. My search landed on this fabric with colorful snowflakes.
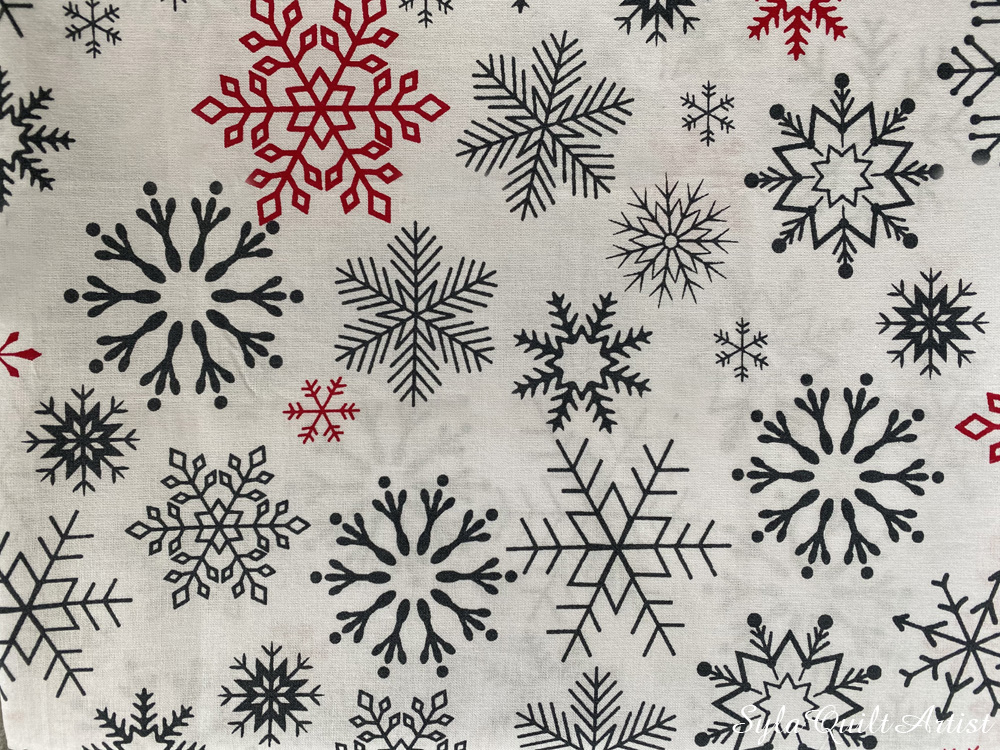
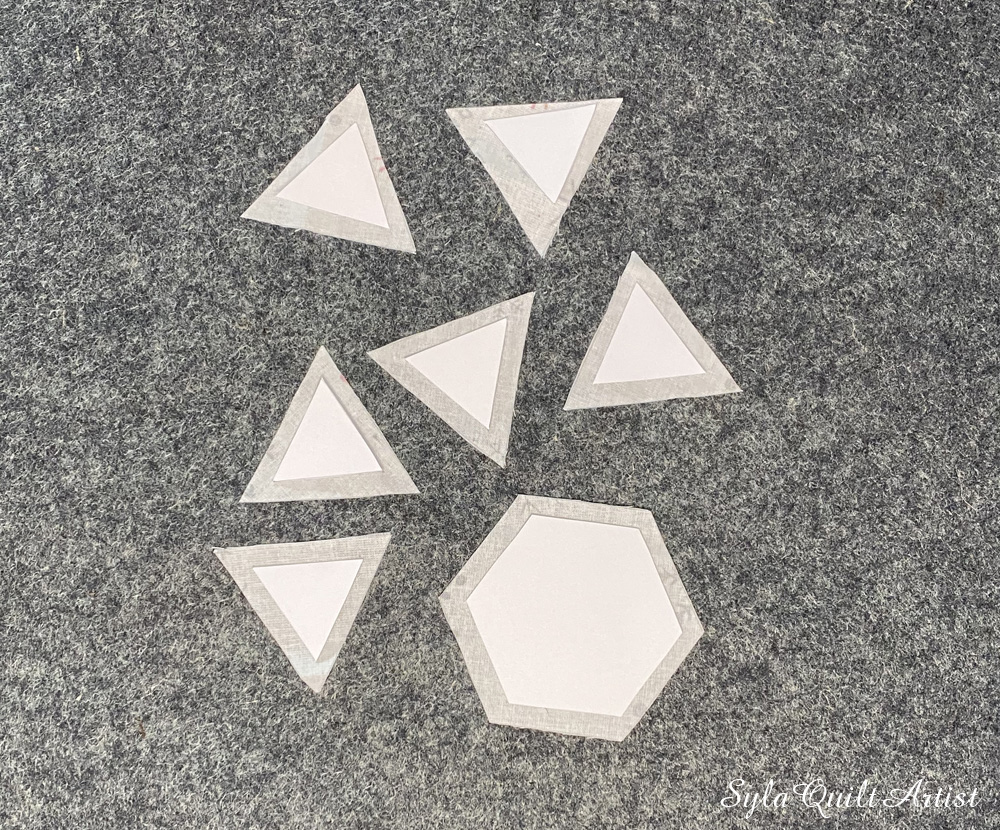
I figured out that my little pin cushion will be made of hexagons. For this purpose, I used appropriate templates.
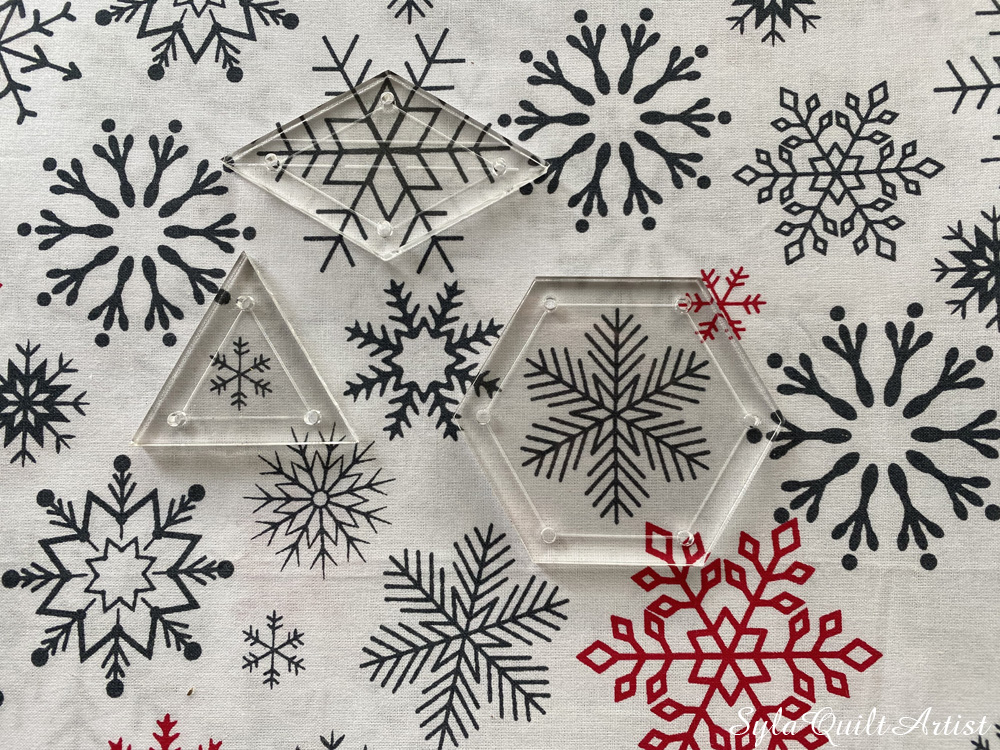
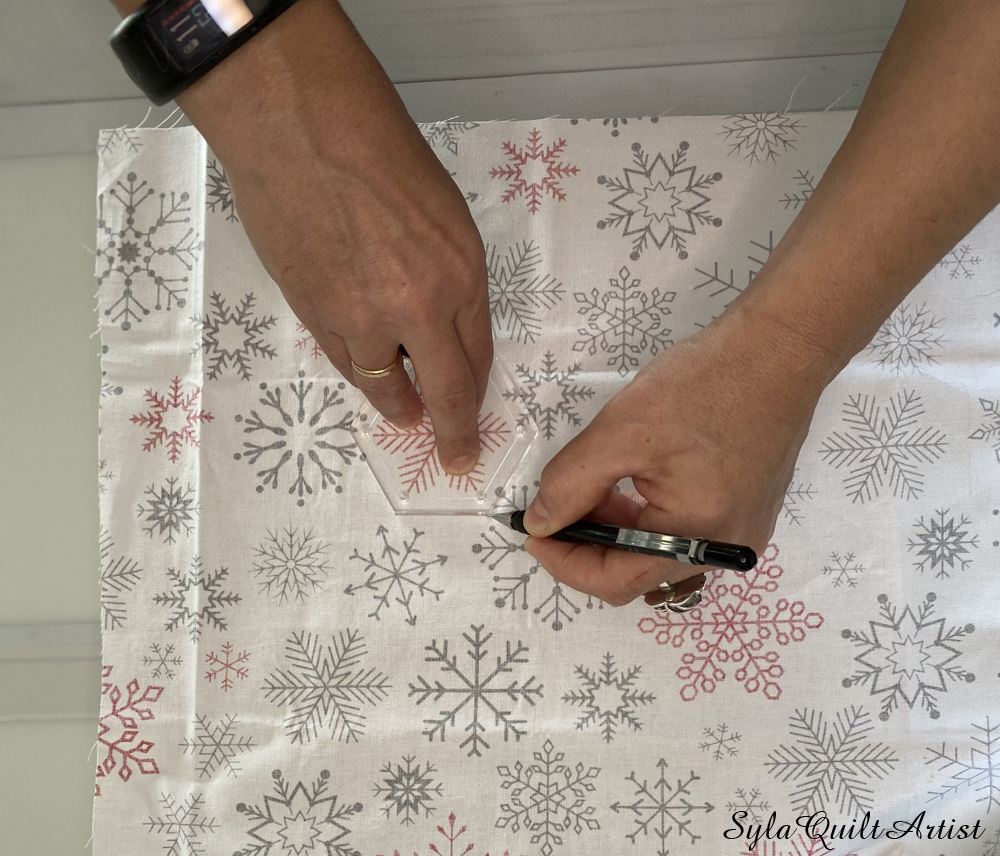
I picked up the right snowflakes. Using template and a pencil, drew them on the back side of the fabric.
When all the pieces were drawn, I cut them out.
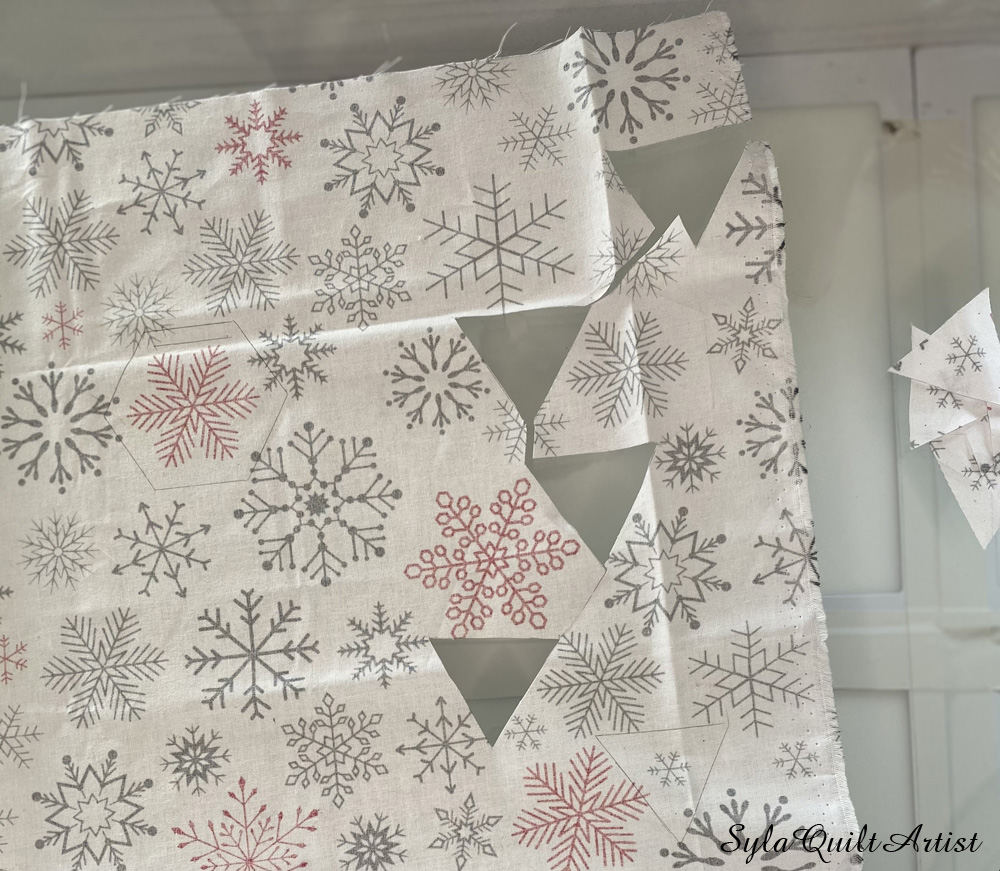
I am very economical while cutting fabric, but this method is not. I do not like it very much, although I know that the final effect is very cool.
I put paper hexagons on the cut pieces and sewed them with a basting stich.
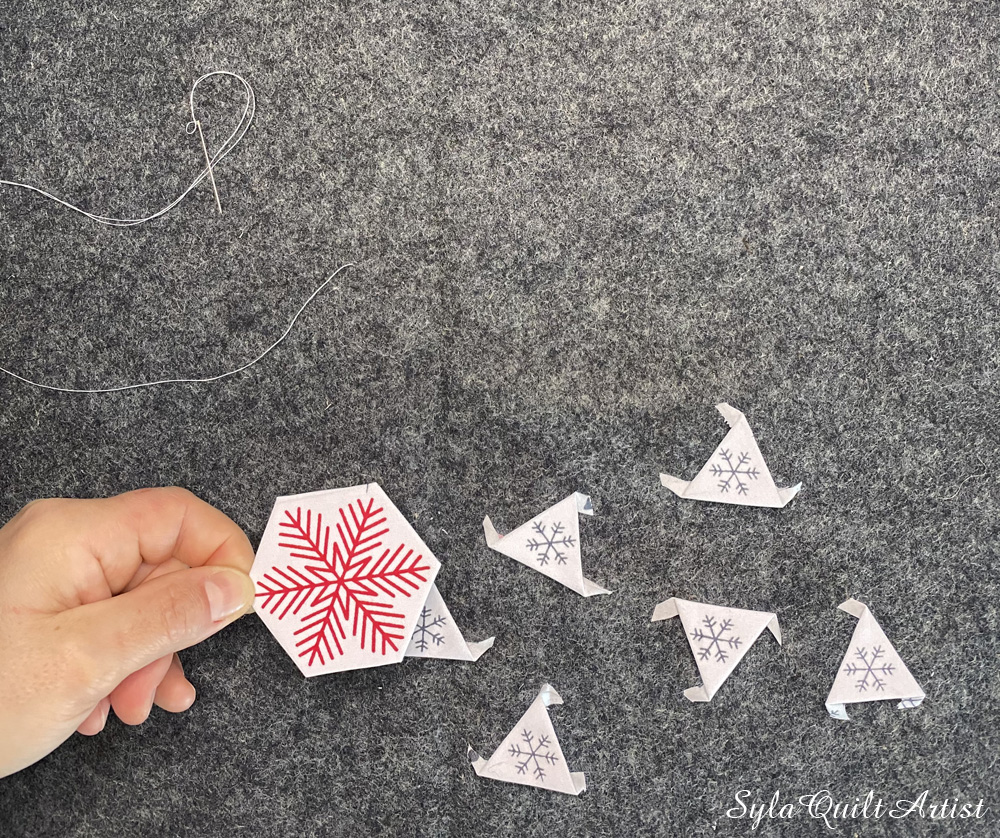
I sewed all the parts together into one whole piece.
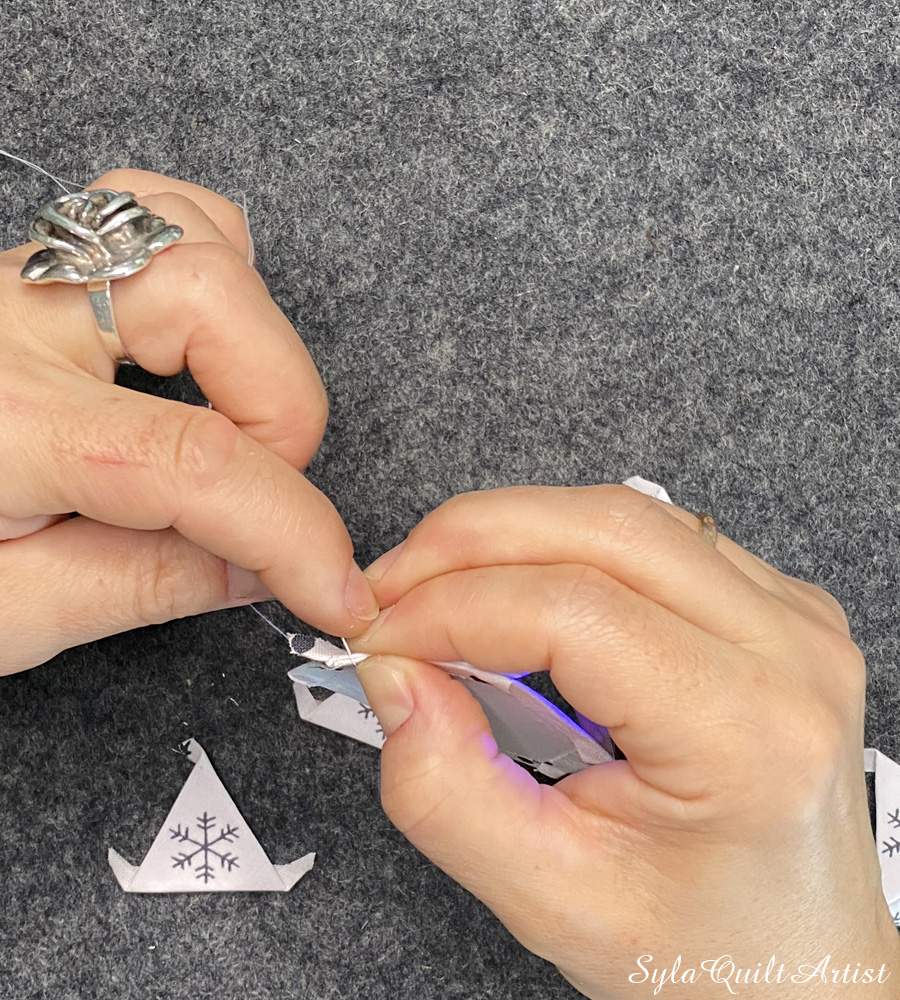
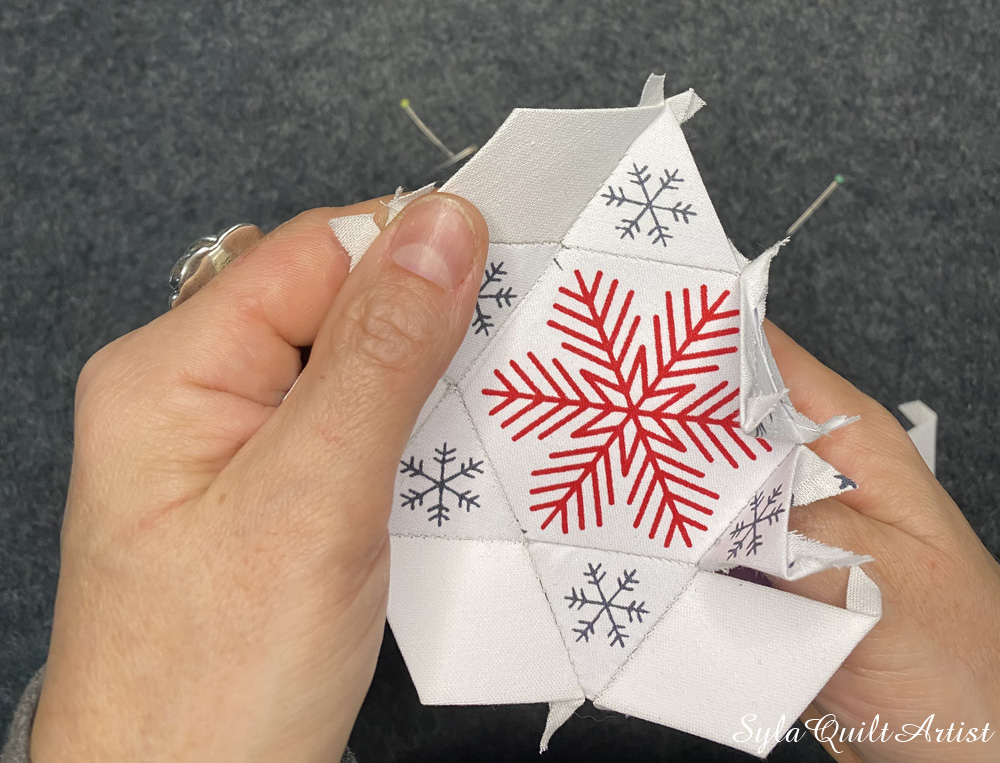
This seems so simple in the tutorial videos, but it is not. You have to be very precise.
It turned out almost perfect, as good as it could for my novice venture into this method. I dream of sewing a big blanket, comprised of different hexagons, but I am not sure if my nerves are strong enough. I think it would probably end up as a UFO (Unfinished Object) and give me nightmares.
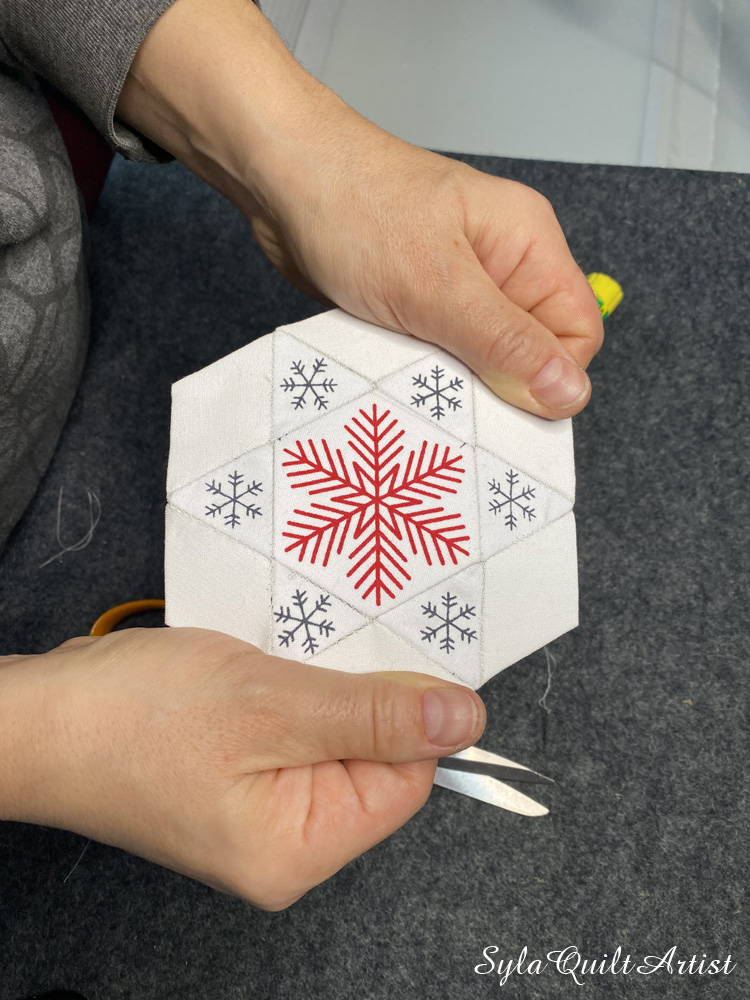
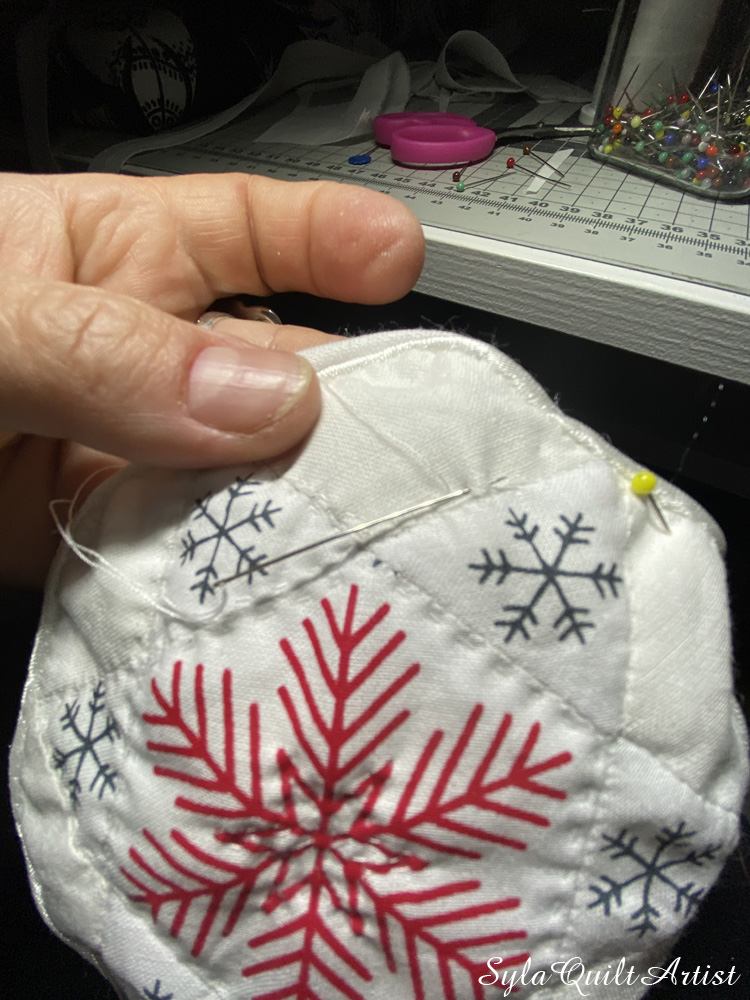
When the whole thing was ready, I sewed in a decorative trim and a bias trim. I added cotton filling and quilted by hand.
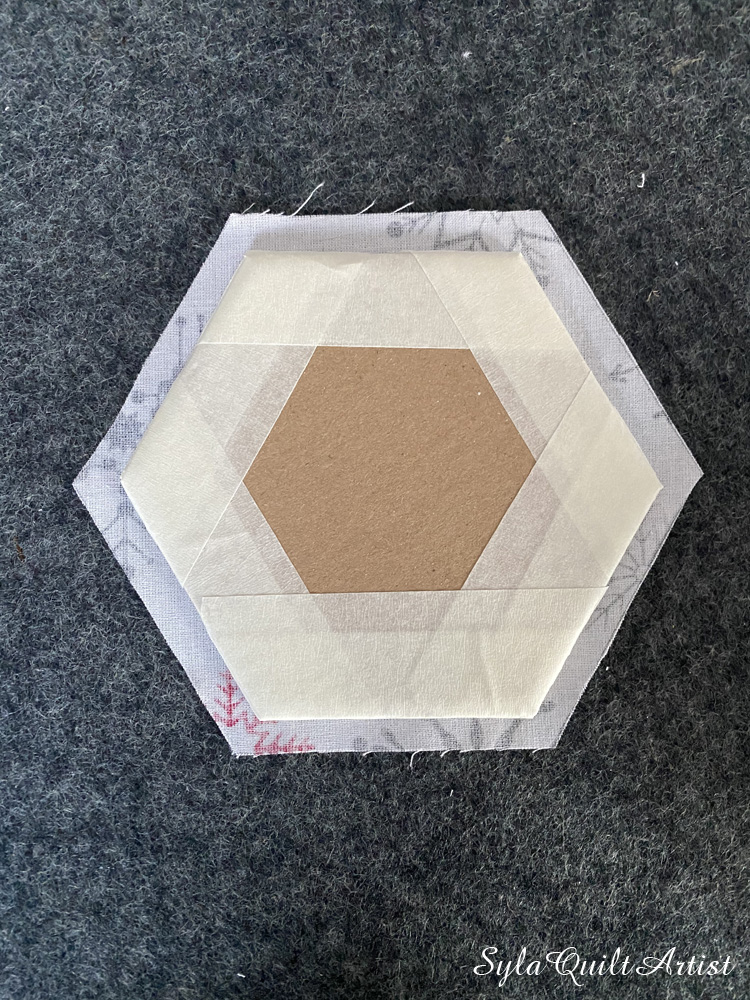
Then, from a double thick piece of cardboard, I prepared the bottom of my pincushion. I put painter’s tape around the edges. I know it sounds crazy but there is a purpose for it.
I glued the bottom onto the same fabric I had cut the snowflakes out of.
I sewed that the bottom to the bias trim. While sewing, I gradually pushed in silicone filling which will serve as the stuffing in my little pillow.
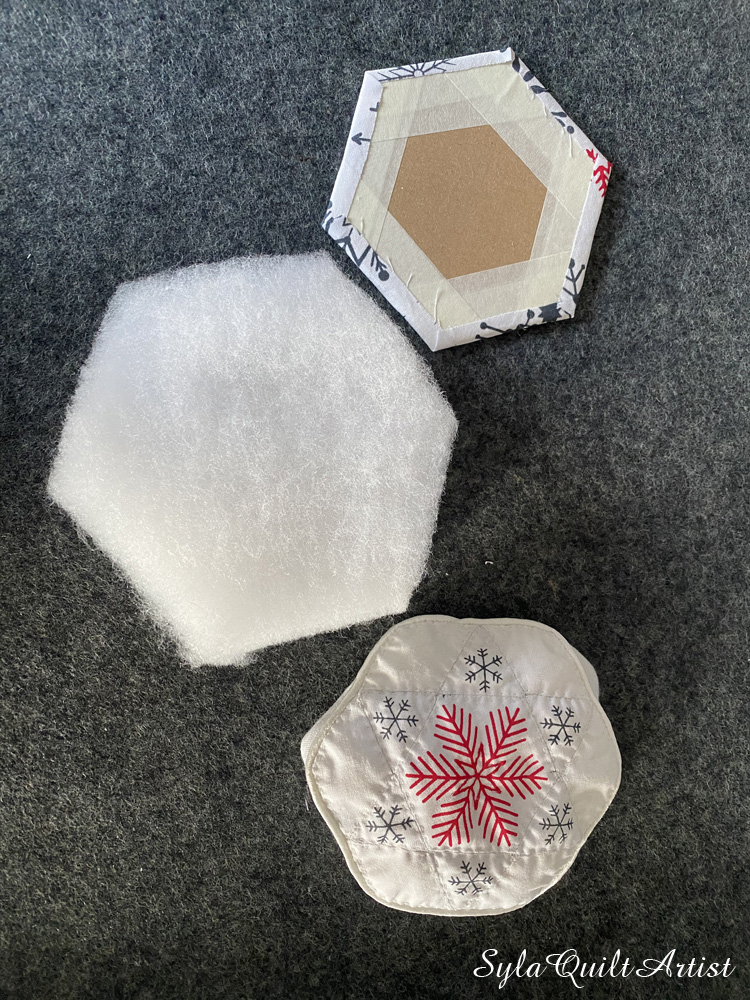
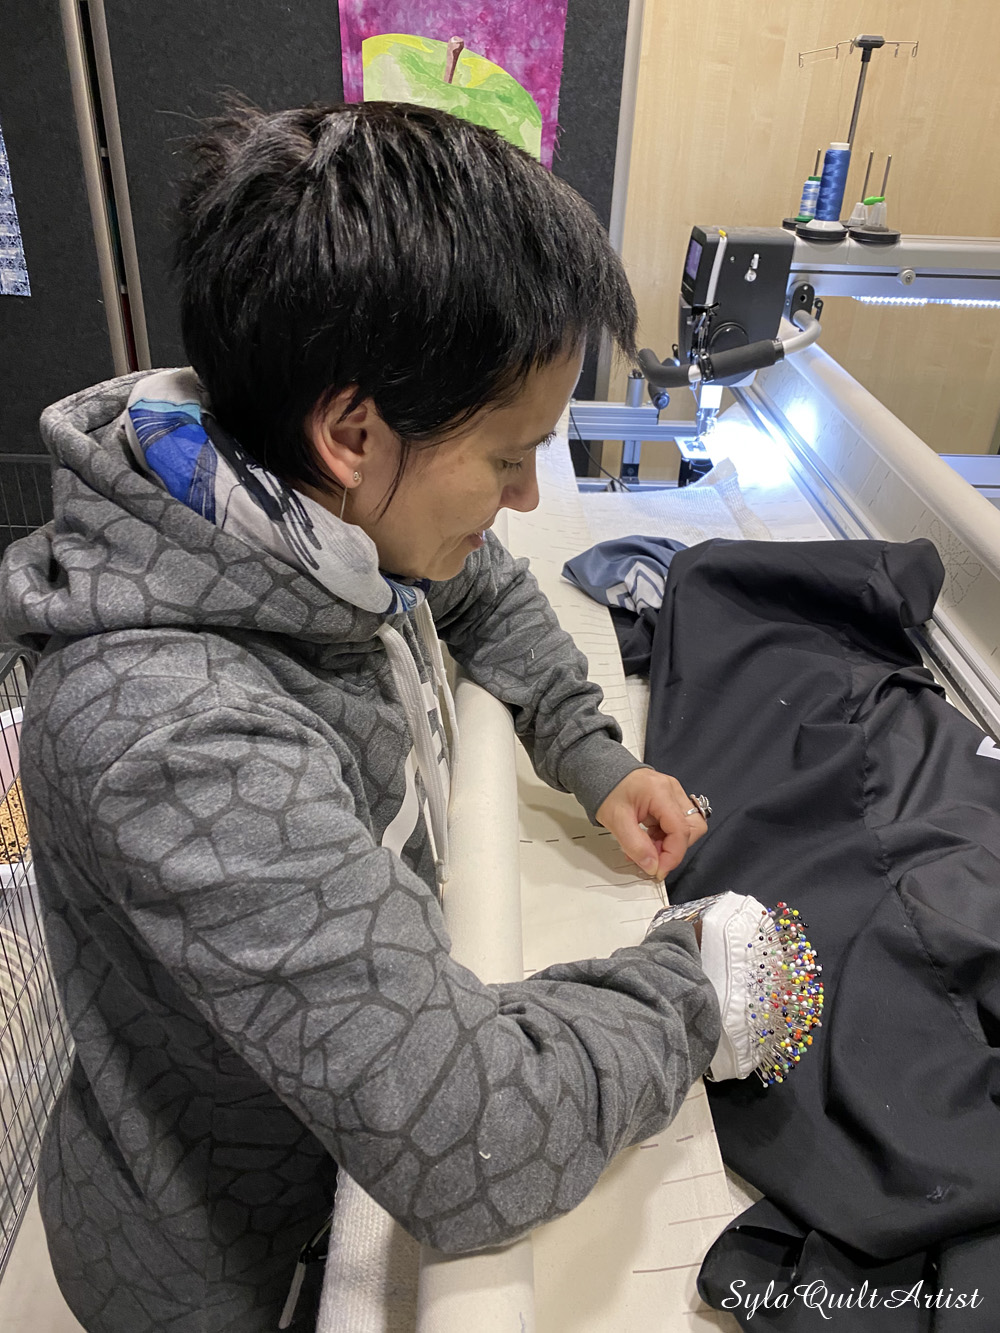
When my pincushion was ready, I chose a wide, decorative elastic band and stitched it to the bottom of my little pillow.
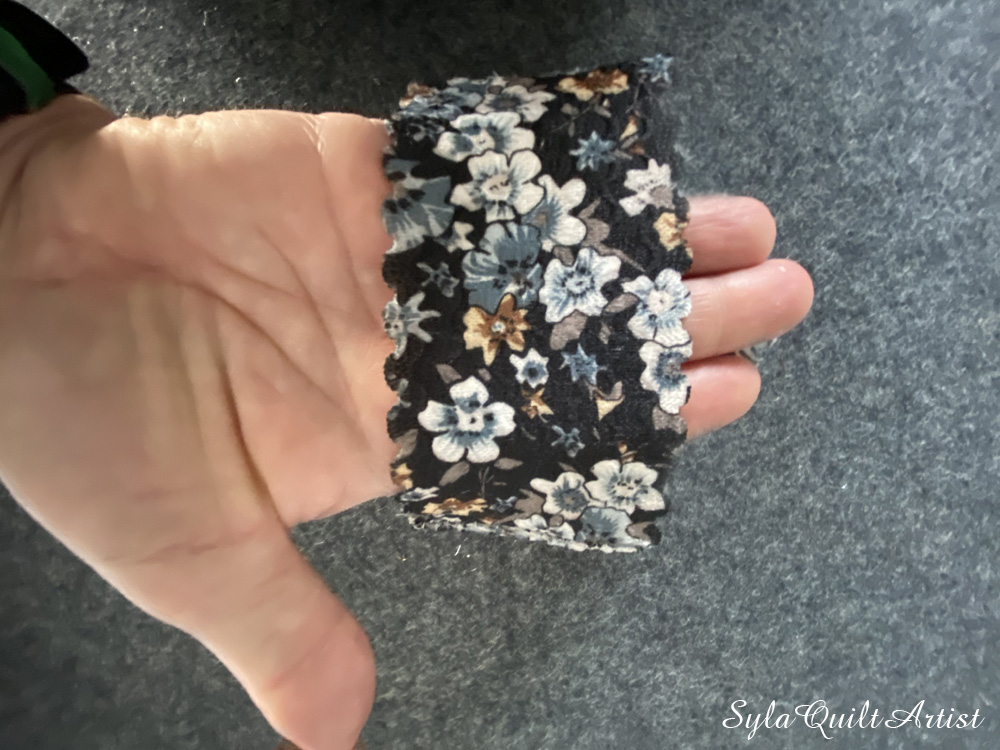
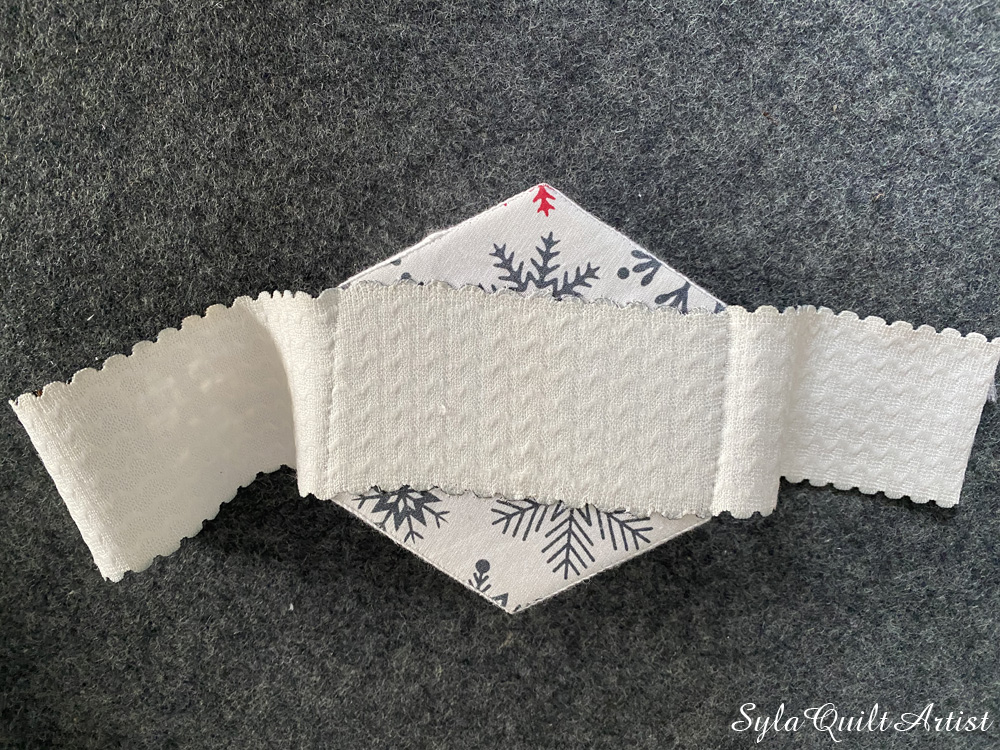
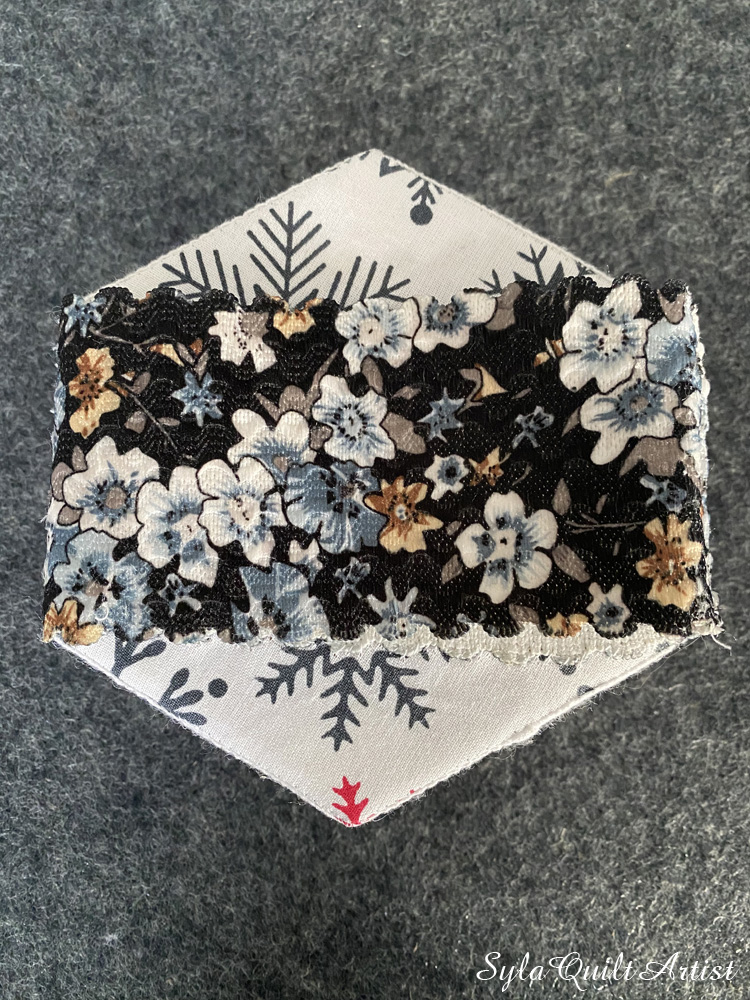
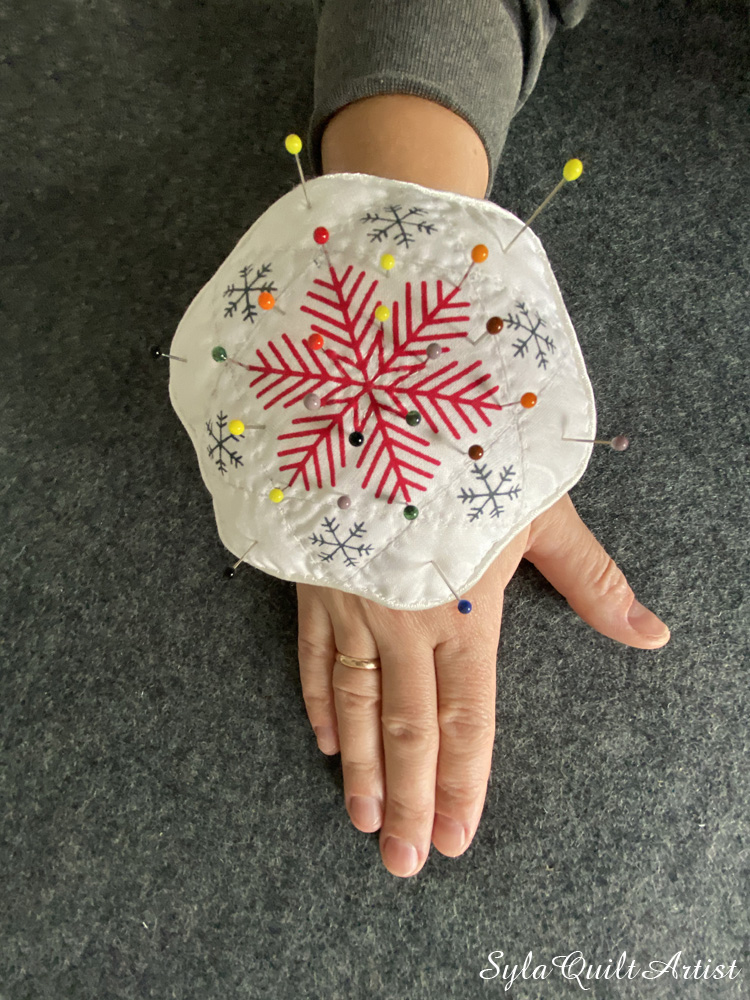
The elastic is incredibly soft to the touch and adheres well to my arm without squeezing it. And that is how my little pincushion was created, and which will be used while working with my long-arm. Never again will pins fall out of the box while pinning fabric. I won’t have to pick them up off the floor anymore.
Hurray. It’s perfect.
Komentarze