
Before I start giving you some advice how to stretch a quilt onto a wood frame, I would like to invite all of you to Zagorz (podkarpackie) to the Monastery of the Discalced Carmelites, Foresterium Cultural Center at 32 Klasztorna Street, where mine and my friend’s exhibition would take a place.

OK, but now let’s get down to the stretching.
A while ago I figured out how to stretch a quilt on a frame, quickly and efficiently. I liked this method so much that I decided to use it on my art quilts, that way they look more presentable.
Of course, we have to keep that in mind that if a quilt is being entered into a competition, then this system is not acceptable.
So, let’s begin.
First, we have to make a frame. Depending on the size of the frame, we might need crossbars. We do not want the quilt to bend the frame while it is being stretched on.
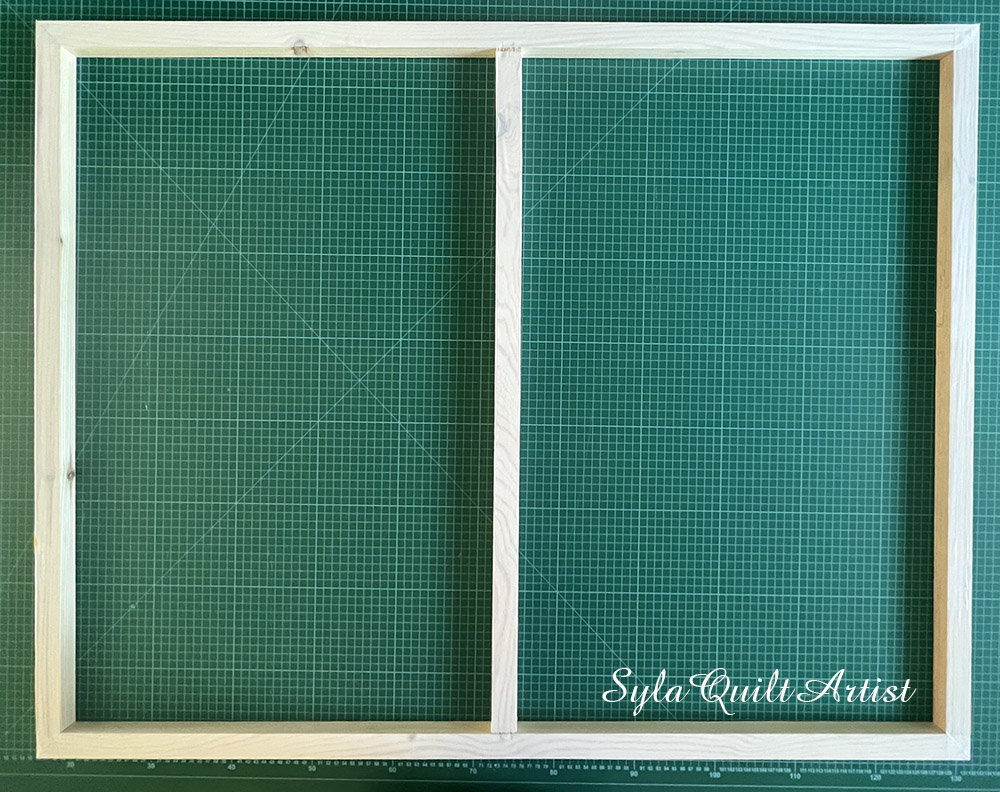
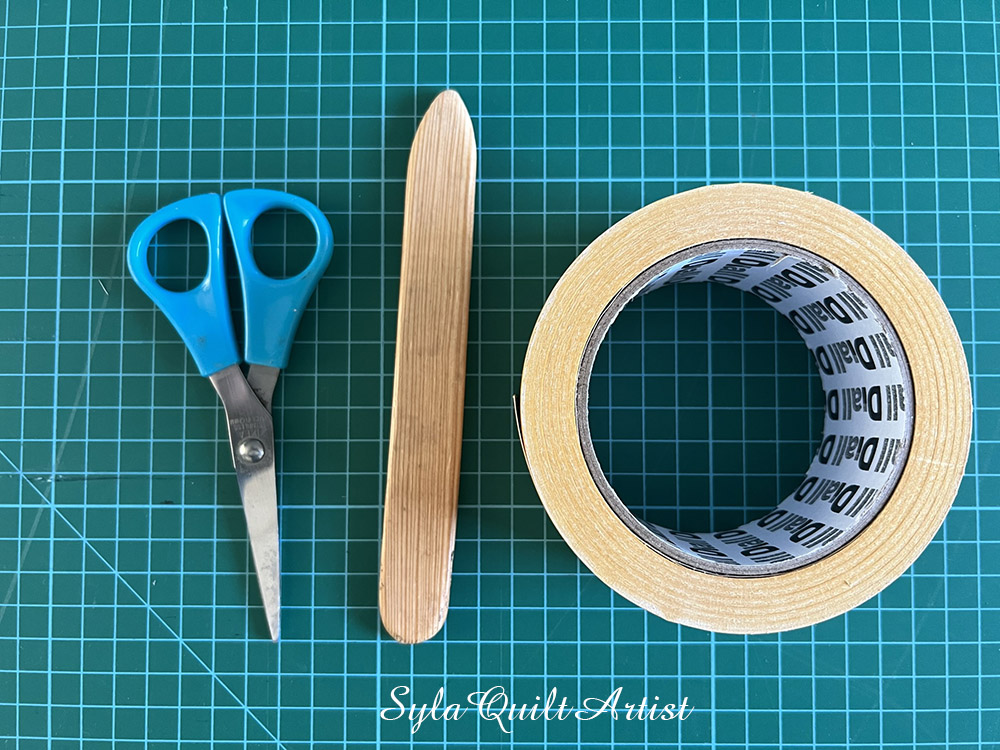
When the frame is ready, we need four items to make this method successful: scissors, double sided tape, stapler, (or push pins), and a small stick, maybe a roller or a piece of wood, anything that will help stick the tape to the frame.
Next, we have to wipe off any dust from the frame very thoroughly. This is a very crucial part of gluing the tape. Once that part is behind us, we need to stick the tape to the top of the frame.
You are probably wondering what the stick is for. I press it down and smooth out the pre-glued tape. Thanks to this, it will have better adhesion to the wood. The tape will stabilize our quilt so that it does not move while stretching.
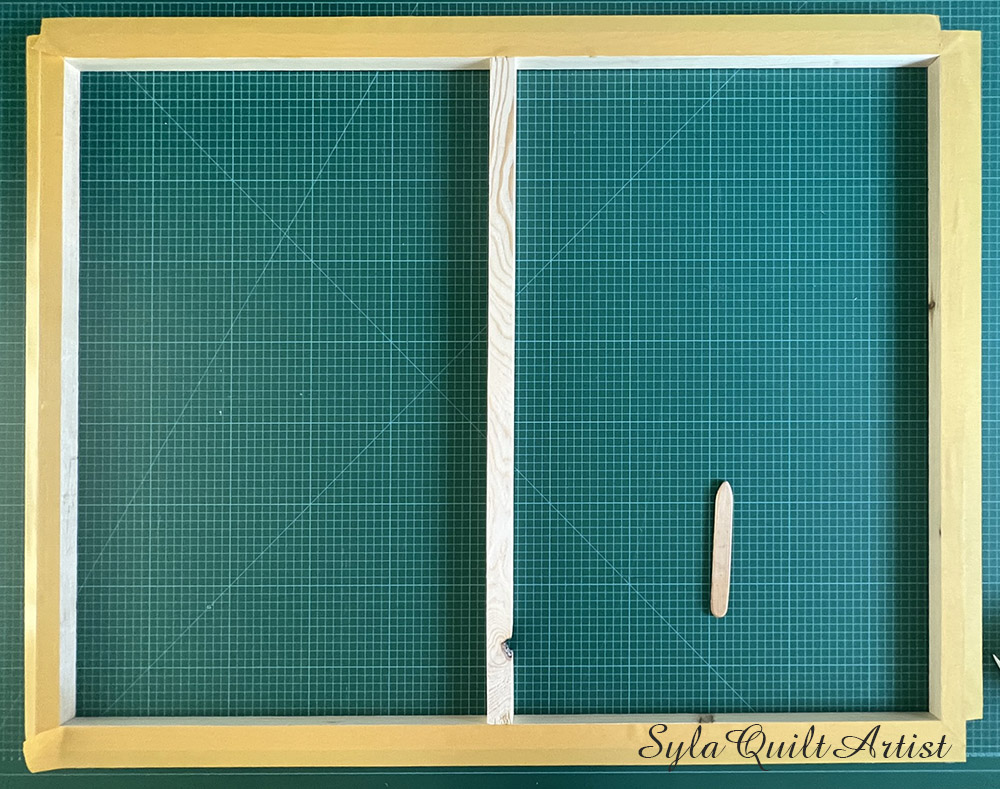
After sticking the tape to the top of the frame, fold the tape over the edge and stick it to the sides of the framework.
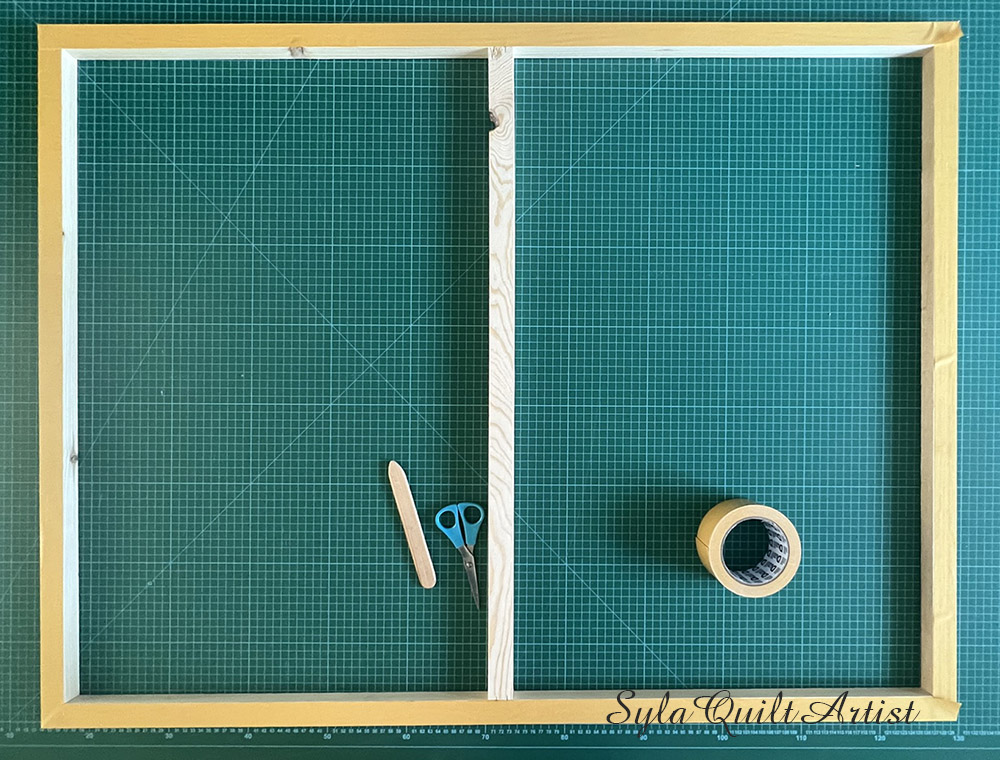
Attention! We do not tear the paper off the glued frame, but only the sides.
We use exactly the same steps on the other side of the frame. The sides of the frame will havedouble the amount of tape stuck on them.
From my own experience, I do not recommend cutting the tape.
Once the tape is glued on both sides of the frame, bring your quilt over and put it on the top side of the frame.
Remember, that the quilt must have a trim sewn on to it on each side. If we want the frame to be visible, we choose a fabric in a matching color. If not, choose a fabric in a more neutral shade. The sewn – on trim doesn’t have to be cut diagonally.
Peel off the paper from the upper part of the frame and put the quilt on it. Once we pull our quilt to the edge of the frame you can begin to see the trim line; you can also drag it a bit beyond the sewing line if you want the trim to not be visible from the front of the quilt. We carefully align the edges.
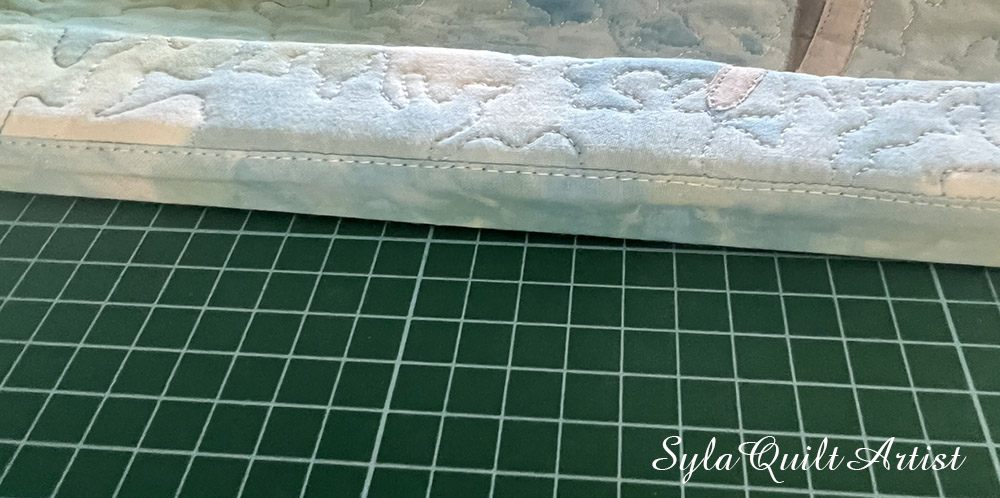
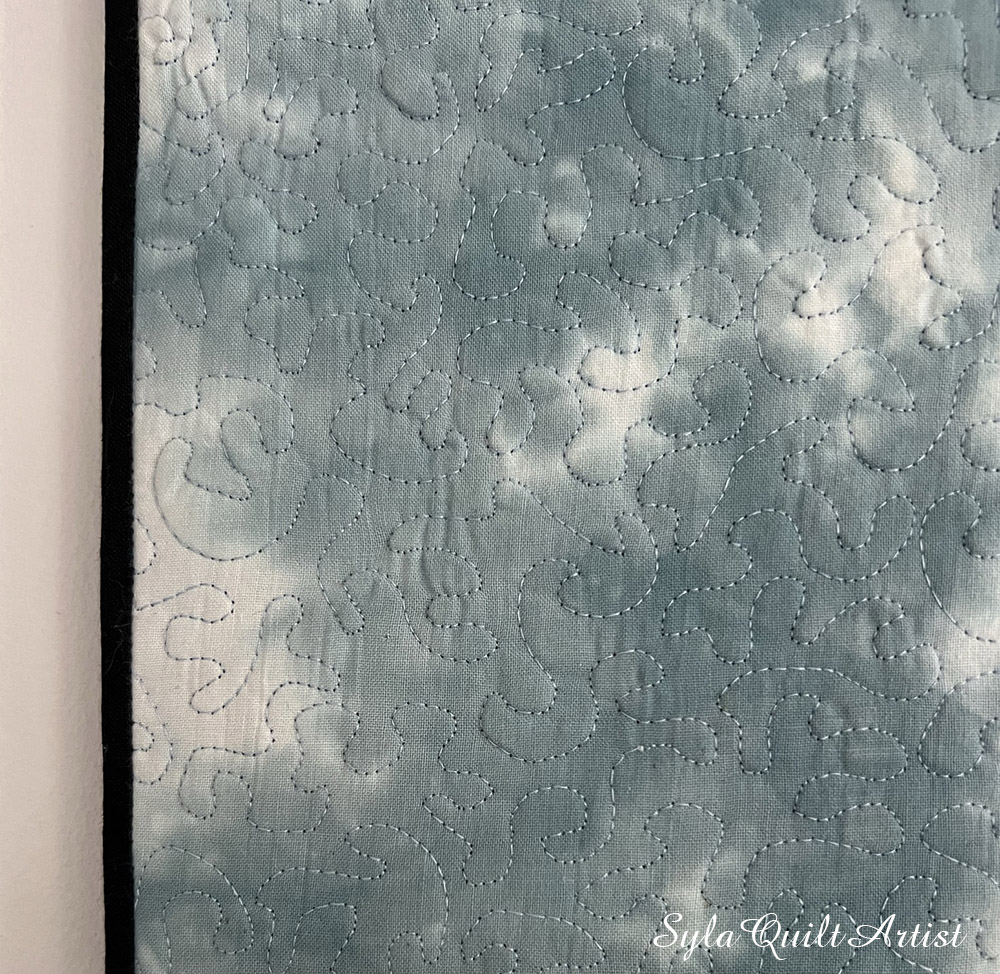
As you can see in the photo below, the hem is not yet tightened. Unfortunately, I ran out of hands.
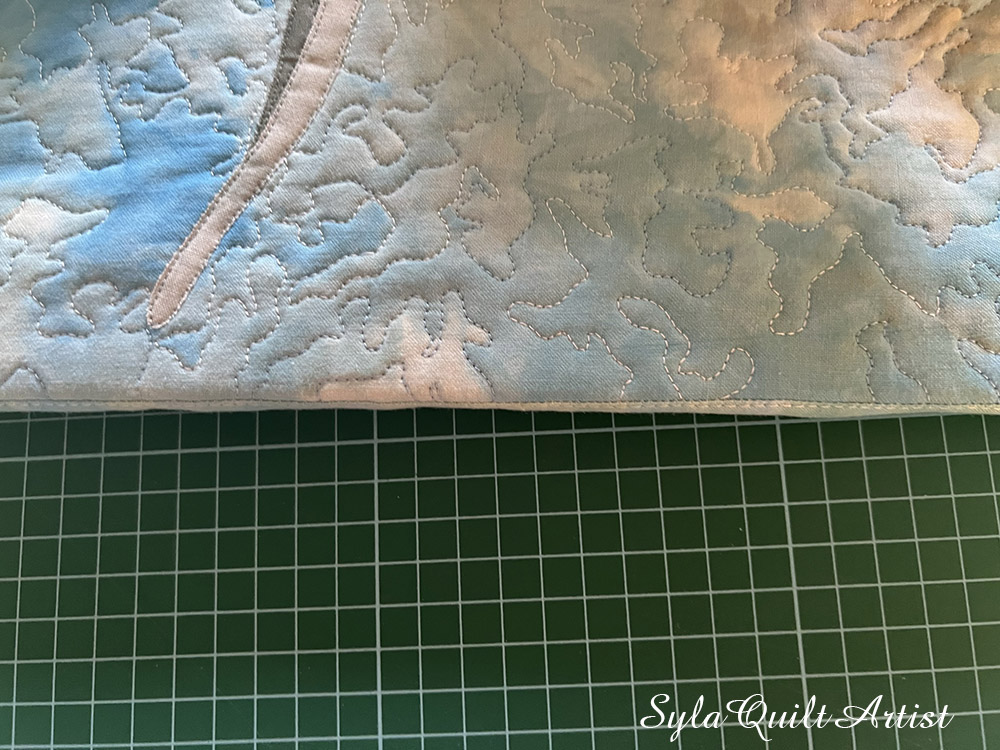
When everything is tight and glued, tear off the tape on the bottom of the frame and glue the trim. Pin the back of the trim and cut off any excess.
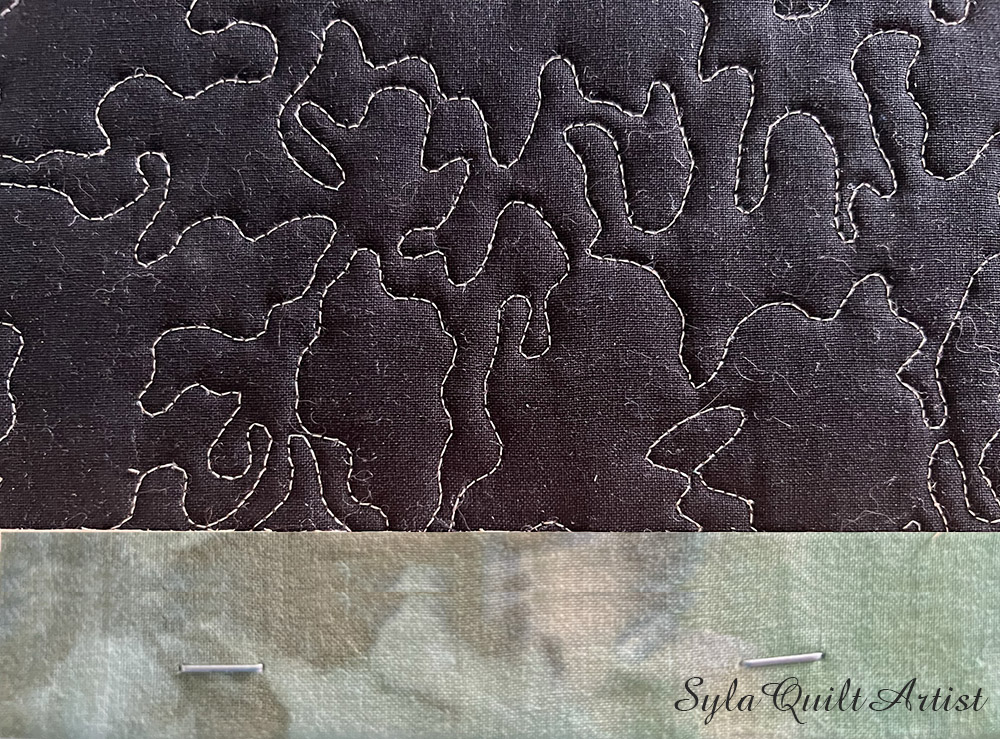
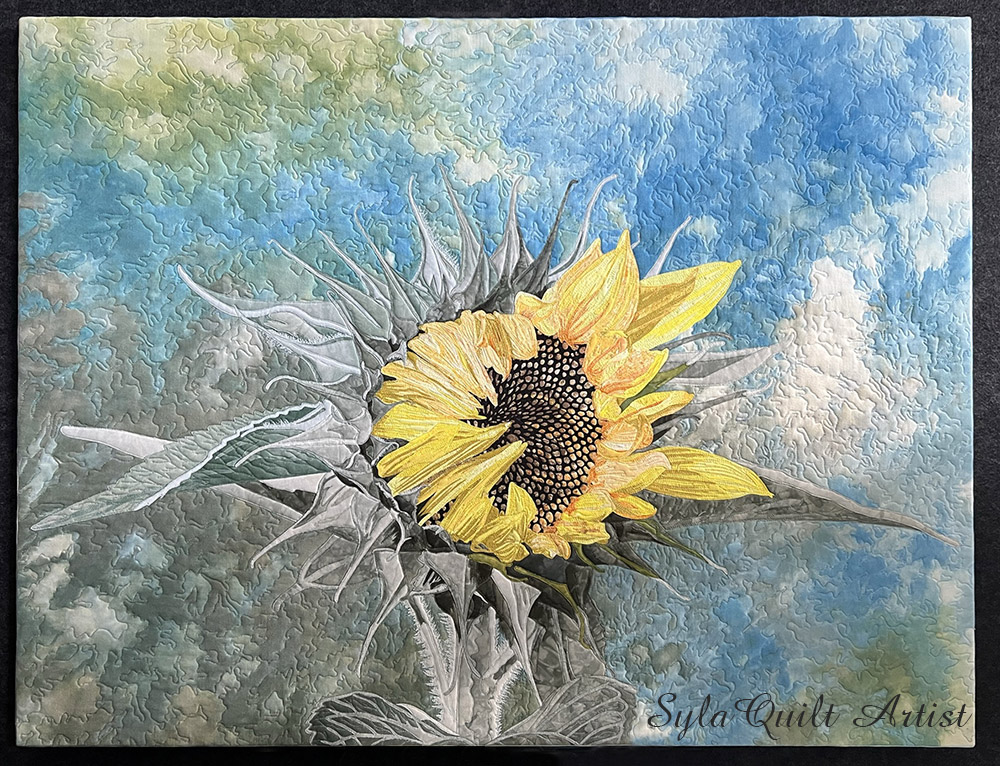
The quilt is ready. I can boast that I finally finished my sunflower.
Komentarze