
Hi it’s me -Sylwia 2
This is my favorite template I made w few years ago and as you can see it looks a bit shabby.
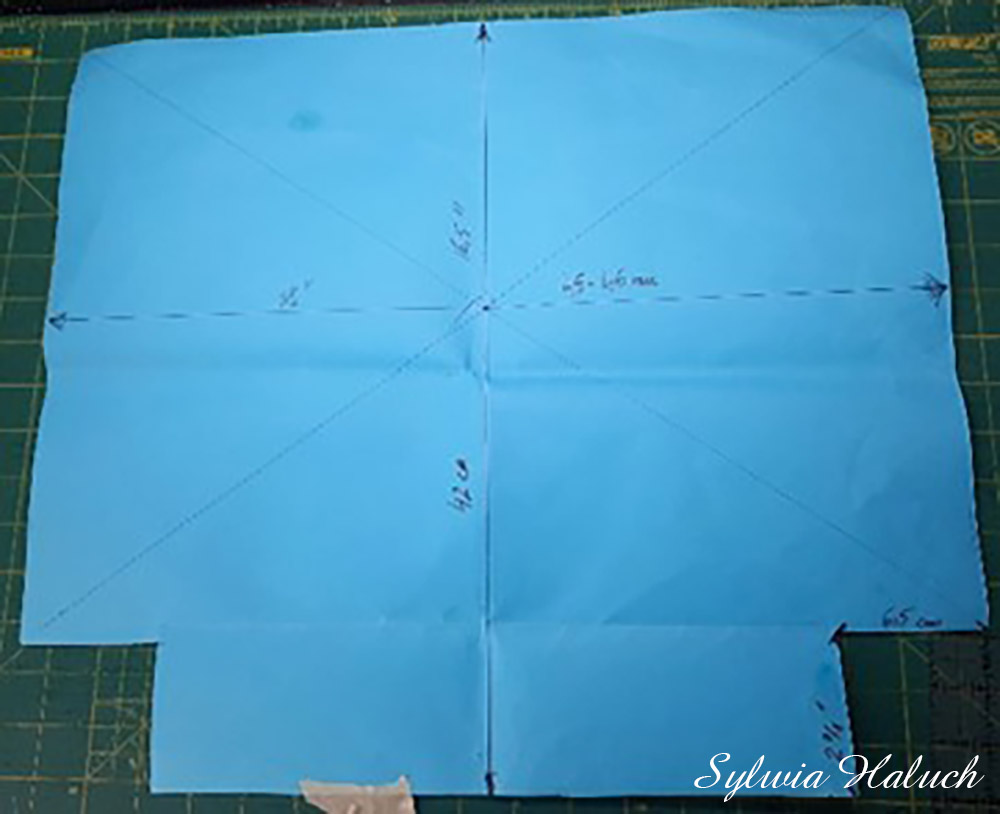
Lets start-scrabs, scrab, lots of scrabs.
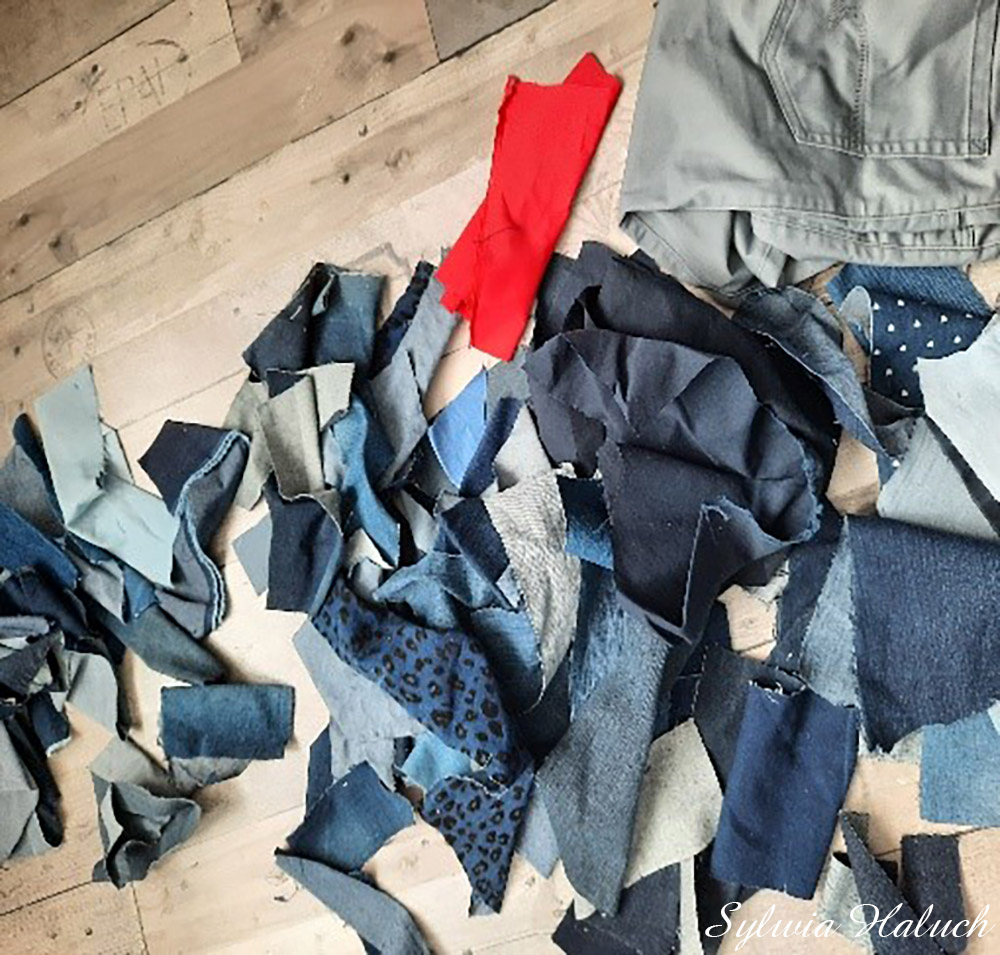
Following my template, I cut two pieces from bag stiffener with glue on one side.
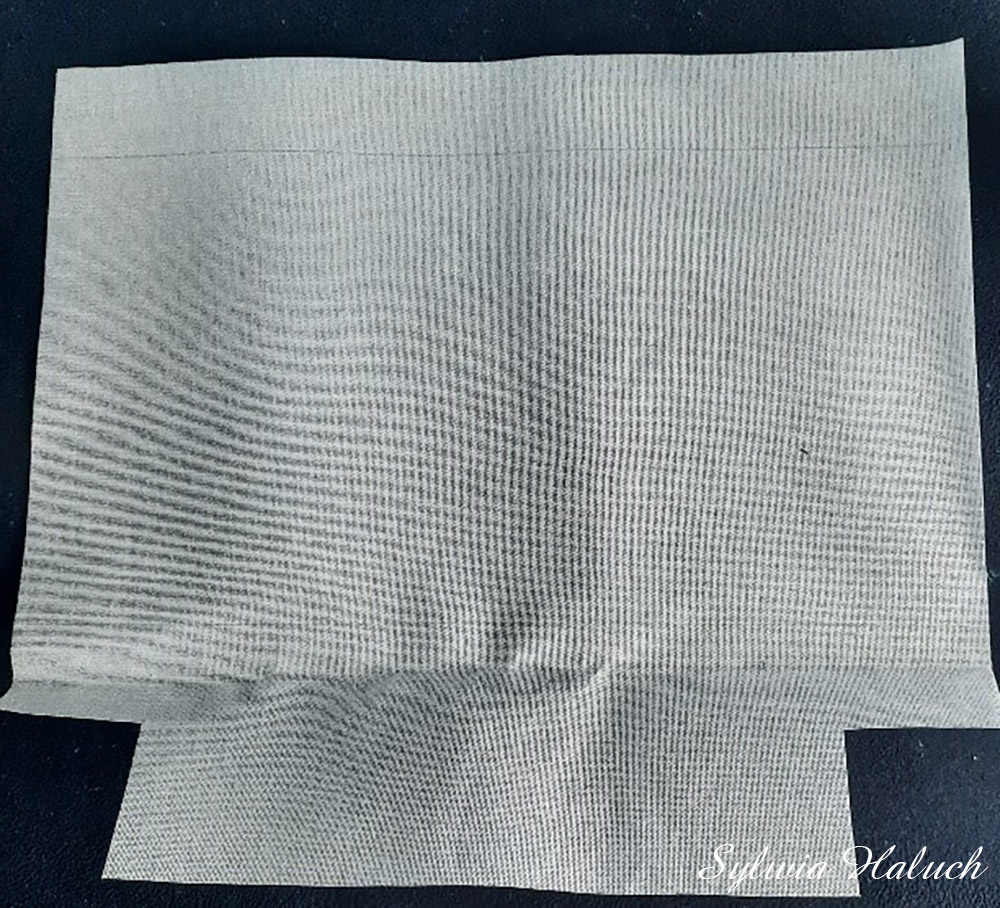
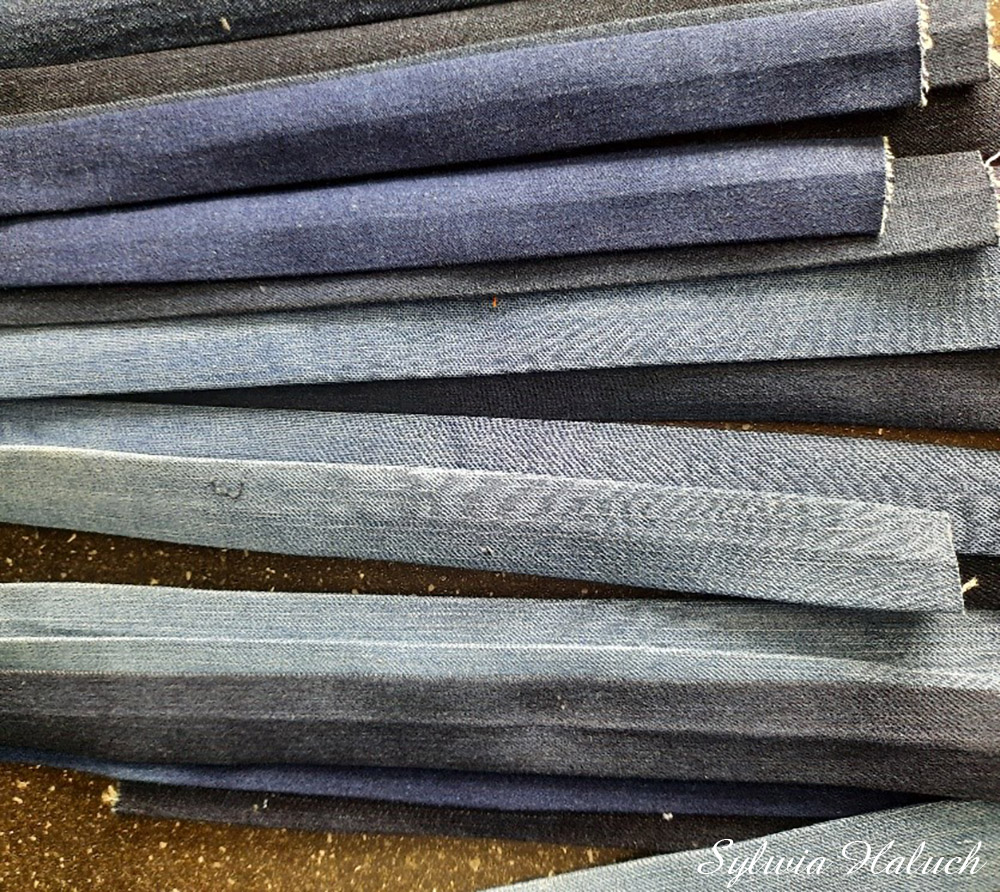
I cut the scraps into to 2” strips and then ironed them.
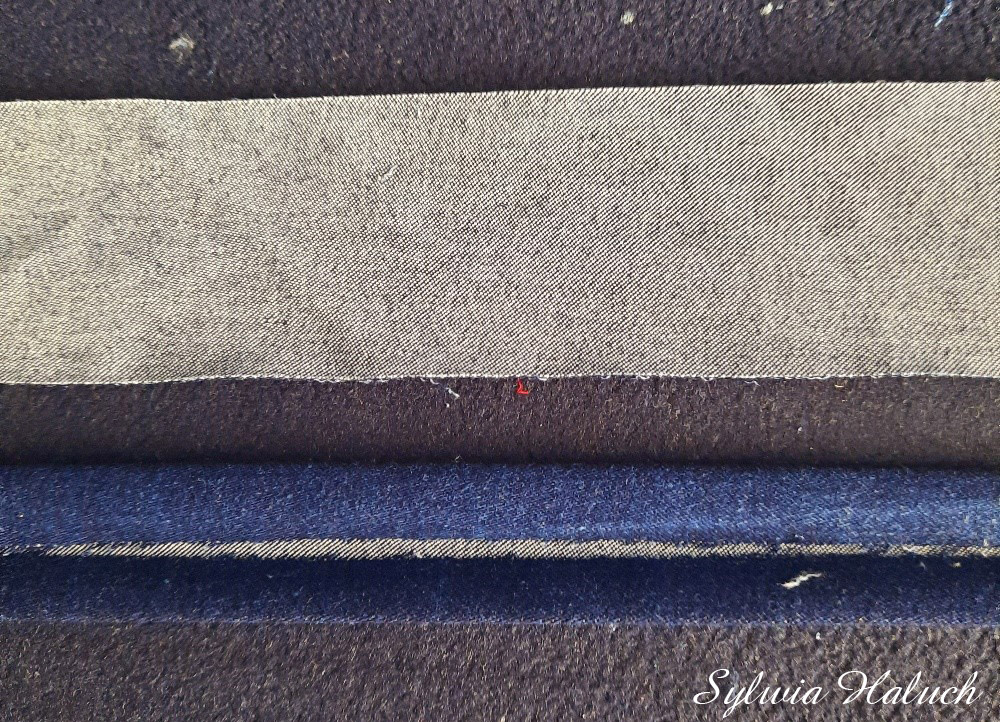
I prepared a lot of strips.
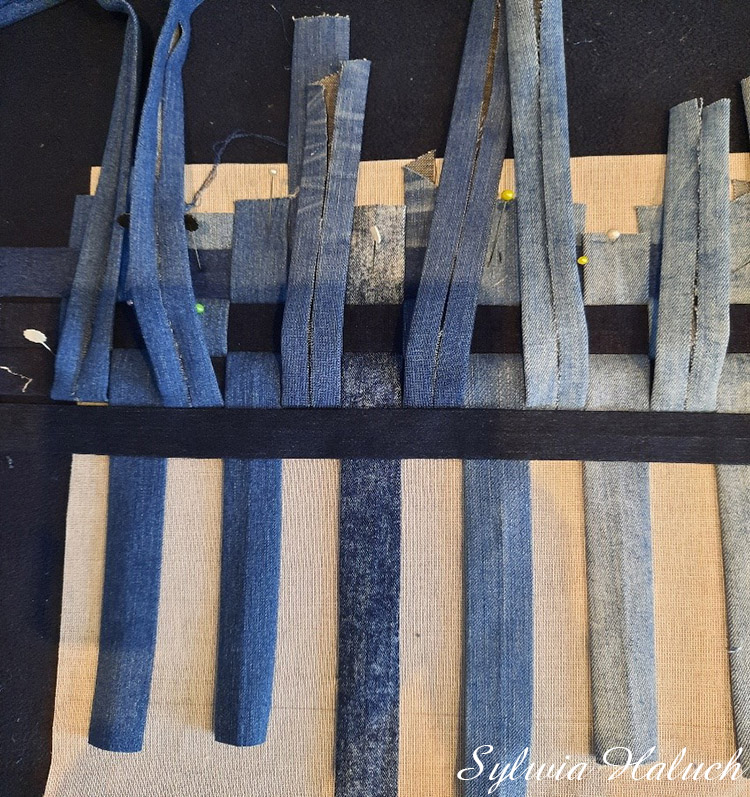
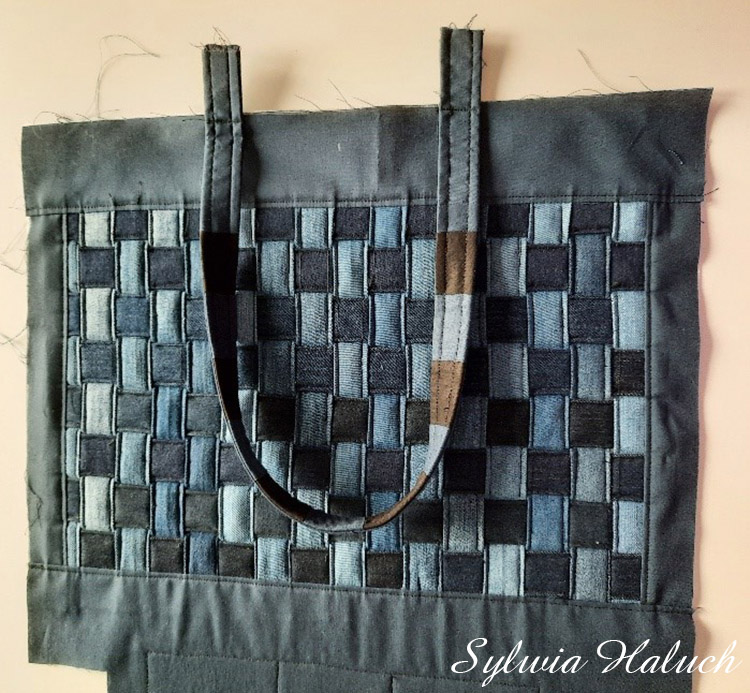
Next, on the previously made stiffener, I started to braid my strips. I put a thick felt under it, so I could easily place the pins to keep the strips in the right place.
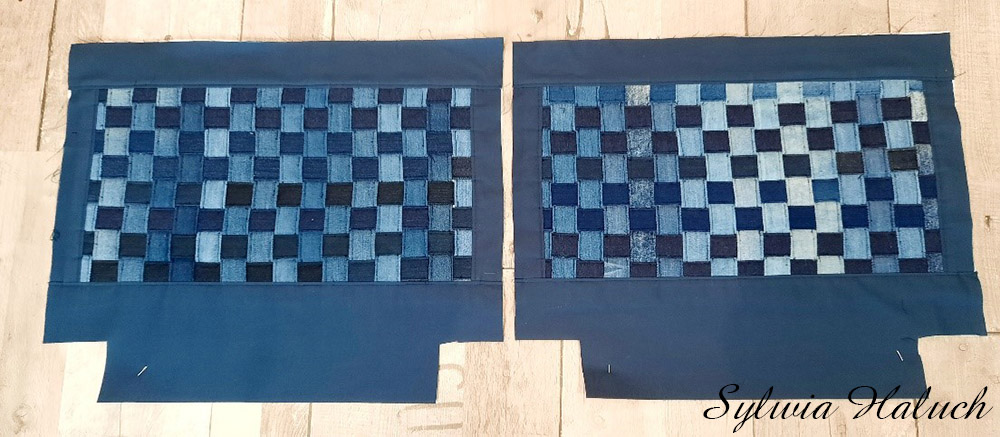
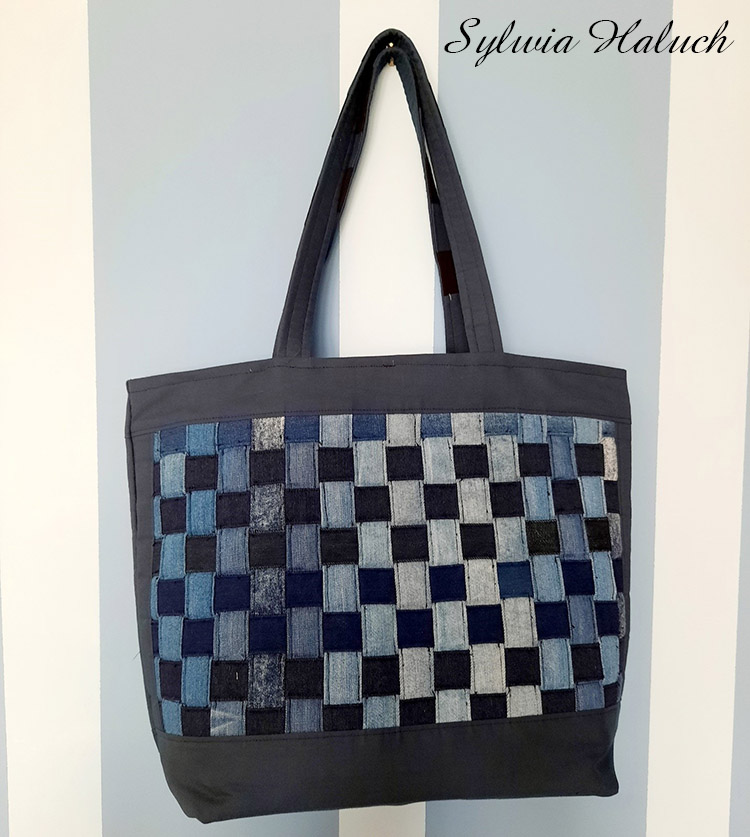
When the braid was ready, I ironed it to the stiffener and started stitching. There are many ways to sew it. I wanted it to look like a basket.
As you can see, I sewed a navy-blue colored cotton all the way around. I removed the strips from under the cotton to avoid thick layers on the edges, because my machine does not handle it very well. I sewed two sides.
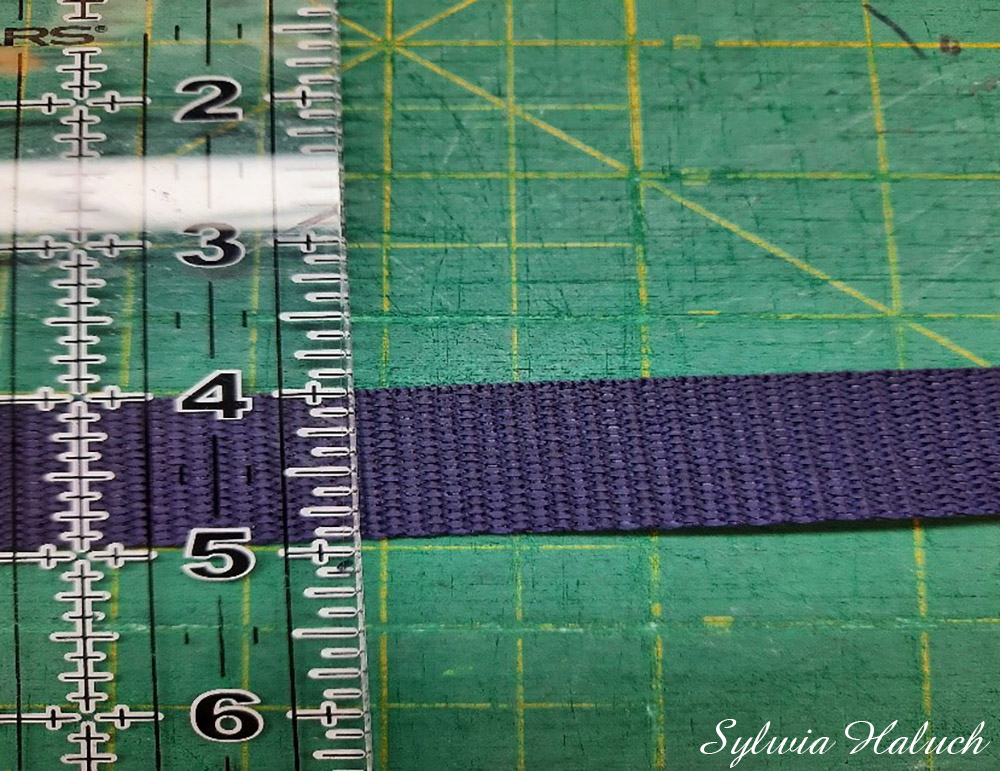
Now it’s time to make the handles. I use some one-inch tape that I bought from BricoMarshe and pulled it into the previously made tunnel.
I attached the handles to the sides. My handles are 56 cm (22 inches) long, plus some extra sewing allowance. The distance between them in my bag is 10 cm (4 inches).
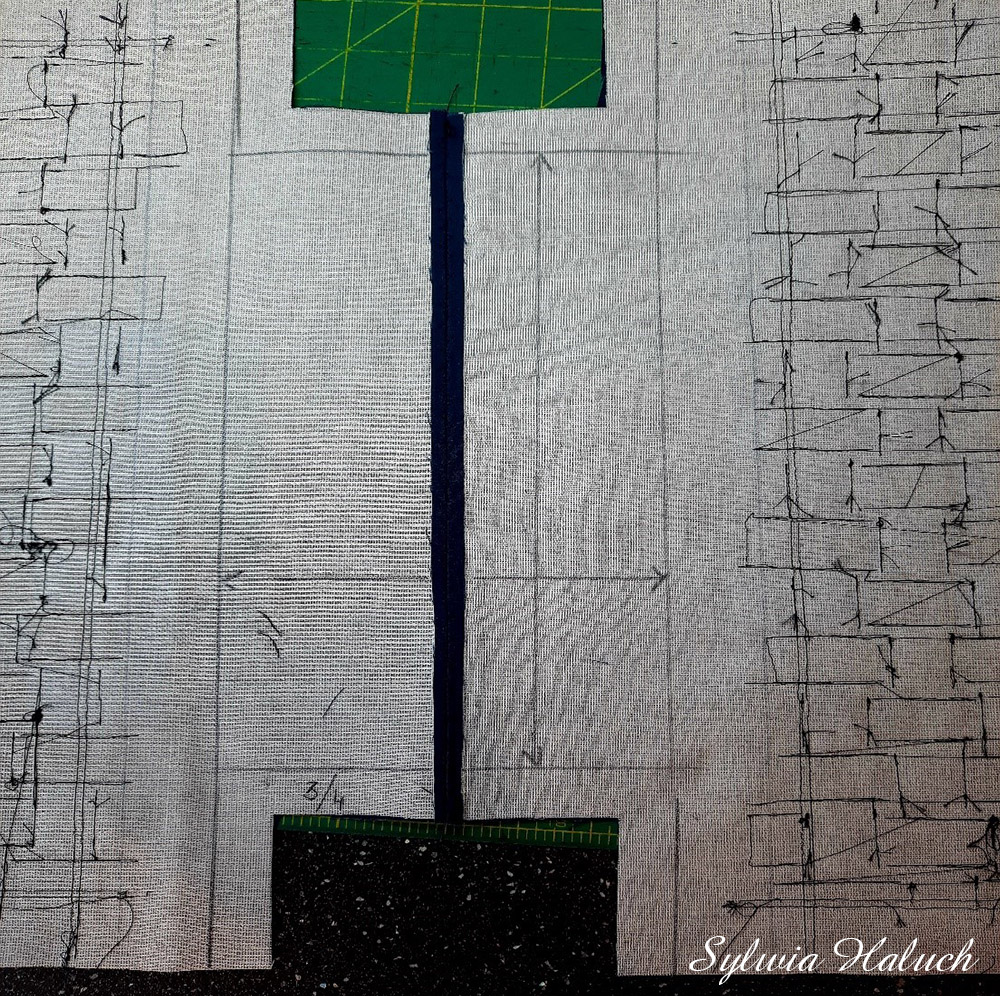
I sewed the two sides together from the bottom side. I ironed the seam flat and additionally reinforced it with a seam. After sewing, I measured around the ¾ inch holes. This is how I got the size of the bottom. I like the stiffened bottom, I like how the bag stands up, making it is easier for me to put things into it.
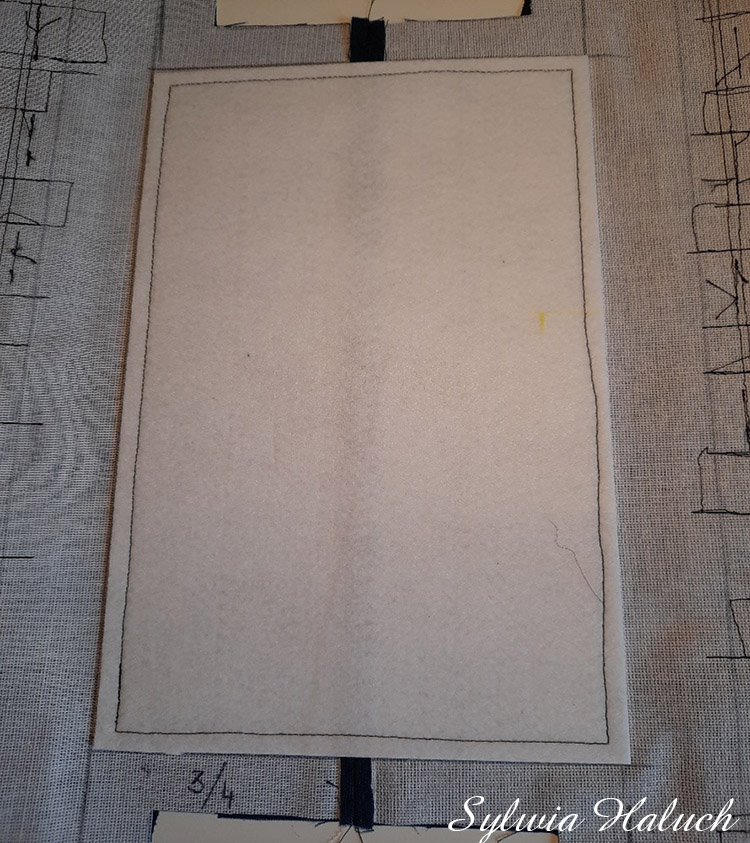
Since I already have the size of the bottom, I cut the bottom out of the stiffener. Most often I use Pellon 71F but I think a few layers of any other stifener will also do the job. I sew the bottom. They can be reinforced with additional seams.
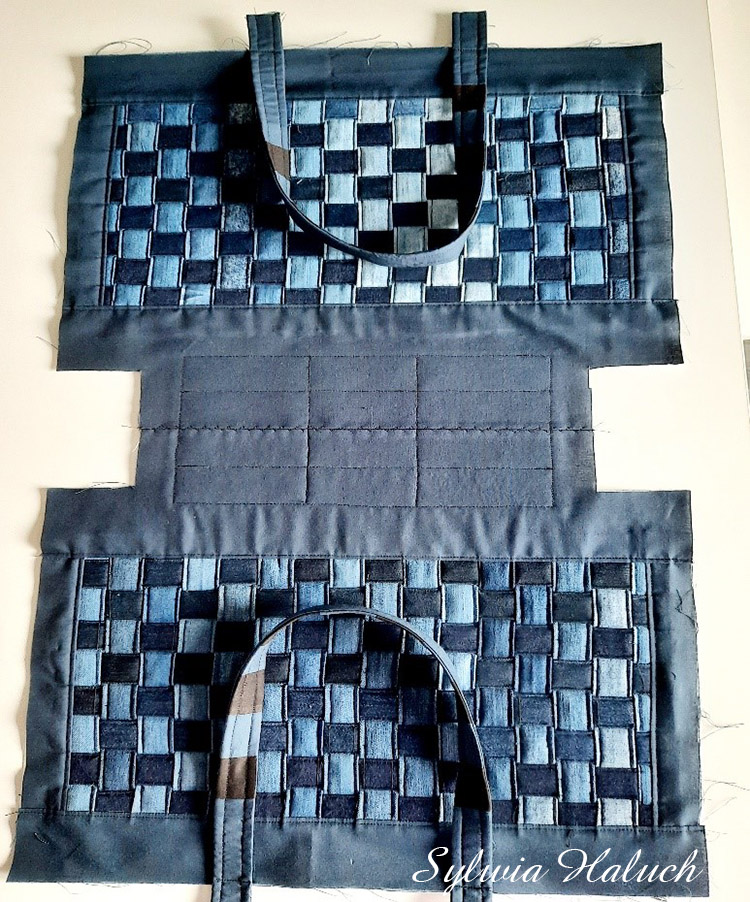
I repeted the same process to sew the lining. I applied the template to the fabric and cut it out. I even have pockets. Do they look familiar ?
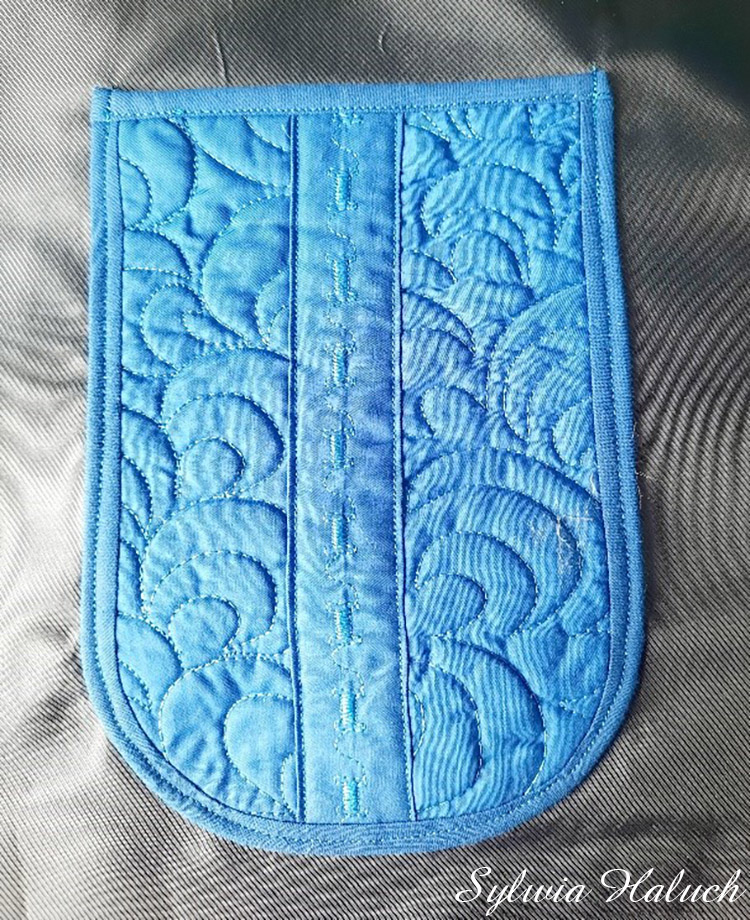
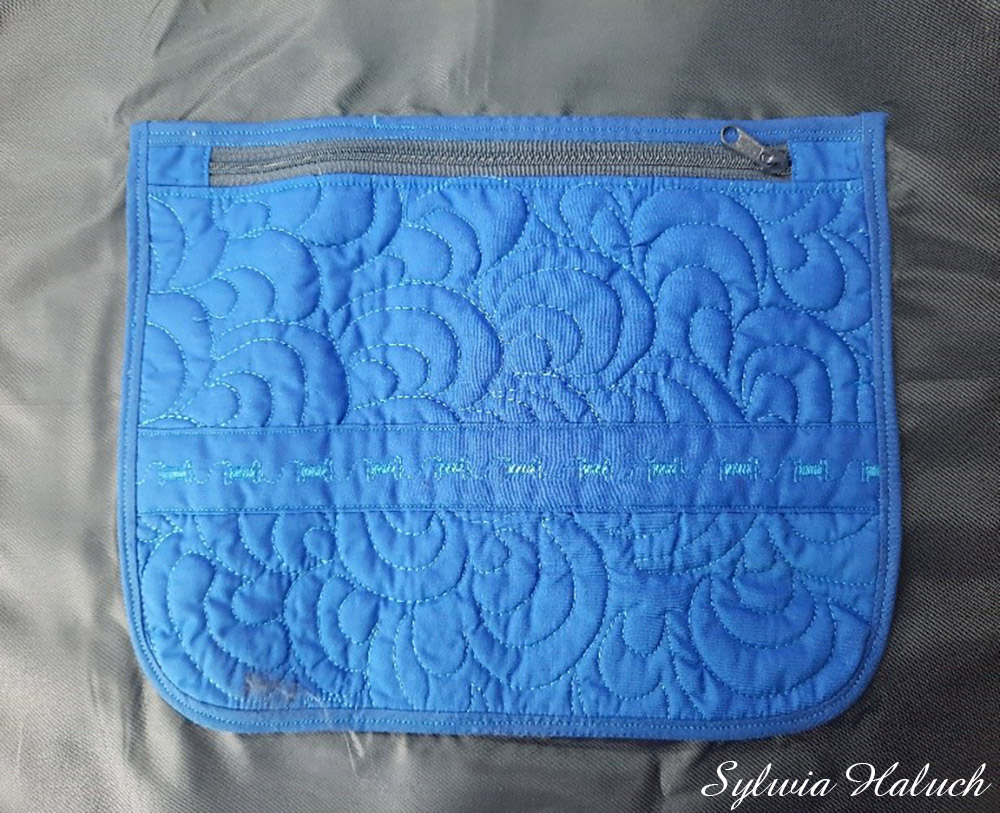
I put the lining in the bag with right sides together and sewed them in. In the lining, I sewed one side a few centimeters from the top and a few from the bottom, leaving a large opening. Remember to leave handles inside.
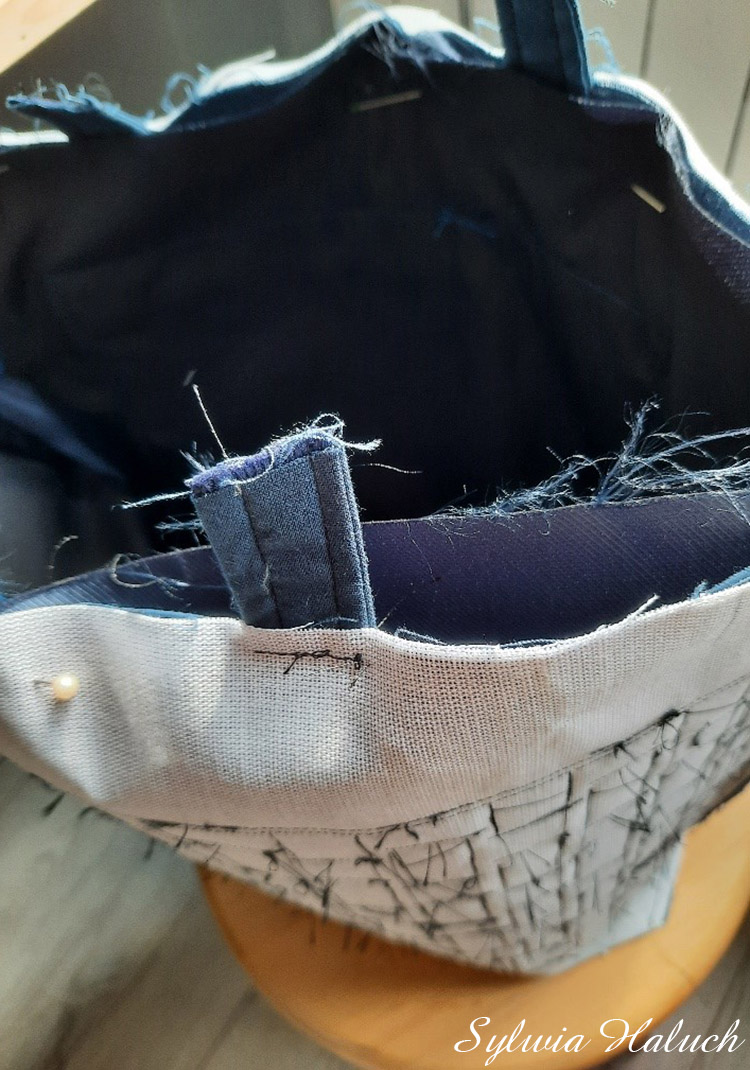
I sewed the lining from the top of the bag and turned it over, pushing the bag through the hole left in the lining. I don’t like this stage because everything creaks, but so far no bag has ever torn.
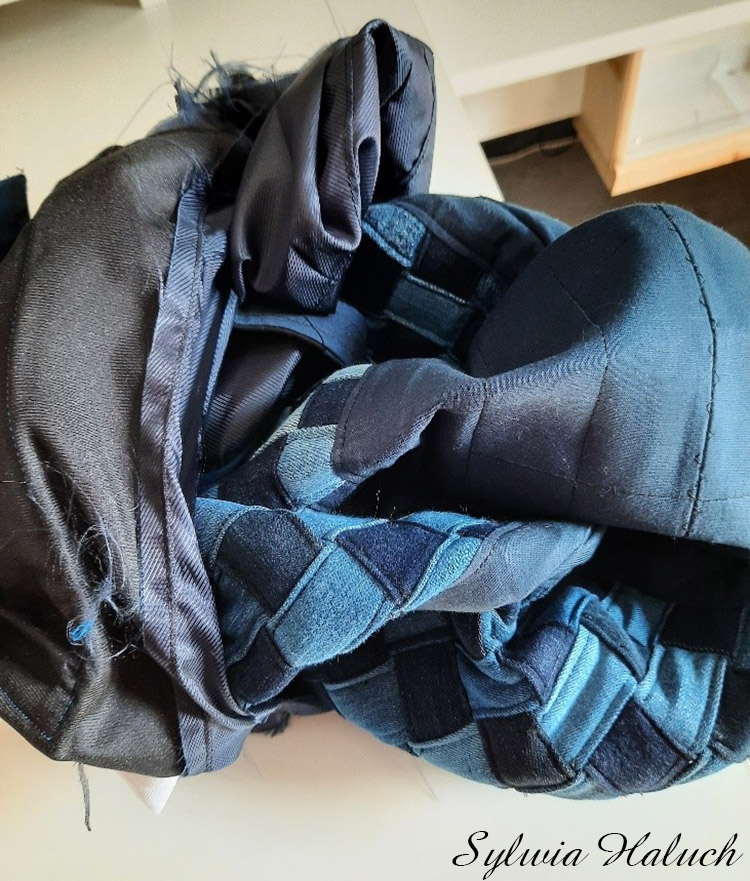
So, here it is. I know that some imperfections can be seen but I think sometimes you have to become friends with them. If I ever get bored with it, I can sew a new one. Happy sewing.
Komentarze