
Hi, it’s me, Sylwia 2.
I know very little about working with silk and therefore I know nothing about my silk, its composition, weave density, etc. This was a gift… yes, yes people with good hearts know how to make a person addicted to sewing happy.
I received several meters of this wonderful fabric in white. It took me a long time to even dare to tackle this material. This is my first experience in working with silk and dyeing, so I set out to gain experience in small steps.
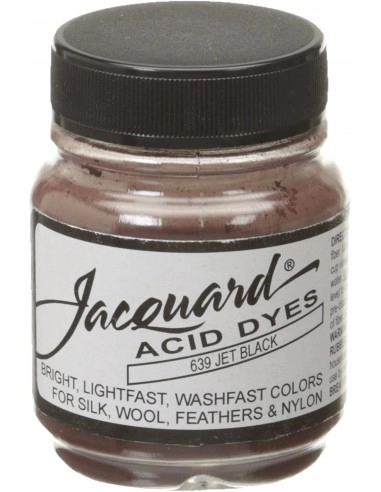
This is how my adventure with silk dyeing began. I followed the attached leaflet.
I didn’t get the expected color, which was supposed to be an intense black, but this is my first attempt. It’s also possible that the silk didn’t accept the dye. Nevertheless, I liked the color.
During the tests, I noticed that silk glued with double-sided non-woven fabric gives a clean, sharp edge on the cutting line, it does not fray, so it seemed ideal for applique with a sharp edge or for reverse applique.
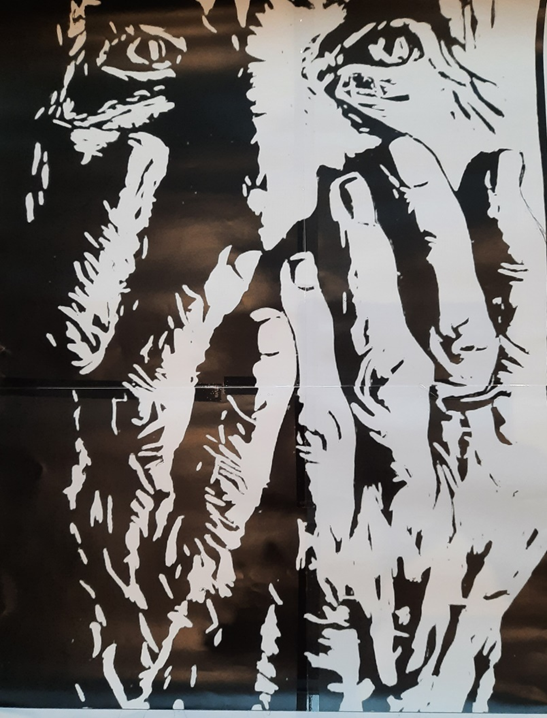
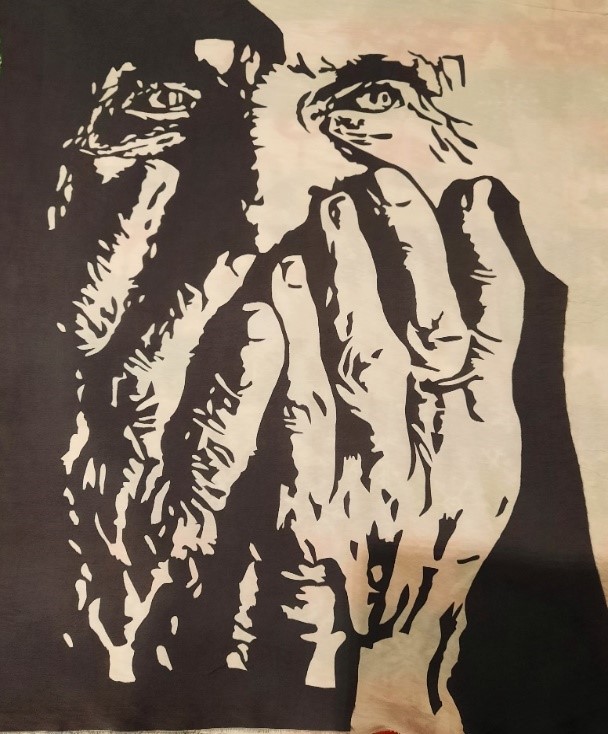
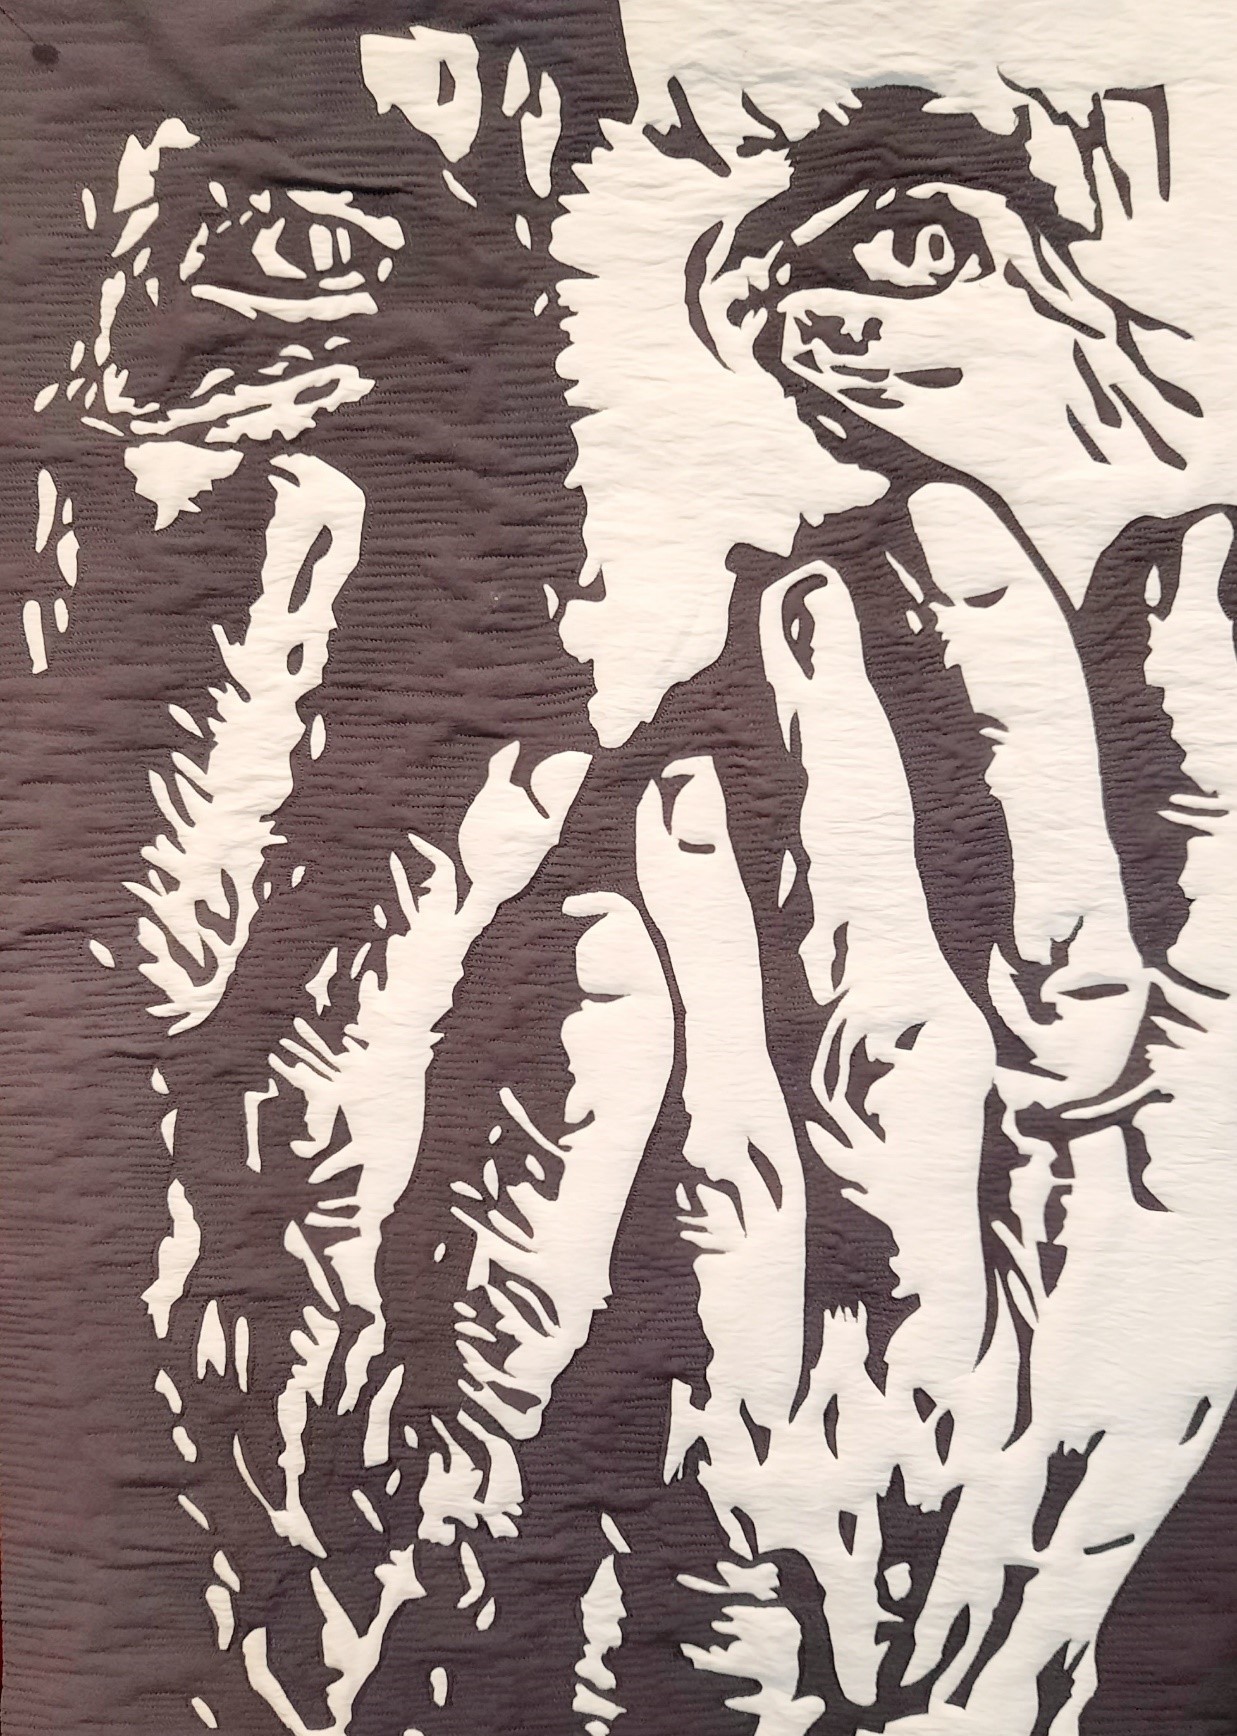
I selected a design. Author unknown.
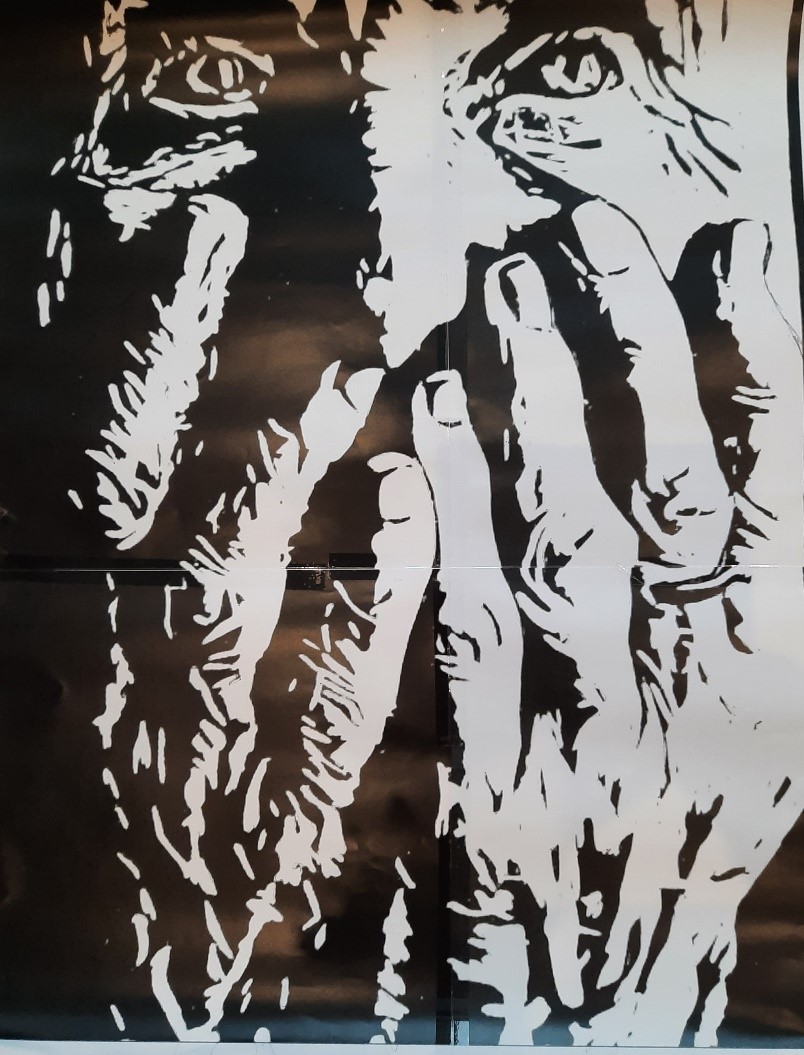
On the left side of the pattern, I drew all the lines with a black marker, carefully marking which fields are white and which are black. The more hints, the easier it is to work with later, because it is easy to make a mistake during the whole process.
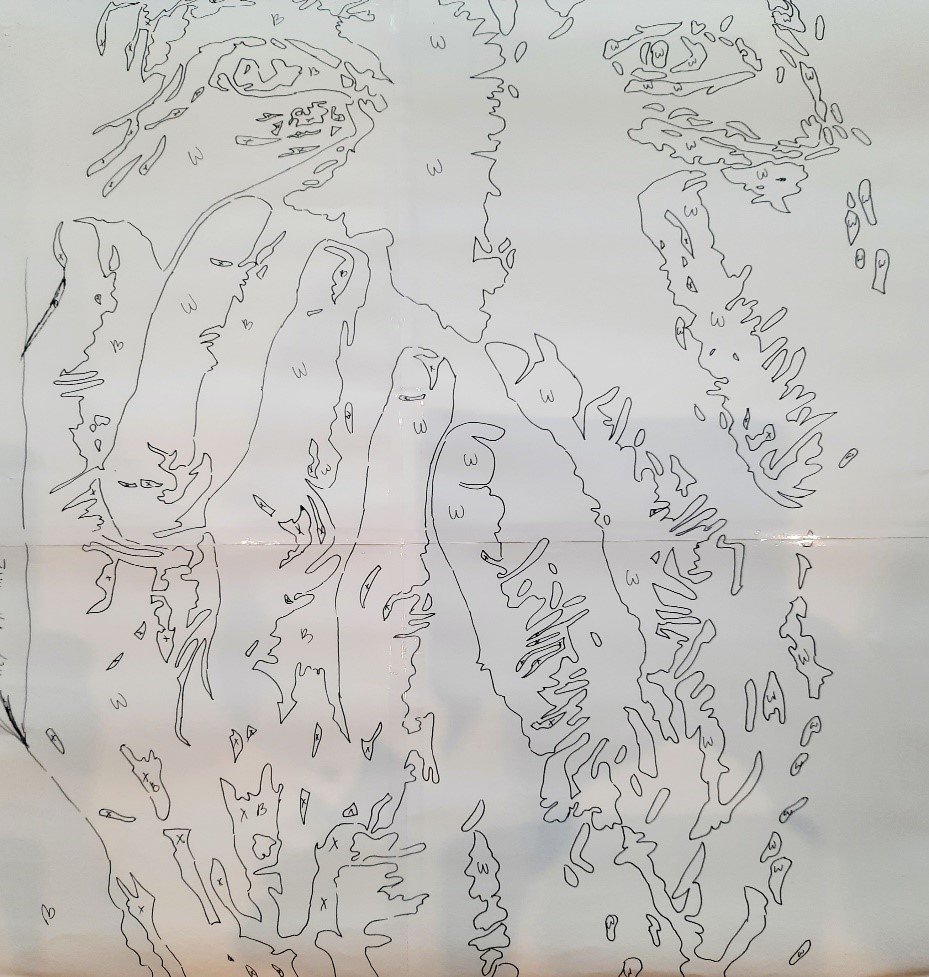
I placed a sheet of double-sided non-woven fabric on the drawn pattern and traced all the lines along with the markings on the non-woven paper.
I glued the silk, in my case it is gray, to the double-sided interlining and ironed it, activating the glue.
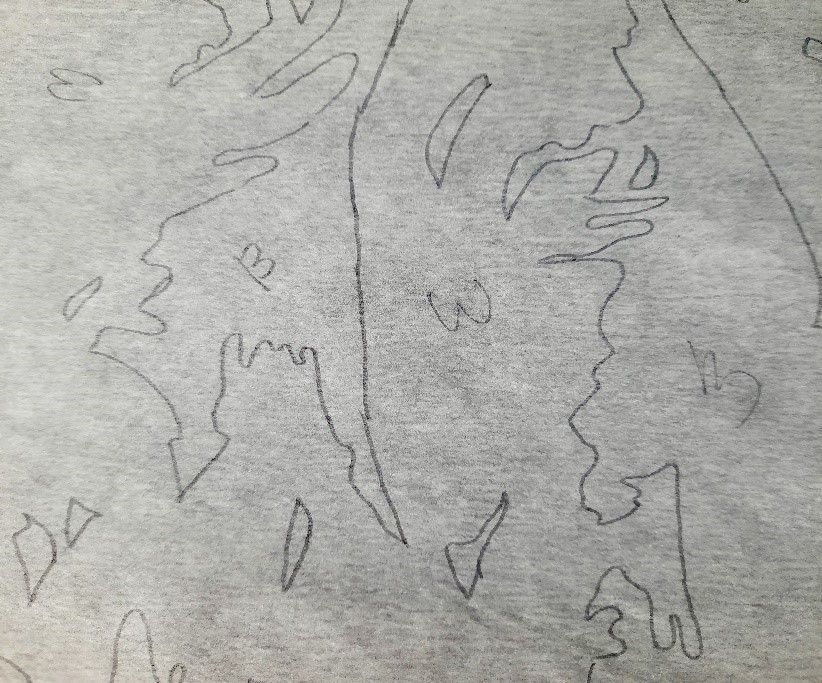
I cut out the white elements.
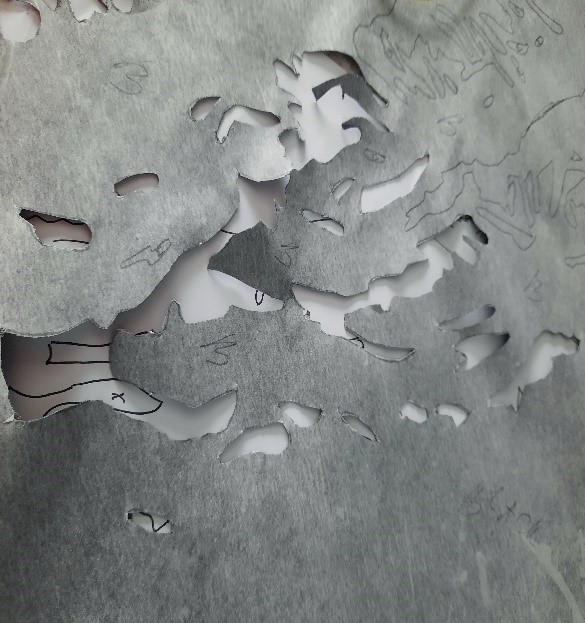
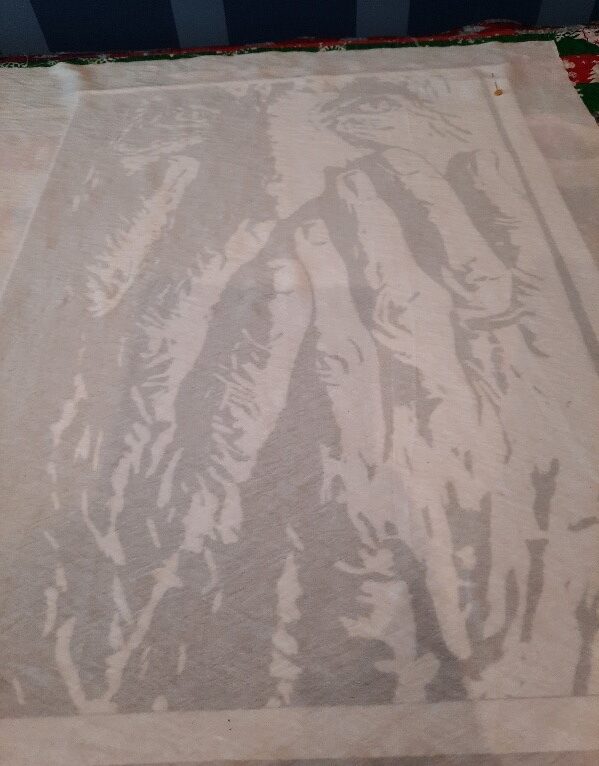
I placed my white silk on the original pattern, this time on the right side of the pattern and pinned it.
Komentarze